Edit a Member's Project Roles by going to Admin Settings > Project > Members and clicking on the Edit icon within their row.
Go to Admin Settings > Project. You can find Admin Settings at the upper right corner of the page, indicated by a cog icon. The General tab appears by default.
Go to the Members tab. The Member directory is displayed, with all Members listed.
Click on the Edit icon that's within the row of the Member you would like to assign new Project Roles to. It becomes visible by hovering over the rightmost column.
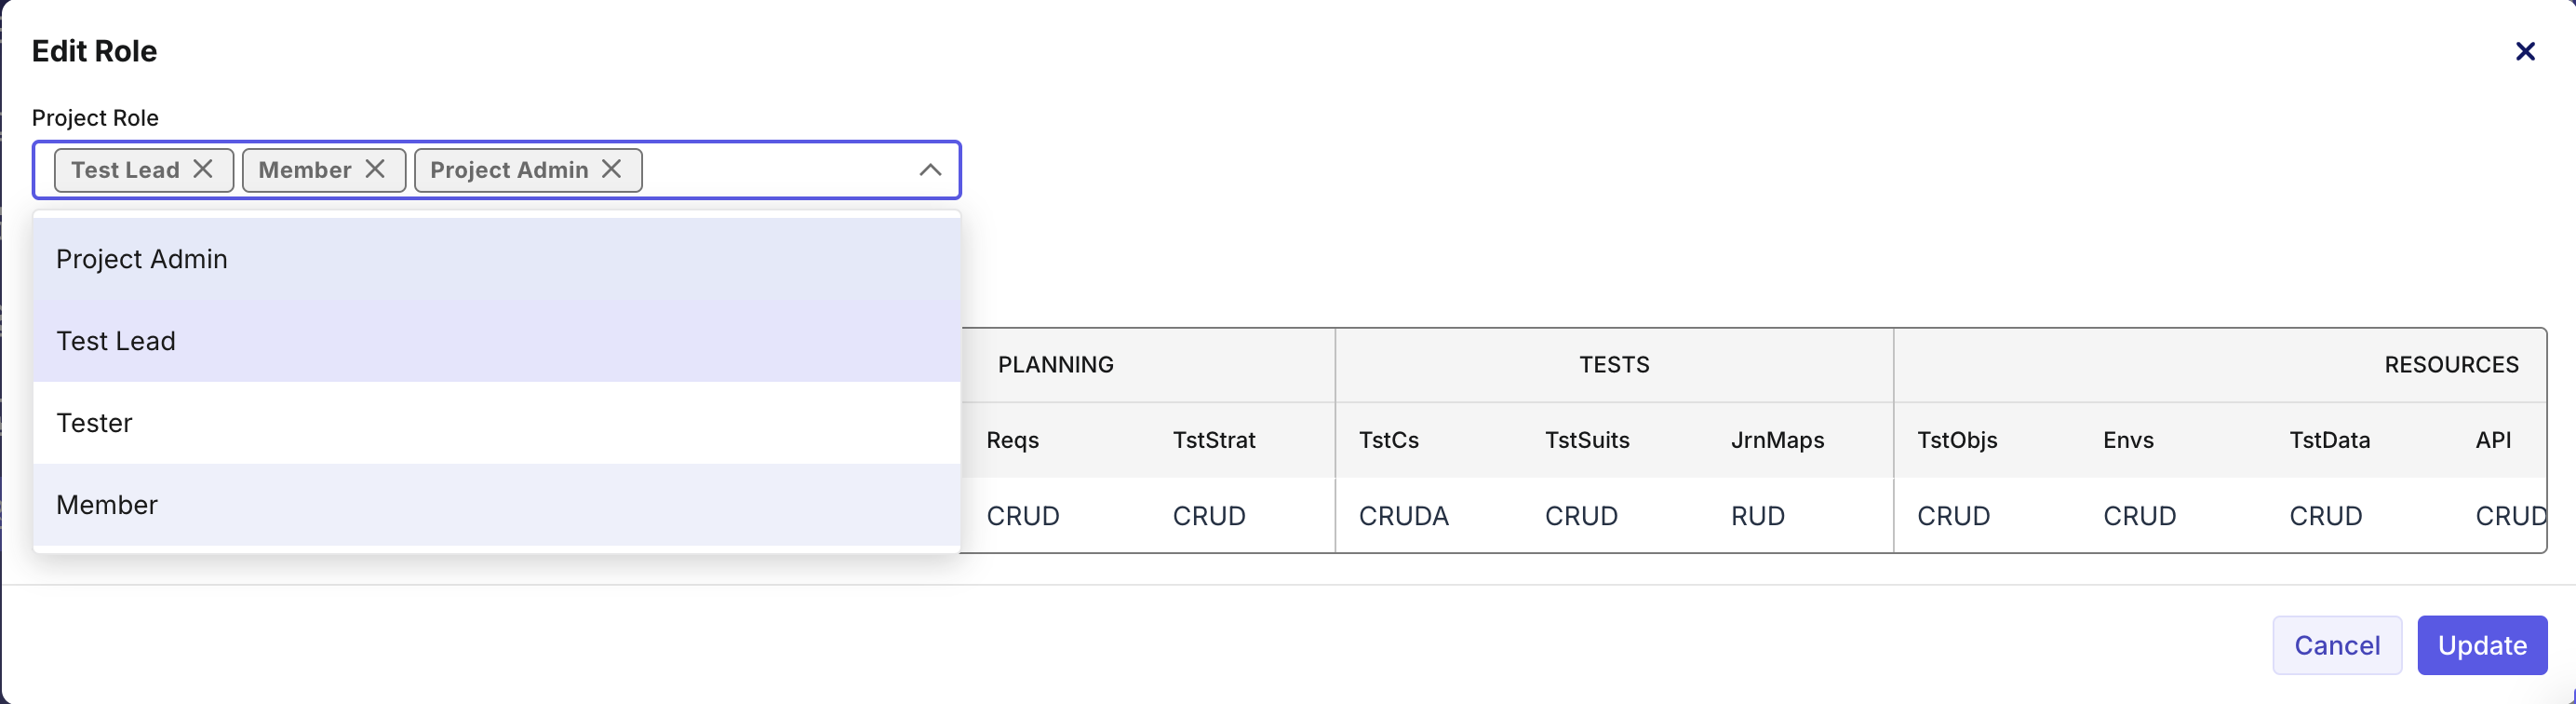
The Edit Role dialog box pops up.
From the dropdown labeled Project Role, select or deselect Project Roles to assign or unassign them.
Click Update.
A notification confirms that you have successfully updated a Member's Project Roles.