Add test results for manual executions
This shows you how to record test results and other related information when executing your manual test runs.
Prerequisites
- Make sure you have the Test Lead or Tester role. Go to roles or permissions for more information or learn how to assign a Project Admin here.
- You must have created a manual test run.
Add test results to your manual executions
-
Go to Executions. The Executions list appears by default.
-
Select the execution you want to add test results to.
-
Click on Start to run the test case.

-
From the sidebar, click on the appropriate test result you would like to assign to this test case.

The options are:
- To Do
- Blocked
- Failed
- Passed
- Skipped
When you select a result, the Activities tab records a log of that as well as your testing actions (like other result updates, comments, attachments, or linked defects.)
You can pause this test run at any time by clicking on the Pause button.
You can also skip a test case by clicking on the Stop button.
-
Click on Next to continue with your next test case or click on End Test Run to finish the current test run.
-
You can link your test run to a defect by clicking on the Report Defect button represented by a small bug. Learn more about Defect Reporting here.
- Any test case that is not assigned a test result will be considered as Skipped. Click Confirm to continue regardless.
Results
A notification confirms you have successfully added test results for your manual test cases.
Learn how to gain an overview of your test case's results here.
Add comments to your test run
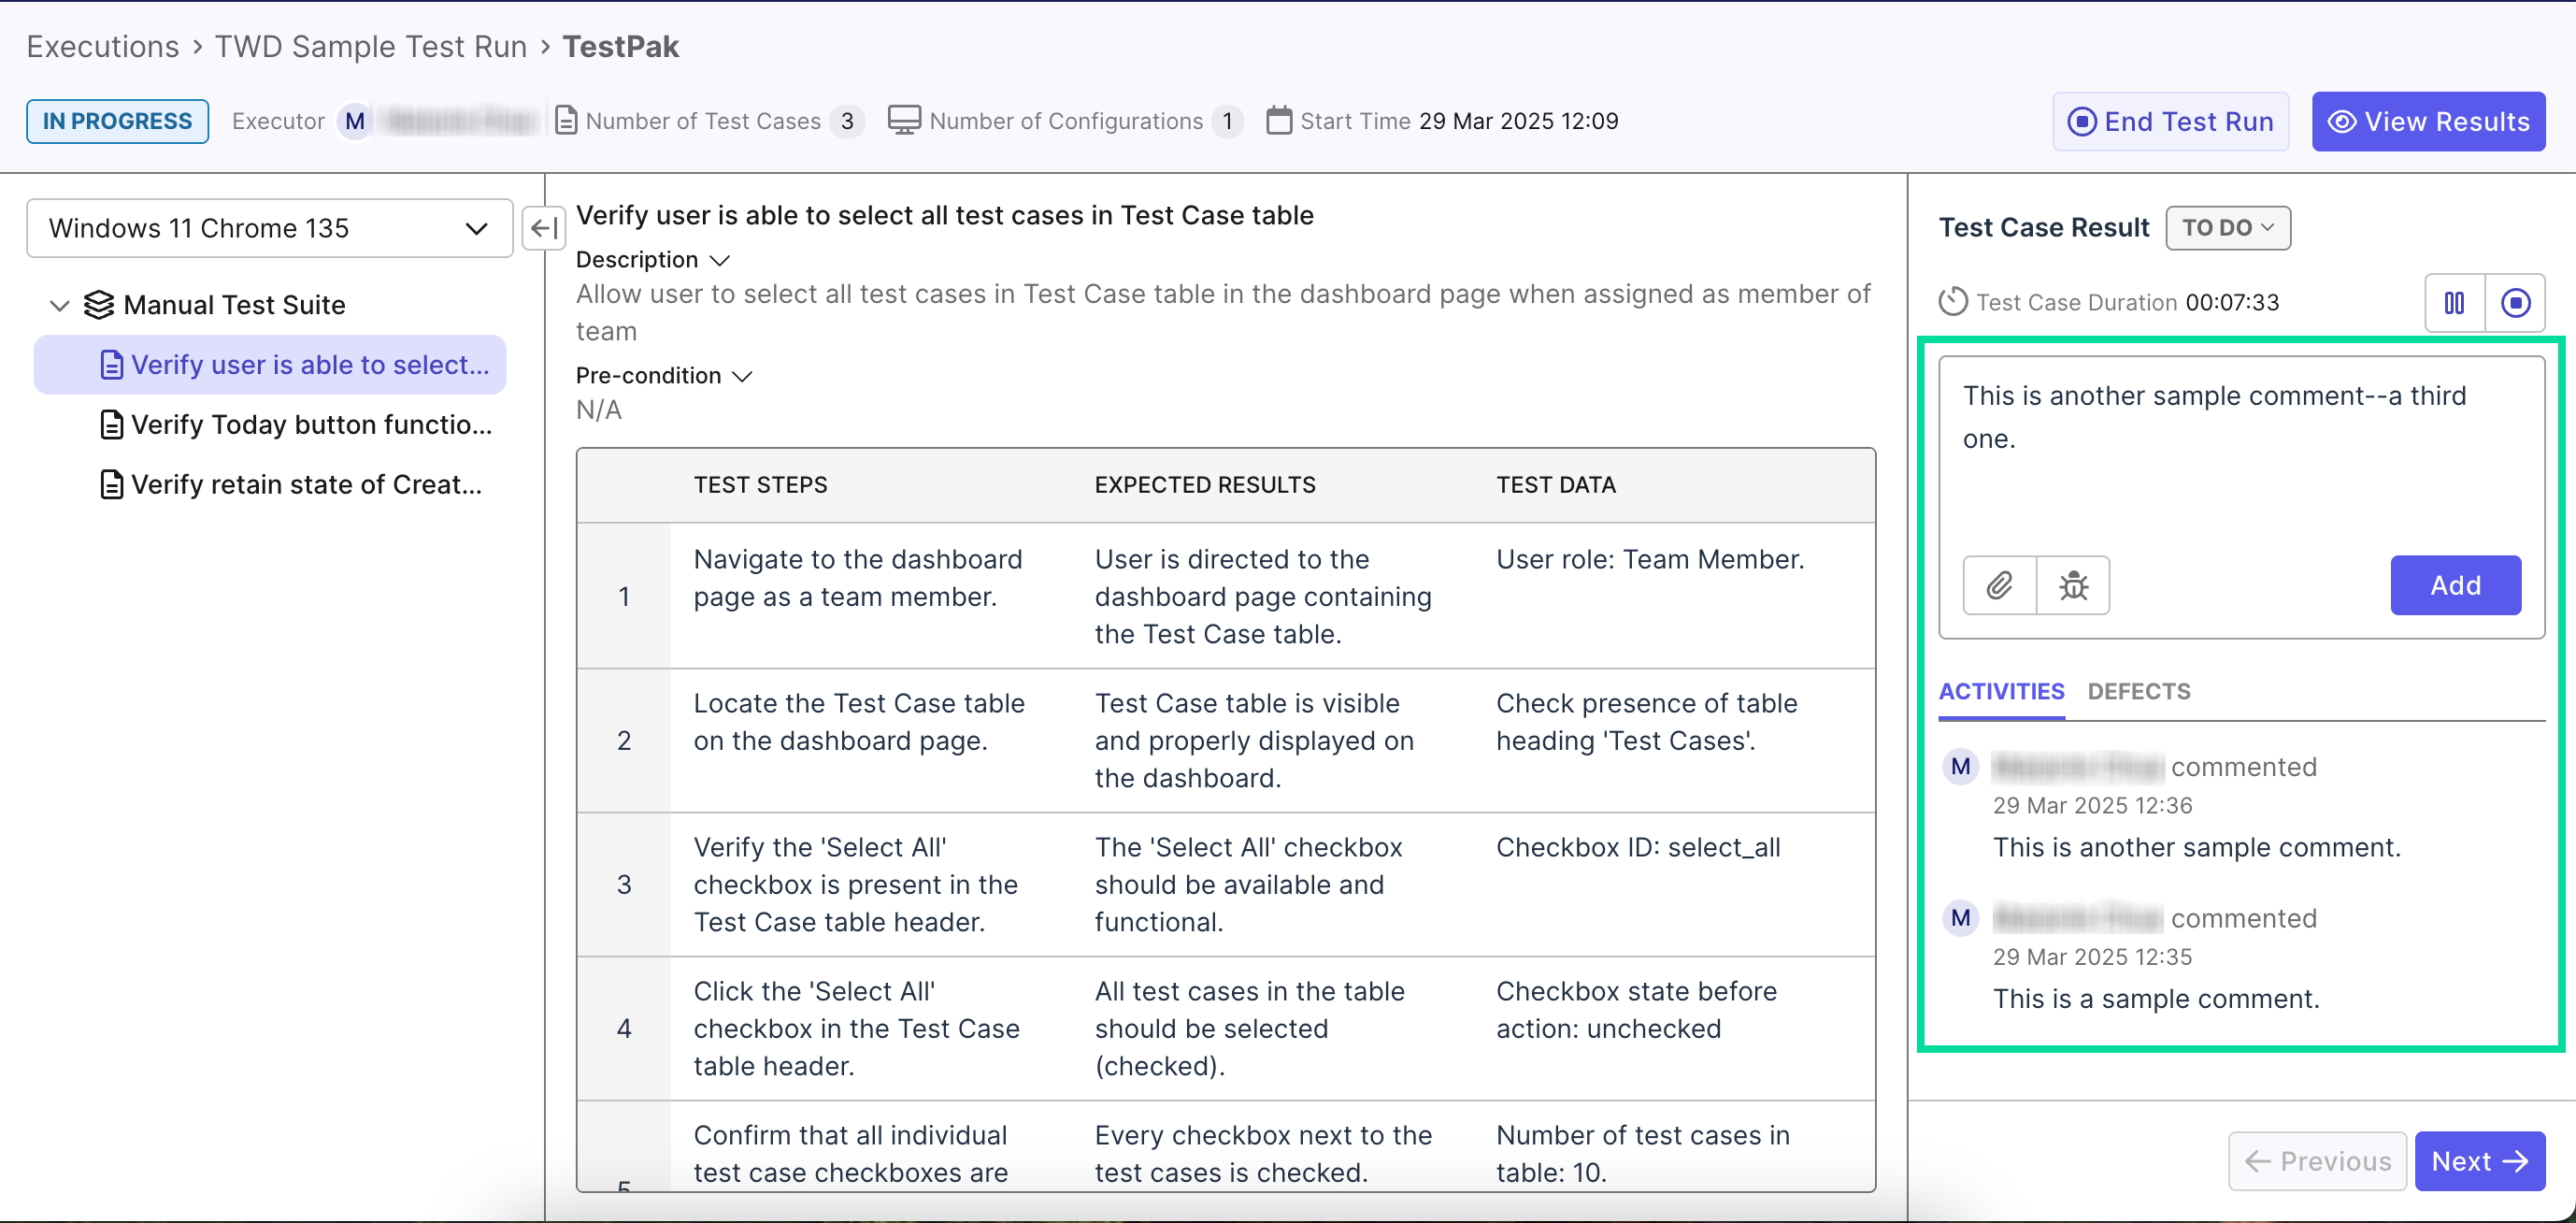
The Comments feature enables you to document issues directly within test executions when you encounter unclear steps or unexpected results. This functionality streamlines communication with team members by allowing you to raise questions, notify stakeholders of blockers, and maintain resolution discussions in context, preventing the delays typically caused by communication breakdowns during testing workflows.
Add a comment by going to the text box at the right side of the screen and typing your comment. Then, click Add. Your comment is saved in the Activities tab.

Each comment is limited to 255 characters per comment.
Add attachments to your test run
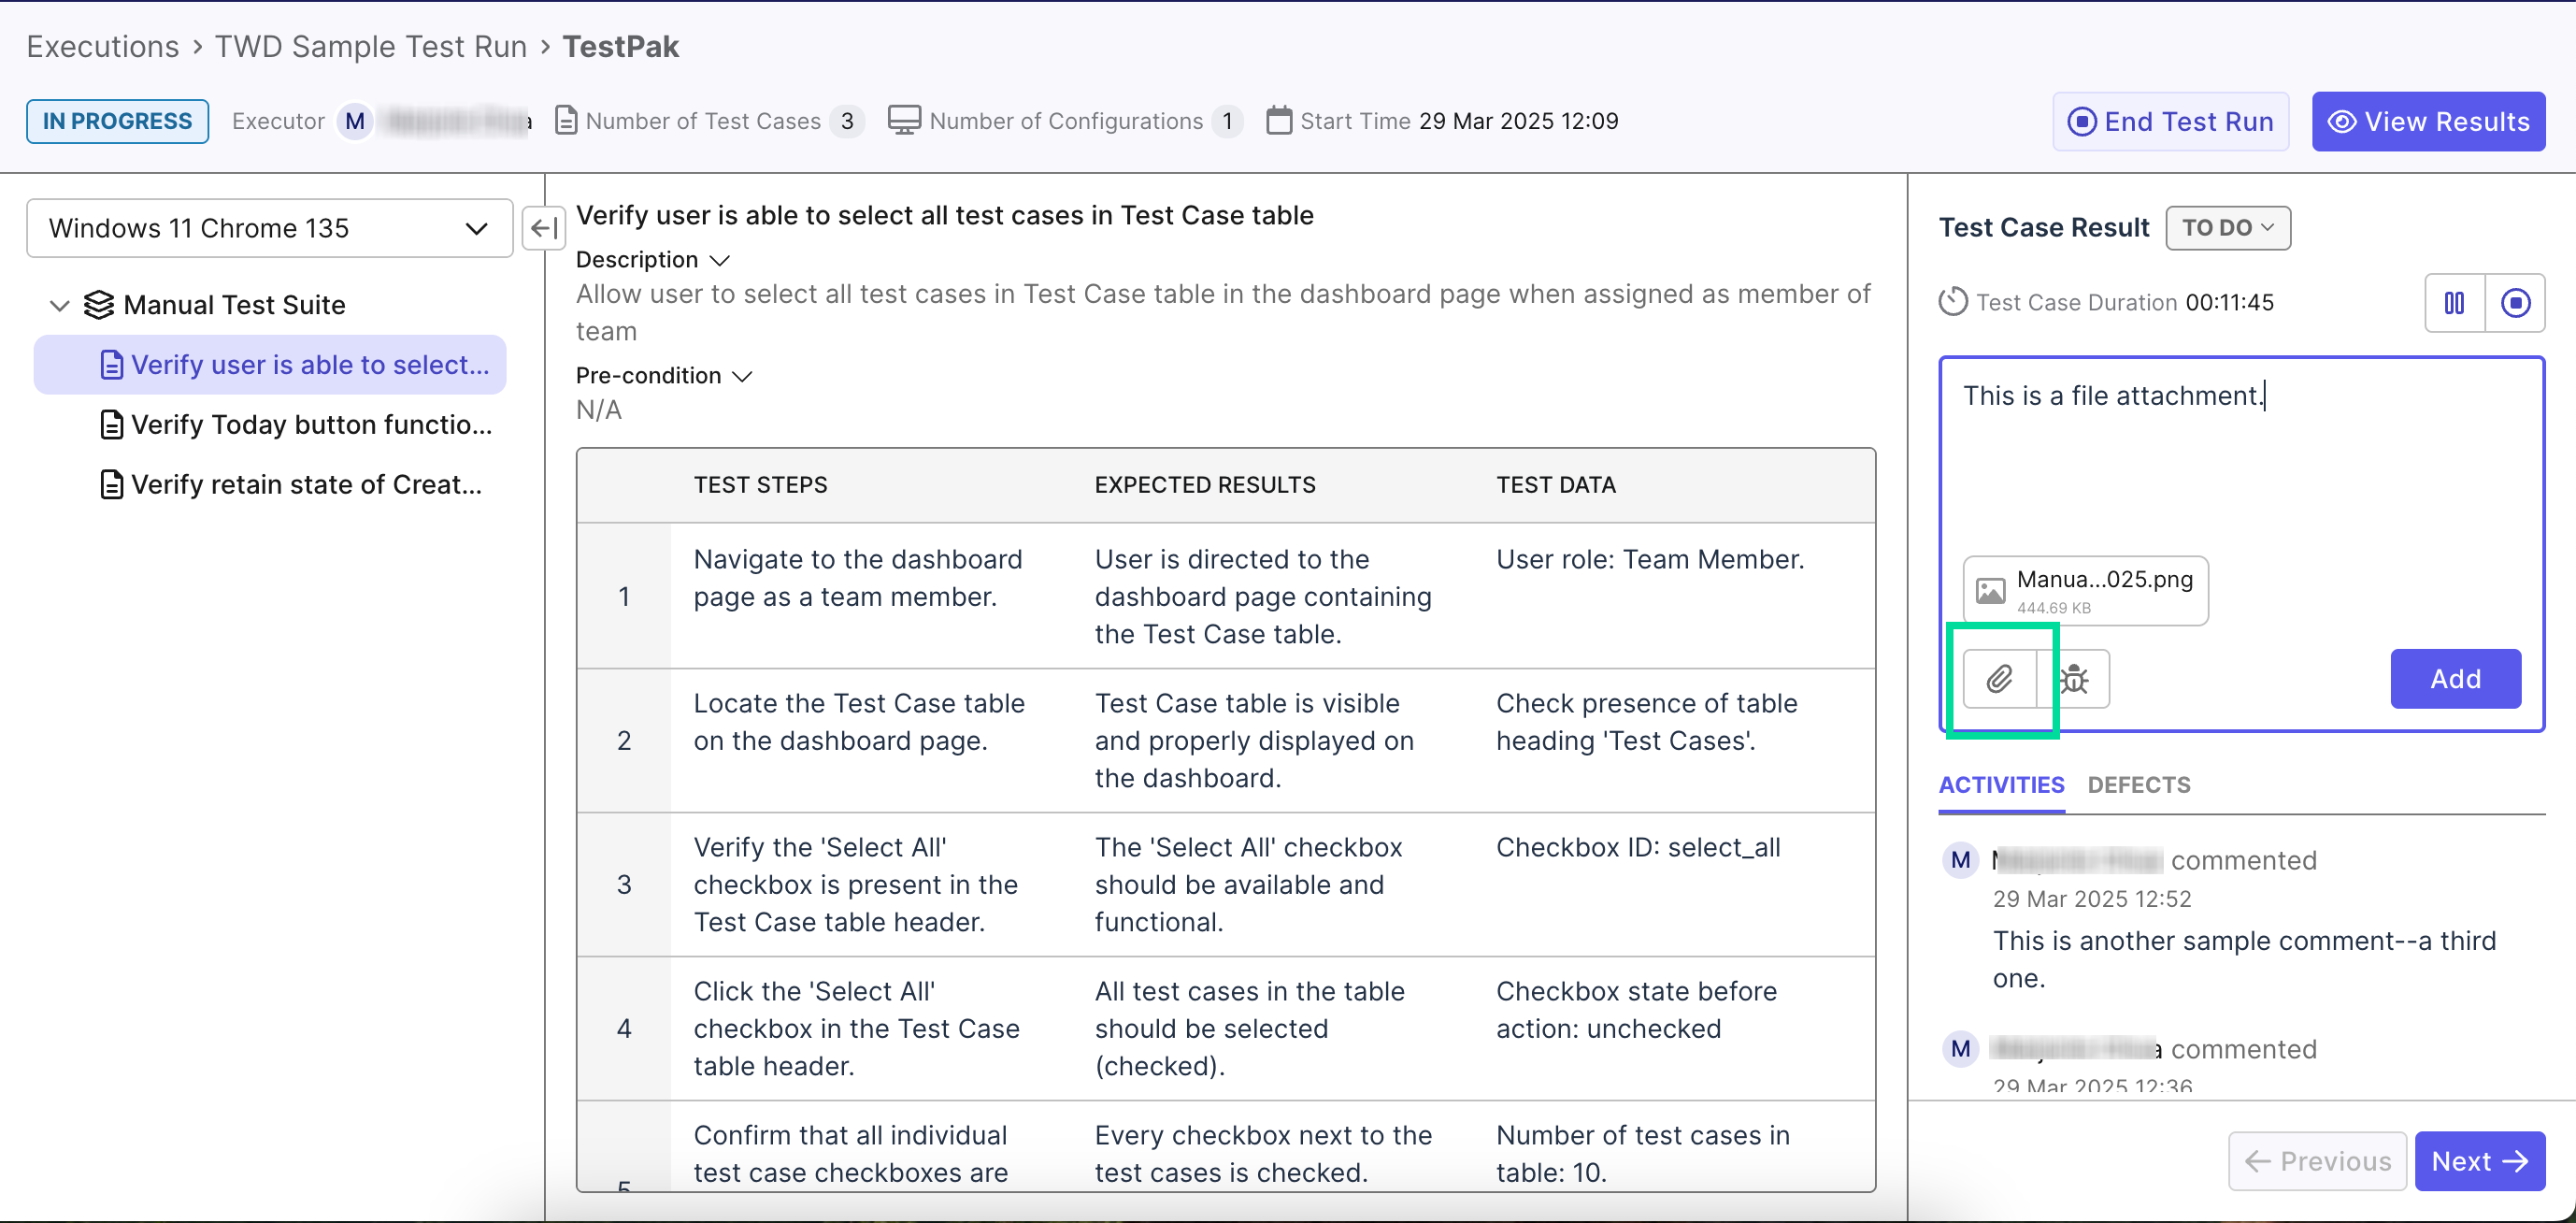
The Attachment feature allows you to upload supporting files directly to your test results, providing visual context and additional information about execution outcomes. You can supplement your test results with screenshots, logs, or other documentation to effectively communicate issues, expected behaviors, or exceptional conditions discovered during testing. This capability enhances collaboration by ensuring all team members have access to the complete test context.
Supported File Types:
- Images: JPEG, PNG, GIF, BMP
- Documents: PDF, DOC(X), XLS(X), PPT(X)
- Videos: MP4, MOV, AVI
- Logs: TXT, LOG
File Size Limits:
- Videos: Maximum 100 MB per file
- All other files: Maximum 15 MB per file
To add an attachment, click on the Attachments button, select your file, and click Open.

You can download the attachment by clicking on the Download button that displays when you hover on it.