Generate screen-based videos in Katalon Studio reports
Katalon Studio supports screen-based recording when running WebUI tests.
- Screen-based recorder is only applicable for local WebUI testing.
- Screen-based recorder is available for single test suite execution only. To record parallel executions, you can refer to Record Browser-based Videos.
We recommend the K-Lite Codec to play the recorded video.
Enable screen-based recorder
If you use macOS, make sure you first enable Katalon Studio for screen recording. On your Mac, go to Privacy & Security settings > Privacy > Screen Recording > Allow Katalon Studio to do Screen Recording.
To enable screen recorder, follow these steps:
-
In Katalon Studio, go to Project > Settings > Execution.
-
In the During-Execution Options panel, enable Video Recorder by checking Record video during execution.
-
Select Record Type as Screen Recorder and specify the applicable test cases by choosing either Failed test cases or All Test Cases.
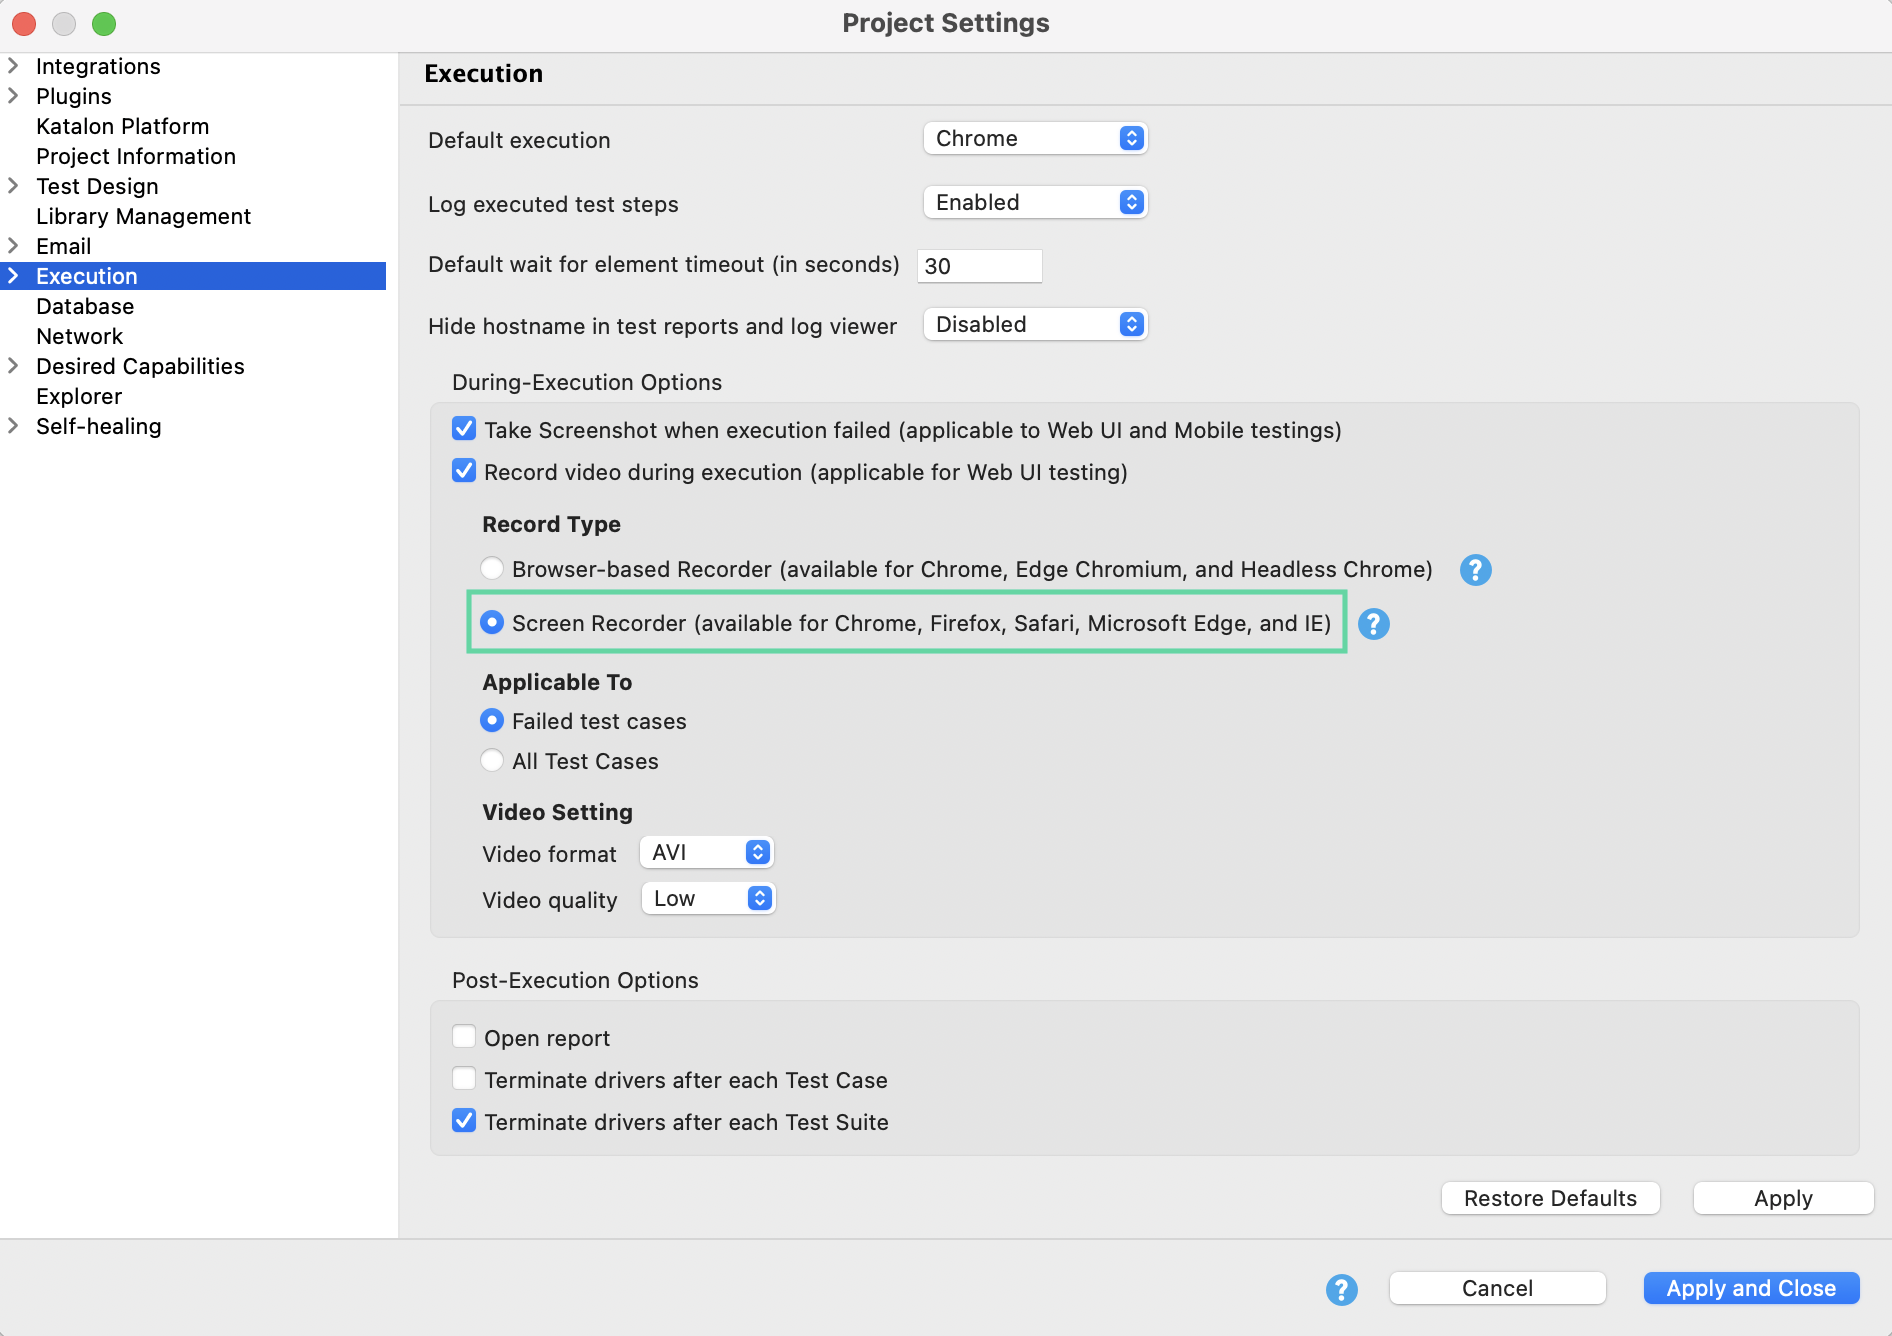
- Specify video settings based on your preferences.
We recommend AVI (.avi) format and low quality to save disk space. Higher video quality means bigger file size.
- Video format: AVI (
.avi) or MOV (.mov). - Video quality: Low; Medium or High.
- Click Apply and Close.
View recorded videos
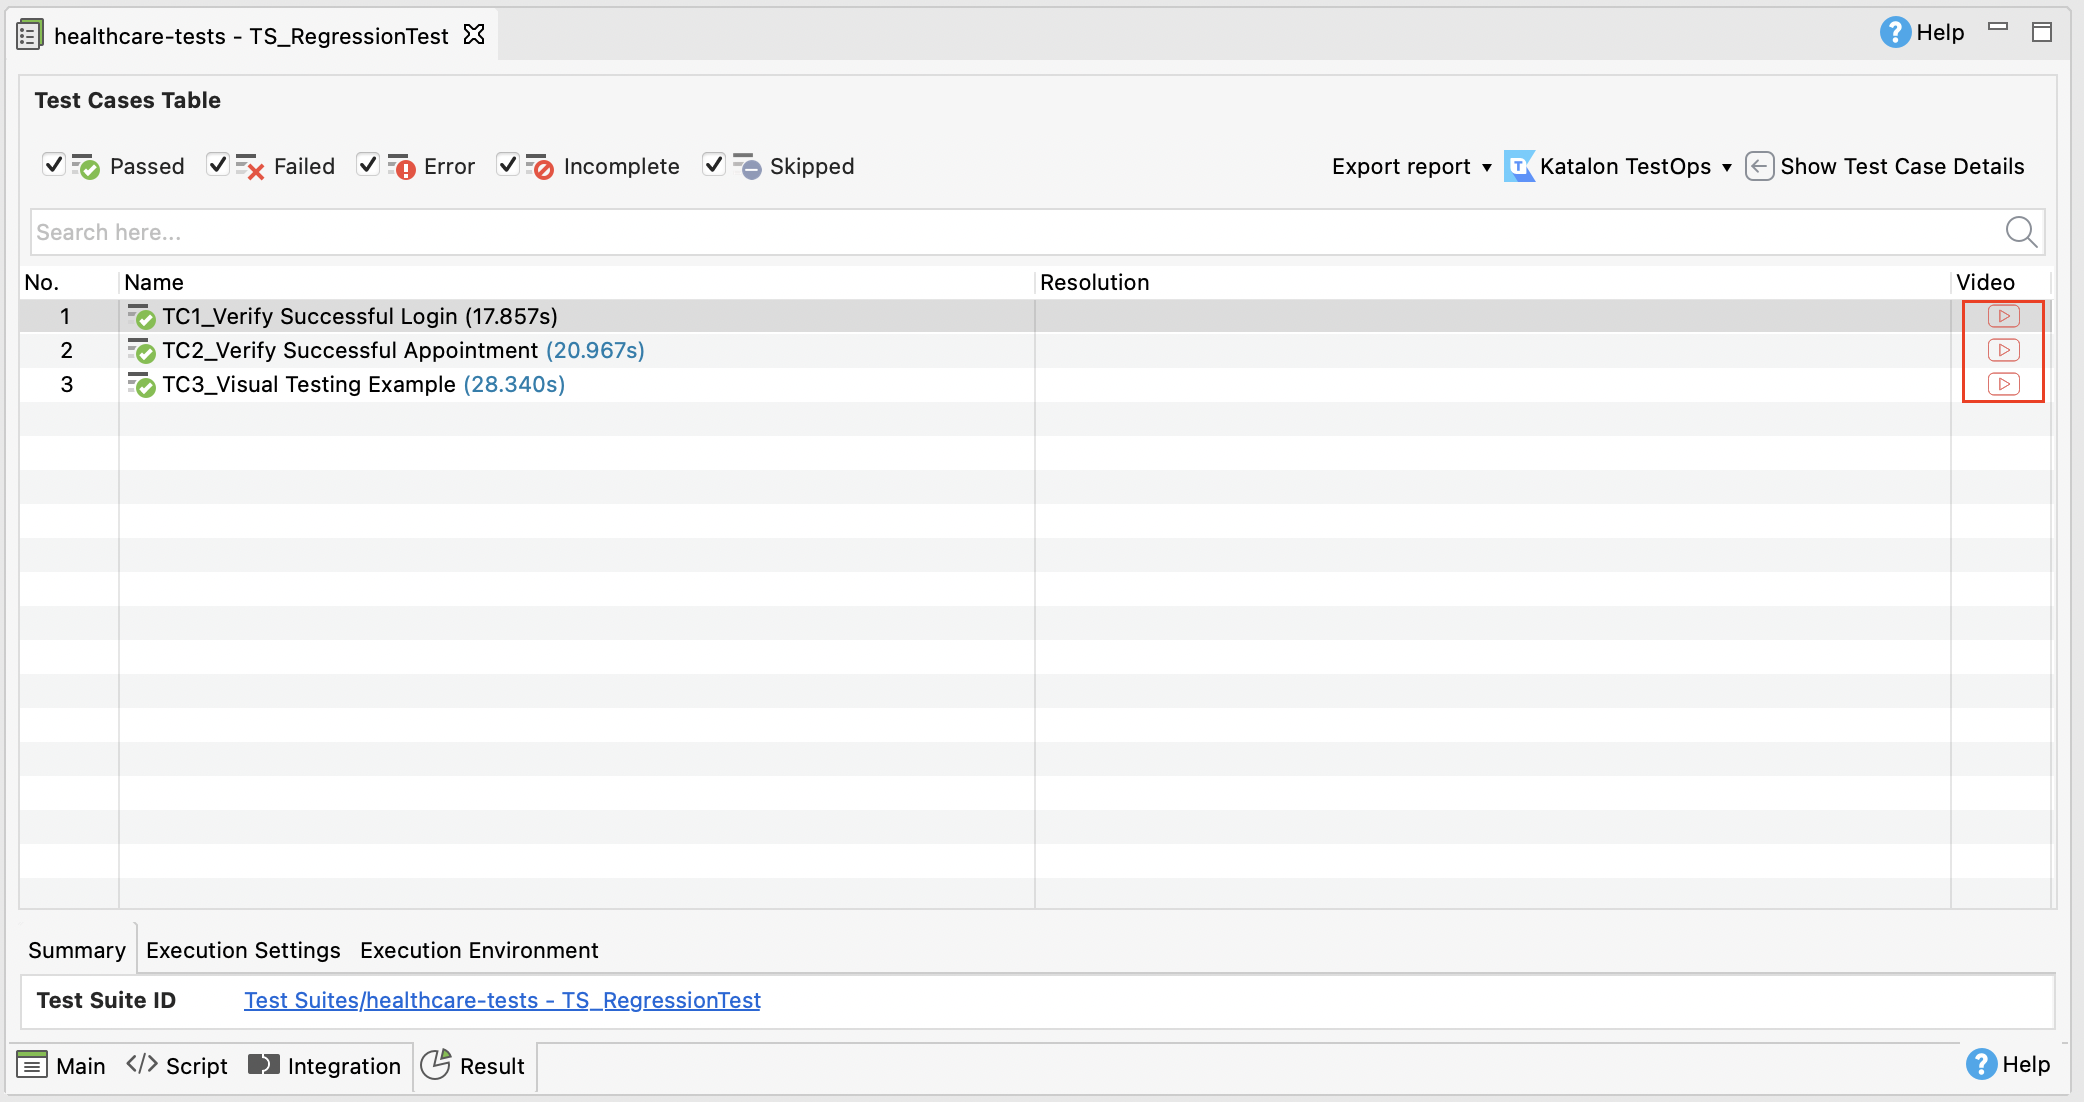
After running the test suite, navigate to the Result tab. You can see a list of test cases. A recorded video is attached to each test case accordingly.
Click on the Play icon in the Video column to play the video or navigate to the video folder and use any available video player.
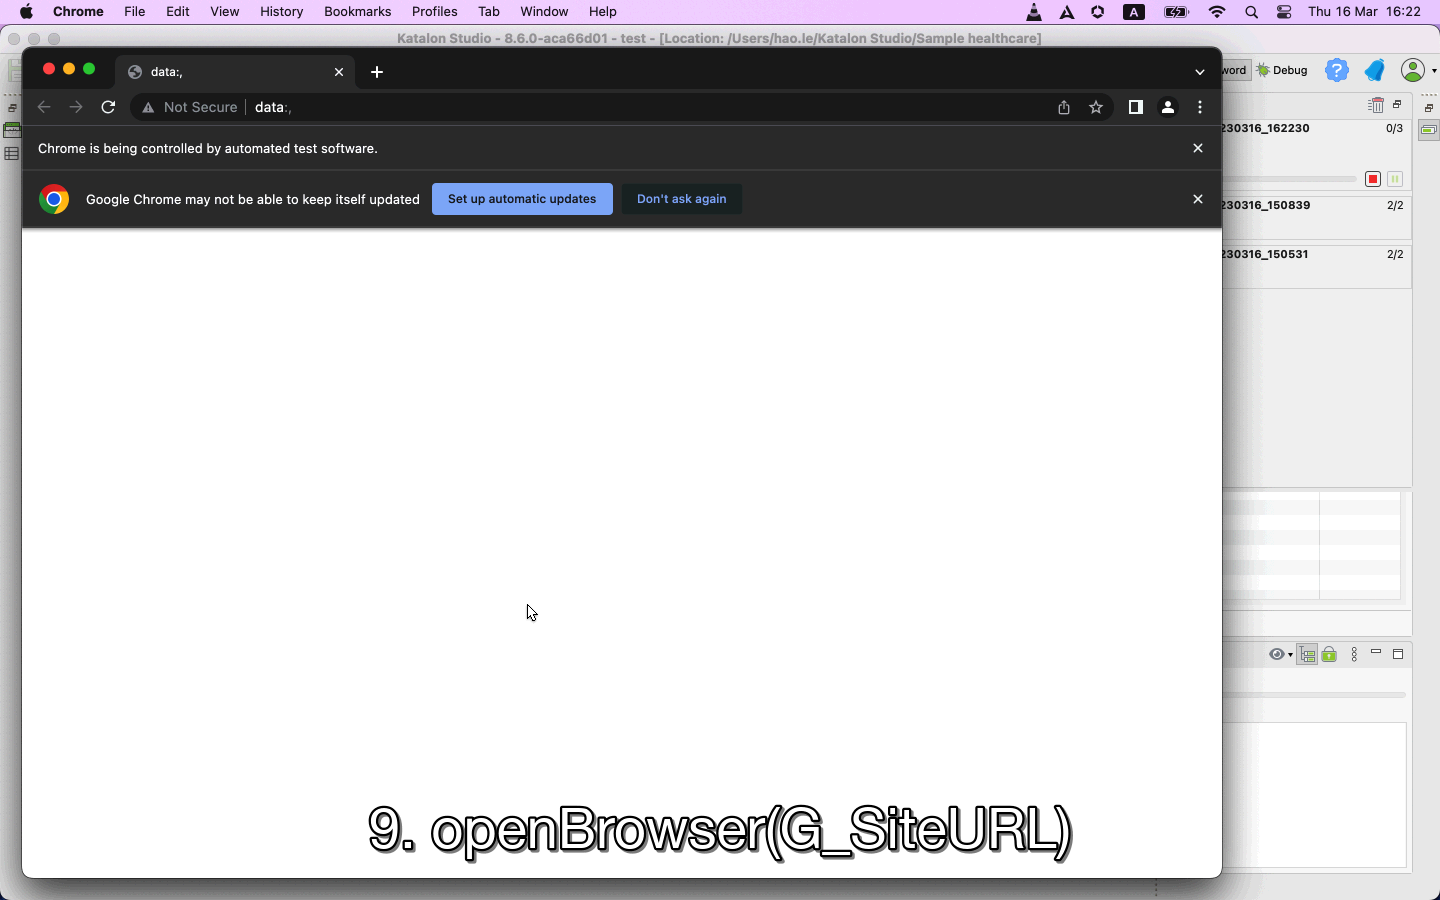
Each test step in a video has a description embedded like a subtitle.