Image-based Testing for WebUI
Katalon Studio provides an image locator method to associate test objects with images. With this method, you can perform image-based testing when elements of the web application under tests (AUT) retain their appearance even though the underlying structures have changed.
This guide shows you how to configure image-based object recognition, capture screenshots, and reduce the chance of failures in image-based testing.
Enable Image-based object recognition
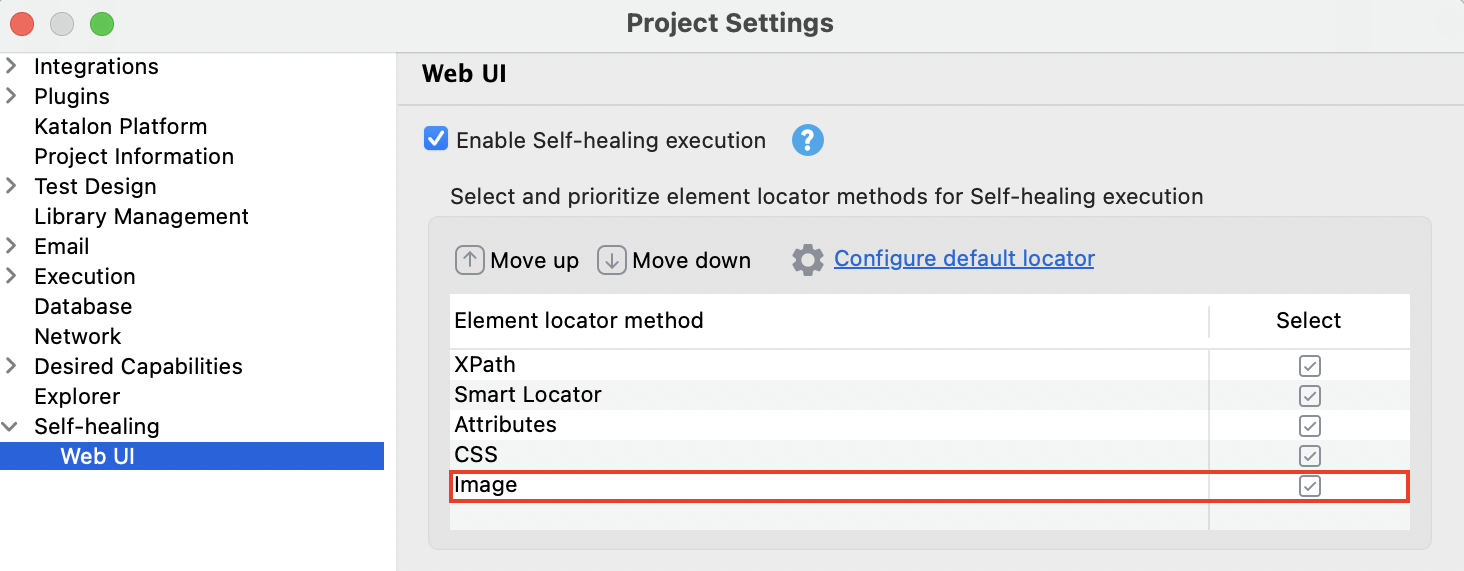
Image-based object recognition is enabled by default for web test execution in Project Settings > Self-Healing > WebUI.
Capture screenshots for object recognition
Here we use the Spy Web Utility to capture screenshots. Follow these steps:
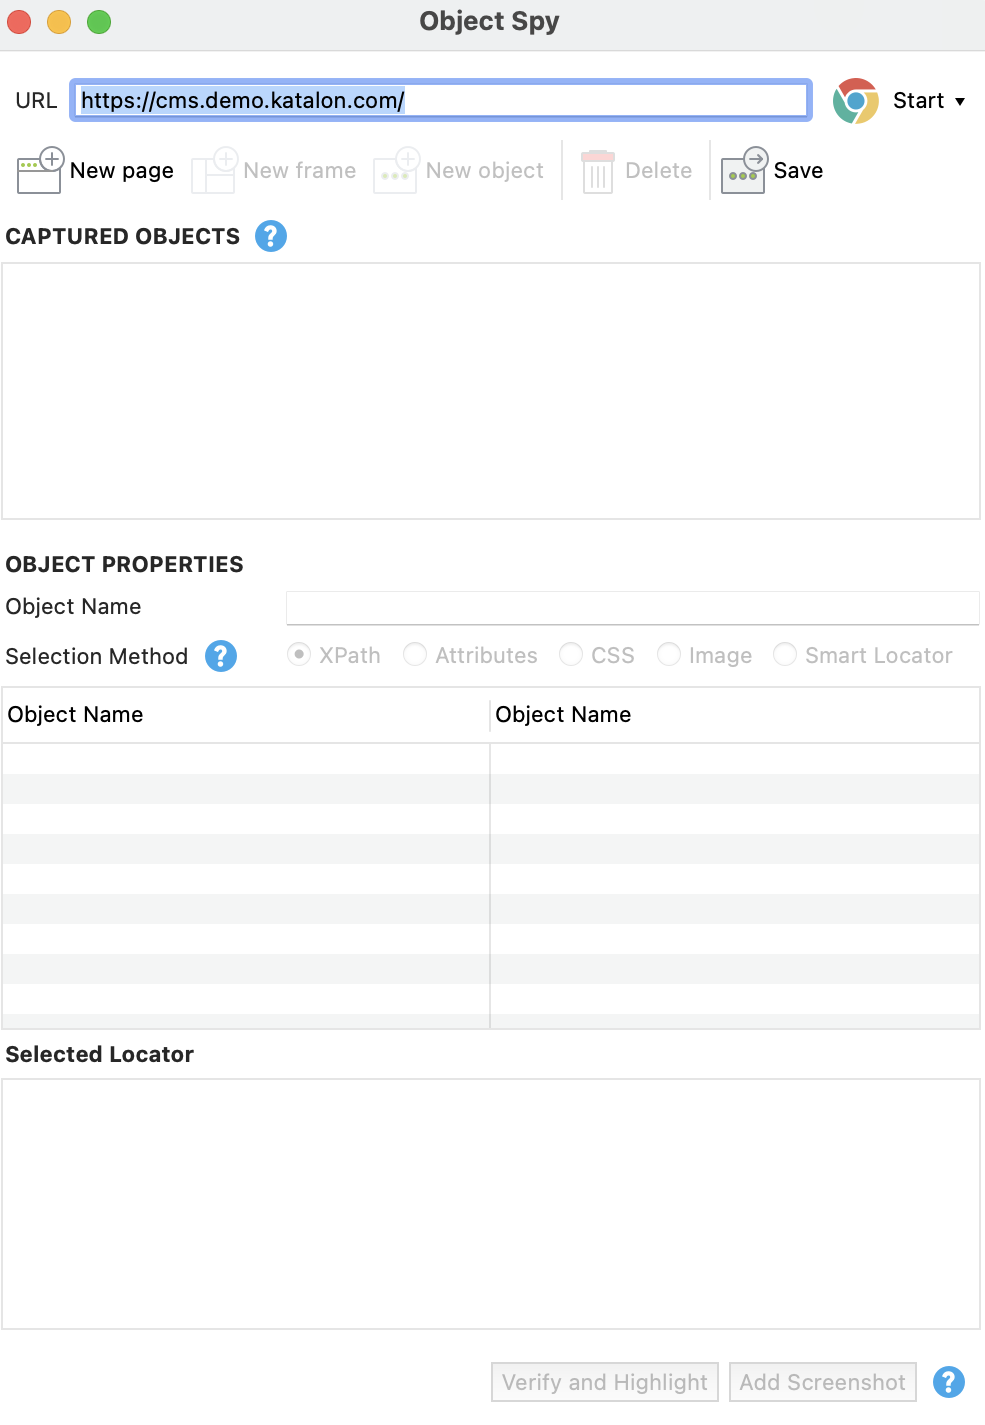
- From the main toolbar, select Spy Web.

- In the displayed Object Spy dialog, specify your URL. In this example, we use the following demo site: https://cms.demo.katalon.com/.
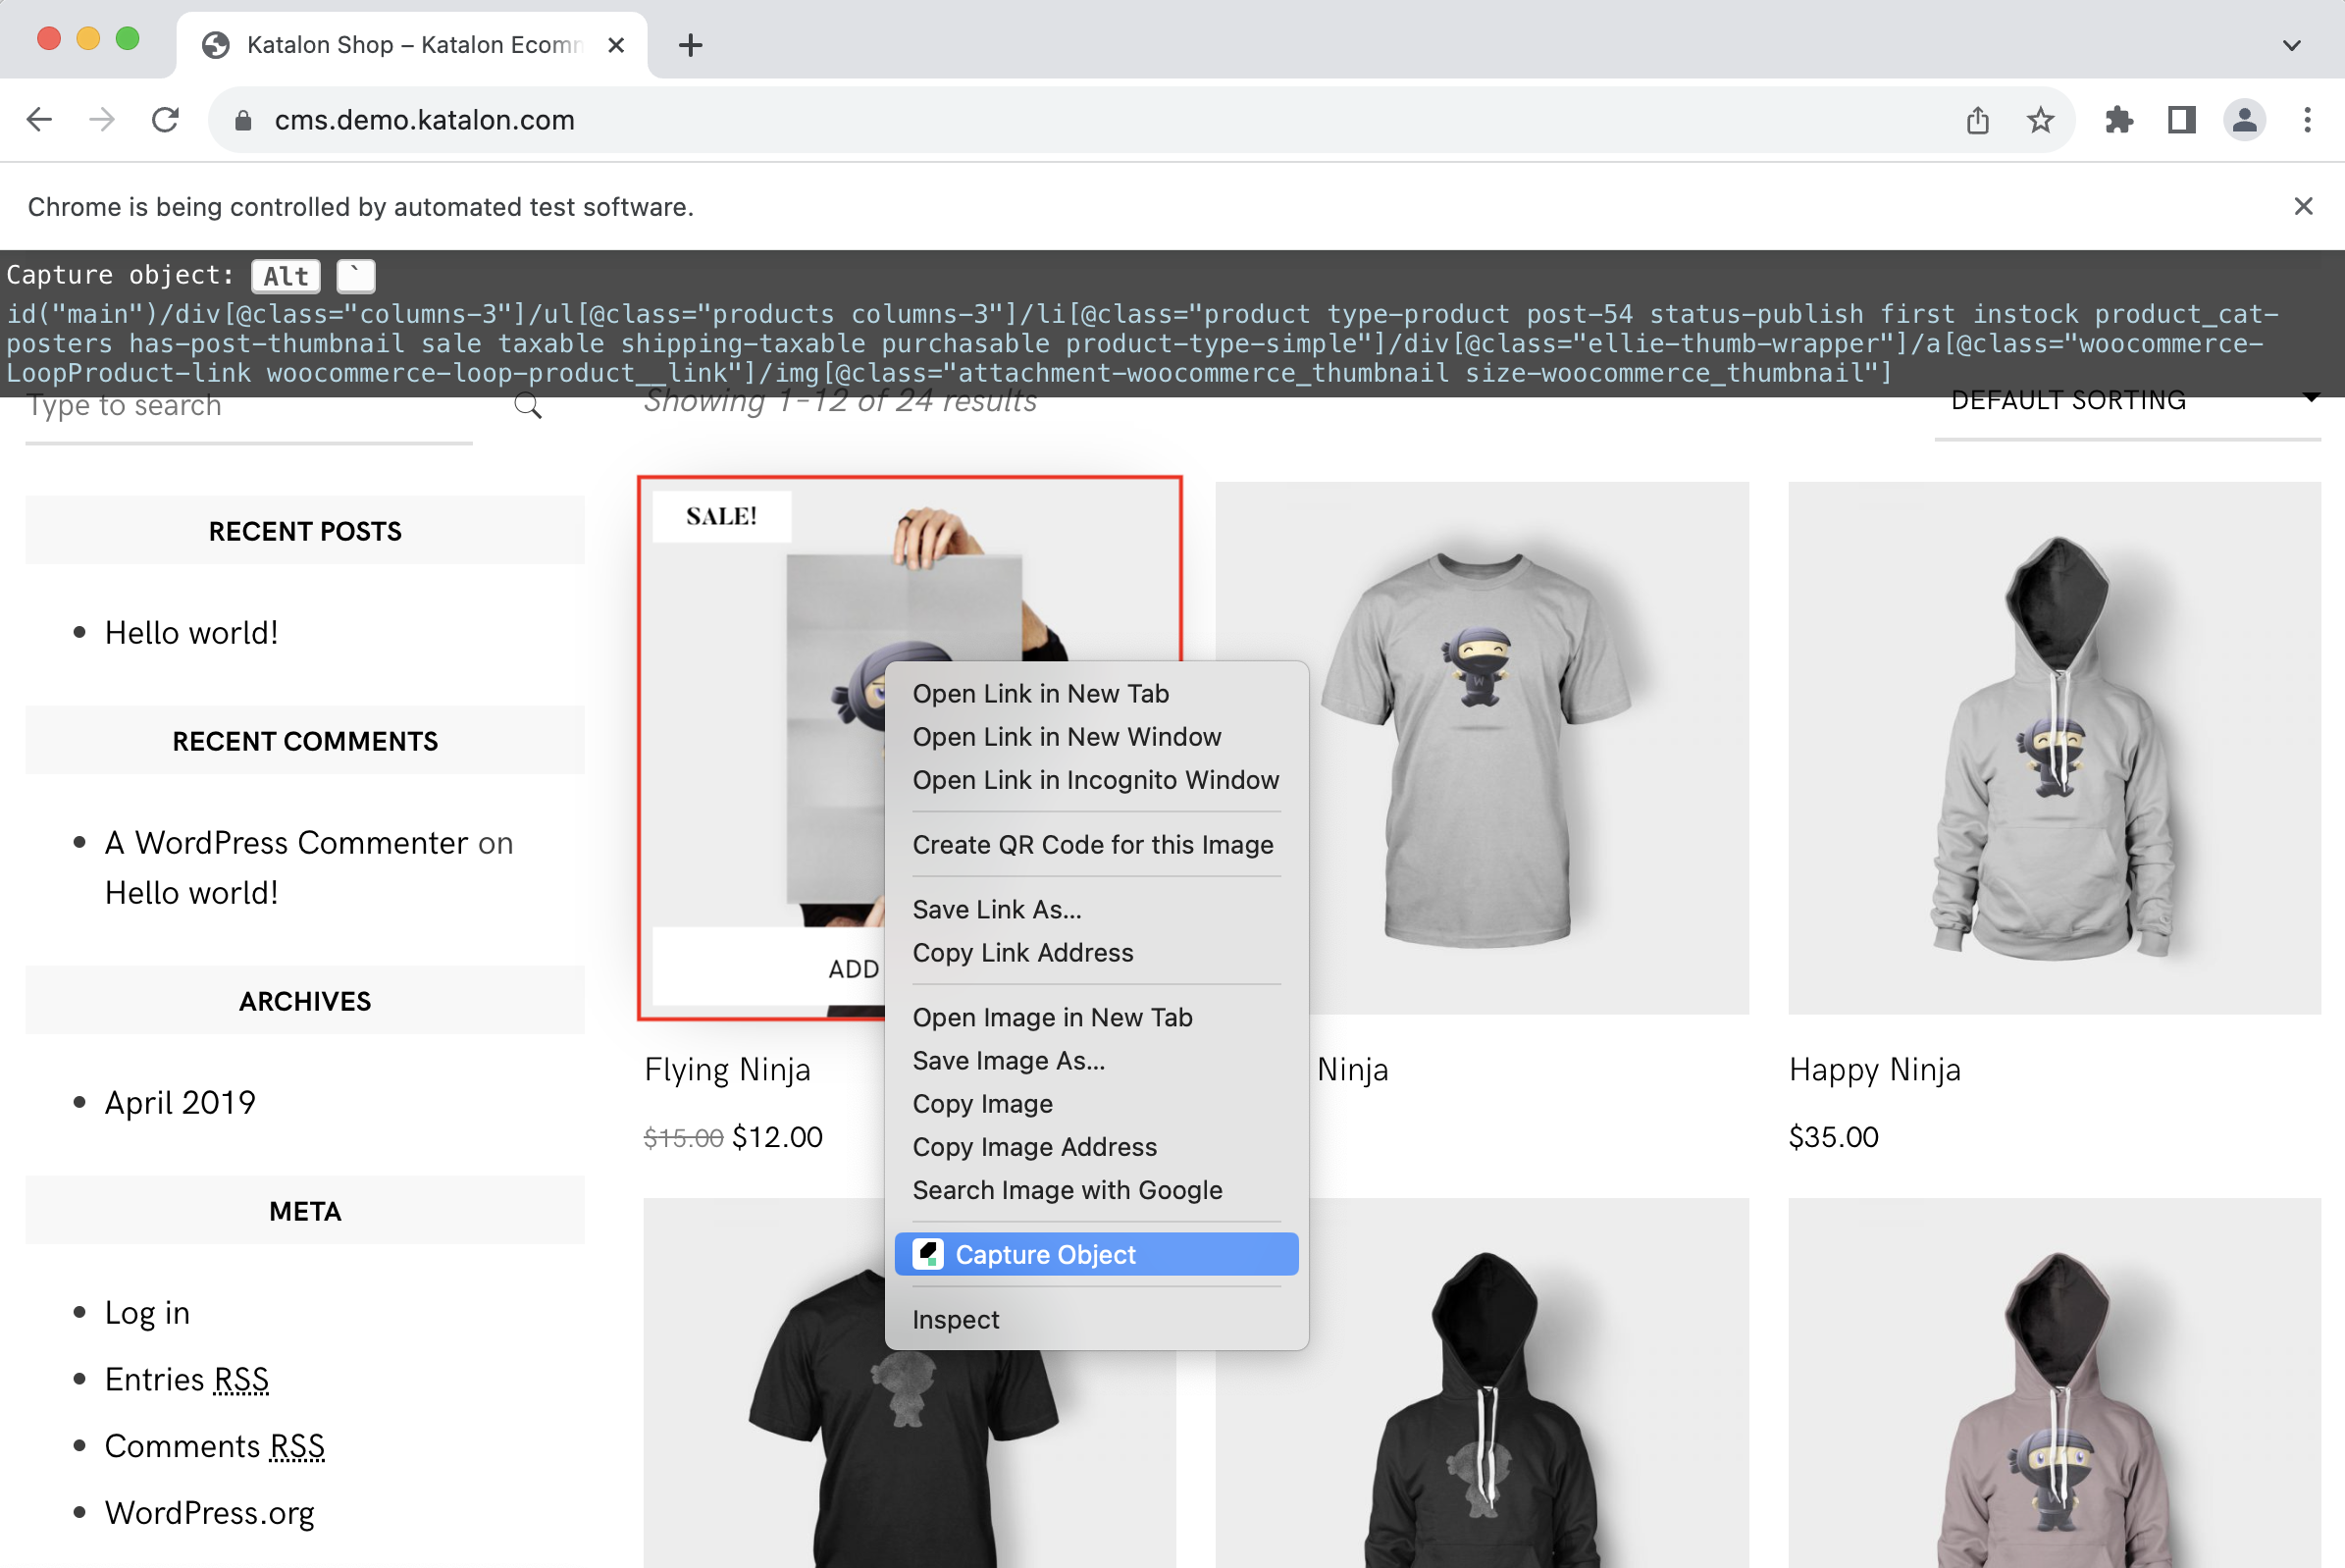
- Navigate to the web element you want to capture, right-click and select Capture Object.
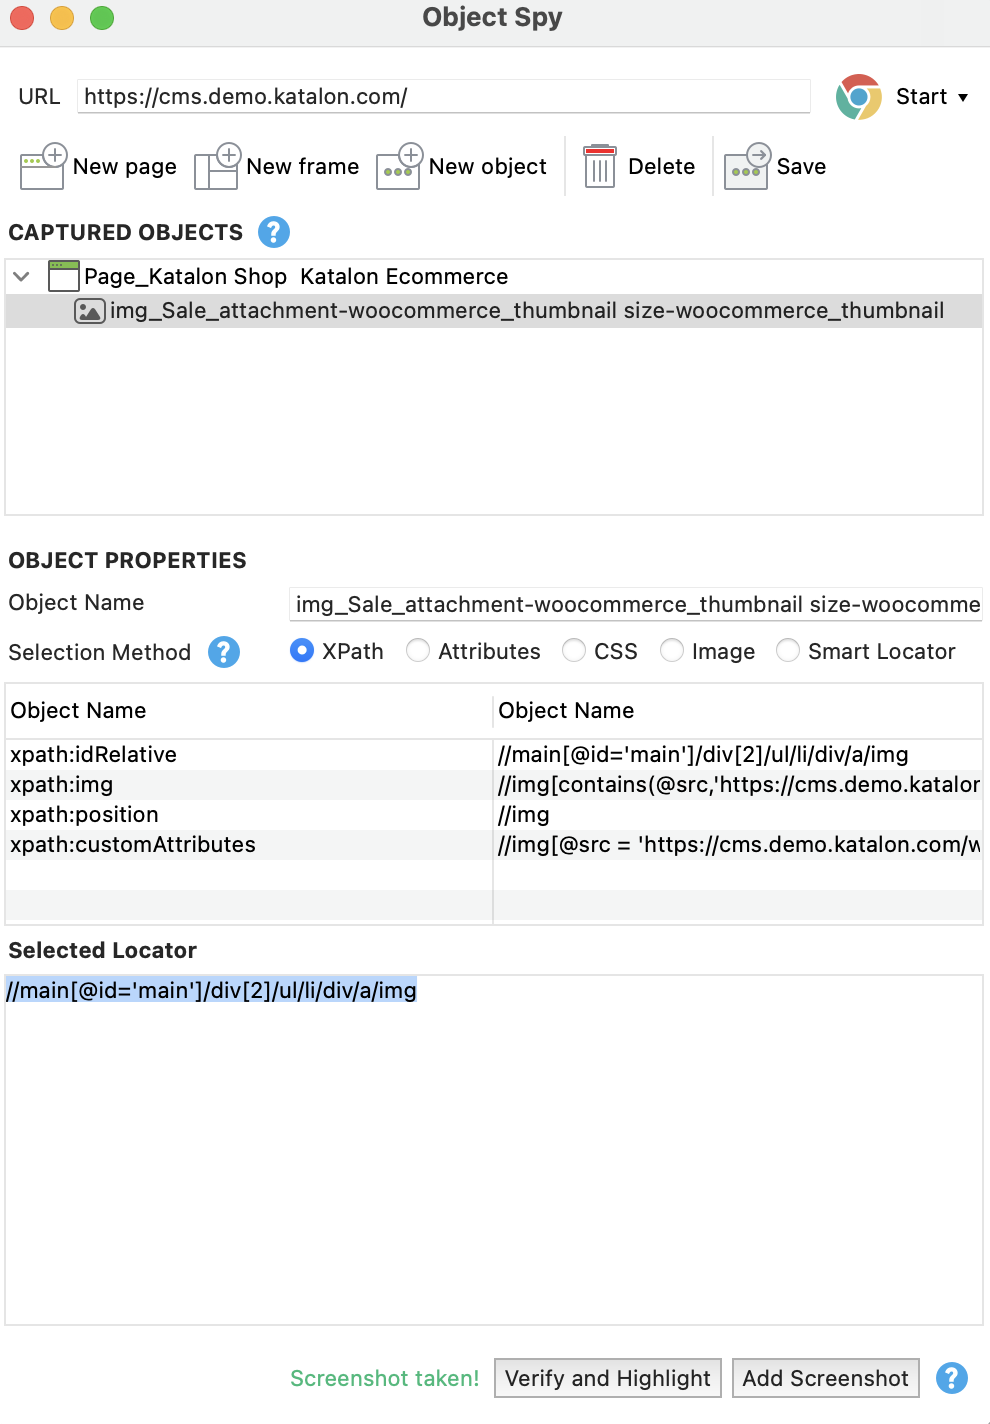
- In the Captured Objects section, select the object, then click Add Screenshot button on the bottom right corner.The Spy utility verifies the image with the message "Screenshot taken!".
Add image locator to objects
By default, Image Locator is not captured when recording or spying objects to avoid performance issues.
To manually capture and add an Image Locator to a test object:
-
Select the object in Object Repository.
-
In the Object view, check Image as the selection method.
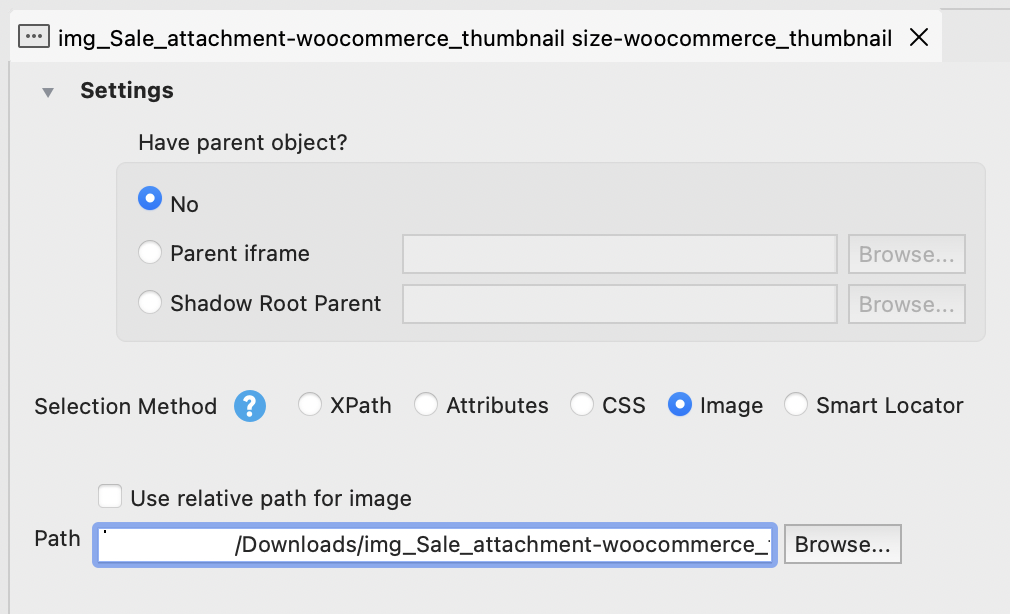
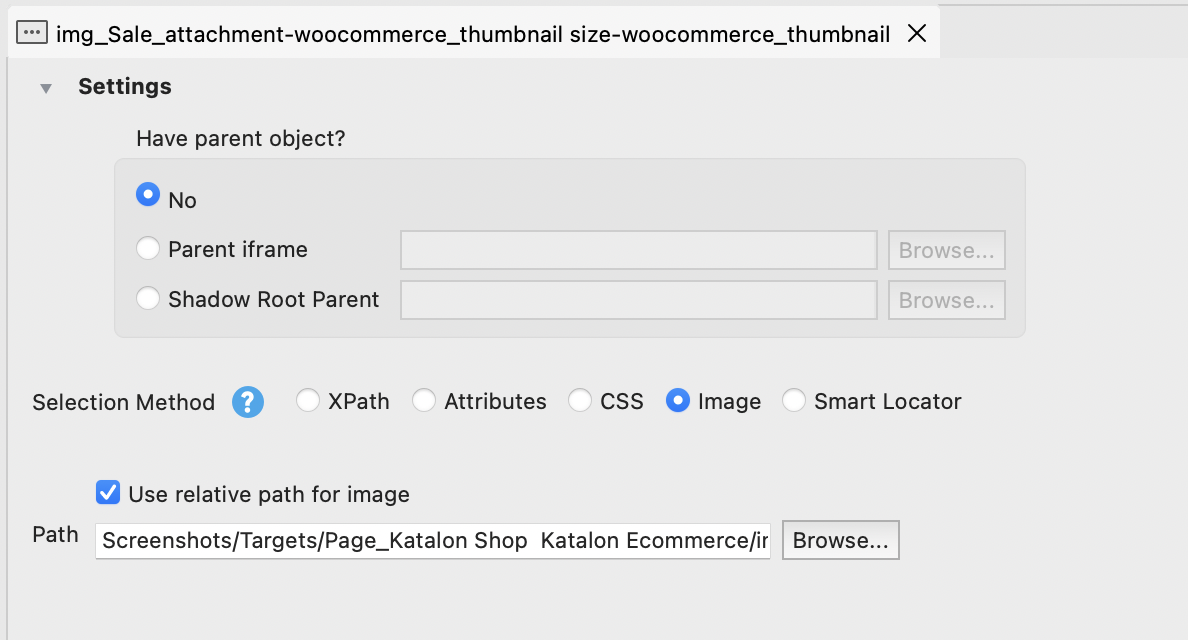 note
noteTo add screenshots stored outside the project folder, provide the absolute path to the screenshot in the Path property when enabling the image locator.
-
Select the screen region that contains the UI element you want to associate with this object.
-
The selected image will be saved as a reference to the object for image-based testing.
-
(Optional) You can rename or replace the image as needed.
- In the Object view, check Image as the selection method.
 Note:
Note:To add screenshots stored outside the project folder, provide the absolute path to the screenshot in the Path property when enabling the image locator.

Reduce image-based testing failures
Since reliable image-based testing depends on image comparison, you can reduce the chance of failures in two ways:
-
Screen Resolution: The screen resolutions of screenshot capturing devices and test executing devices can affect the accuracy of image comparison. We recommend capturing screenshots and executing tests on the same device for the best results.
-
Capture tool: We recommend using built-in capture tools in Web Recorder and Spy utility since they automatically resize the captured images.
See also: