Create or manage test steps
Learn how you can create and manage test steps within a manual test case.
Prerequisites
- You have created a test case. See Create new test cases.
- Make sure you are a Project Admin or possess the relevant permissions or roles (such as Tester or Test Lead). Go to roles or permissions for more information or learn how to assign a Project Admin here.
Add or manage test steps
-
Go to Tests > Test Cases in the sidebar. The repository page appears.
-
Click on the name of the test case you would like to add steps to.
The test case's details appear. It is automatically tagged as Manual.
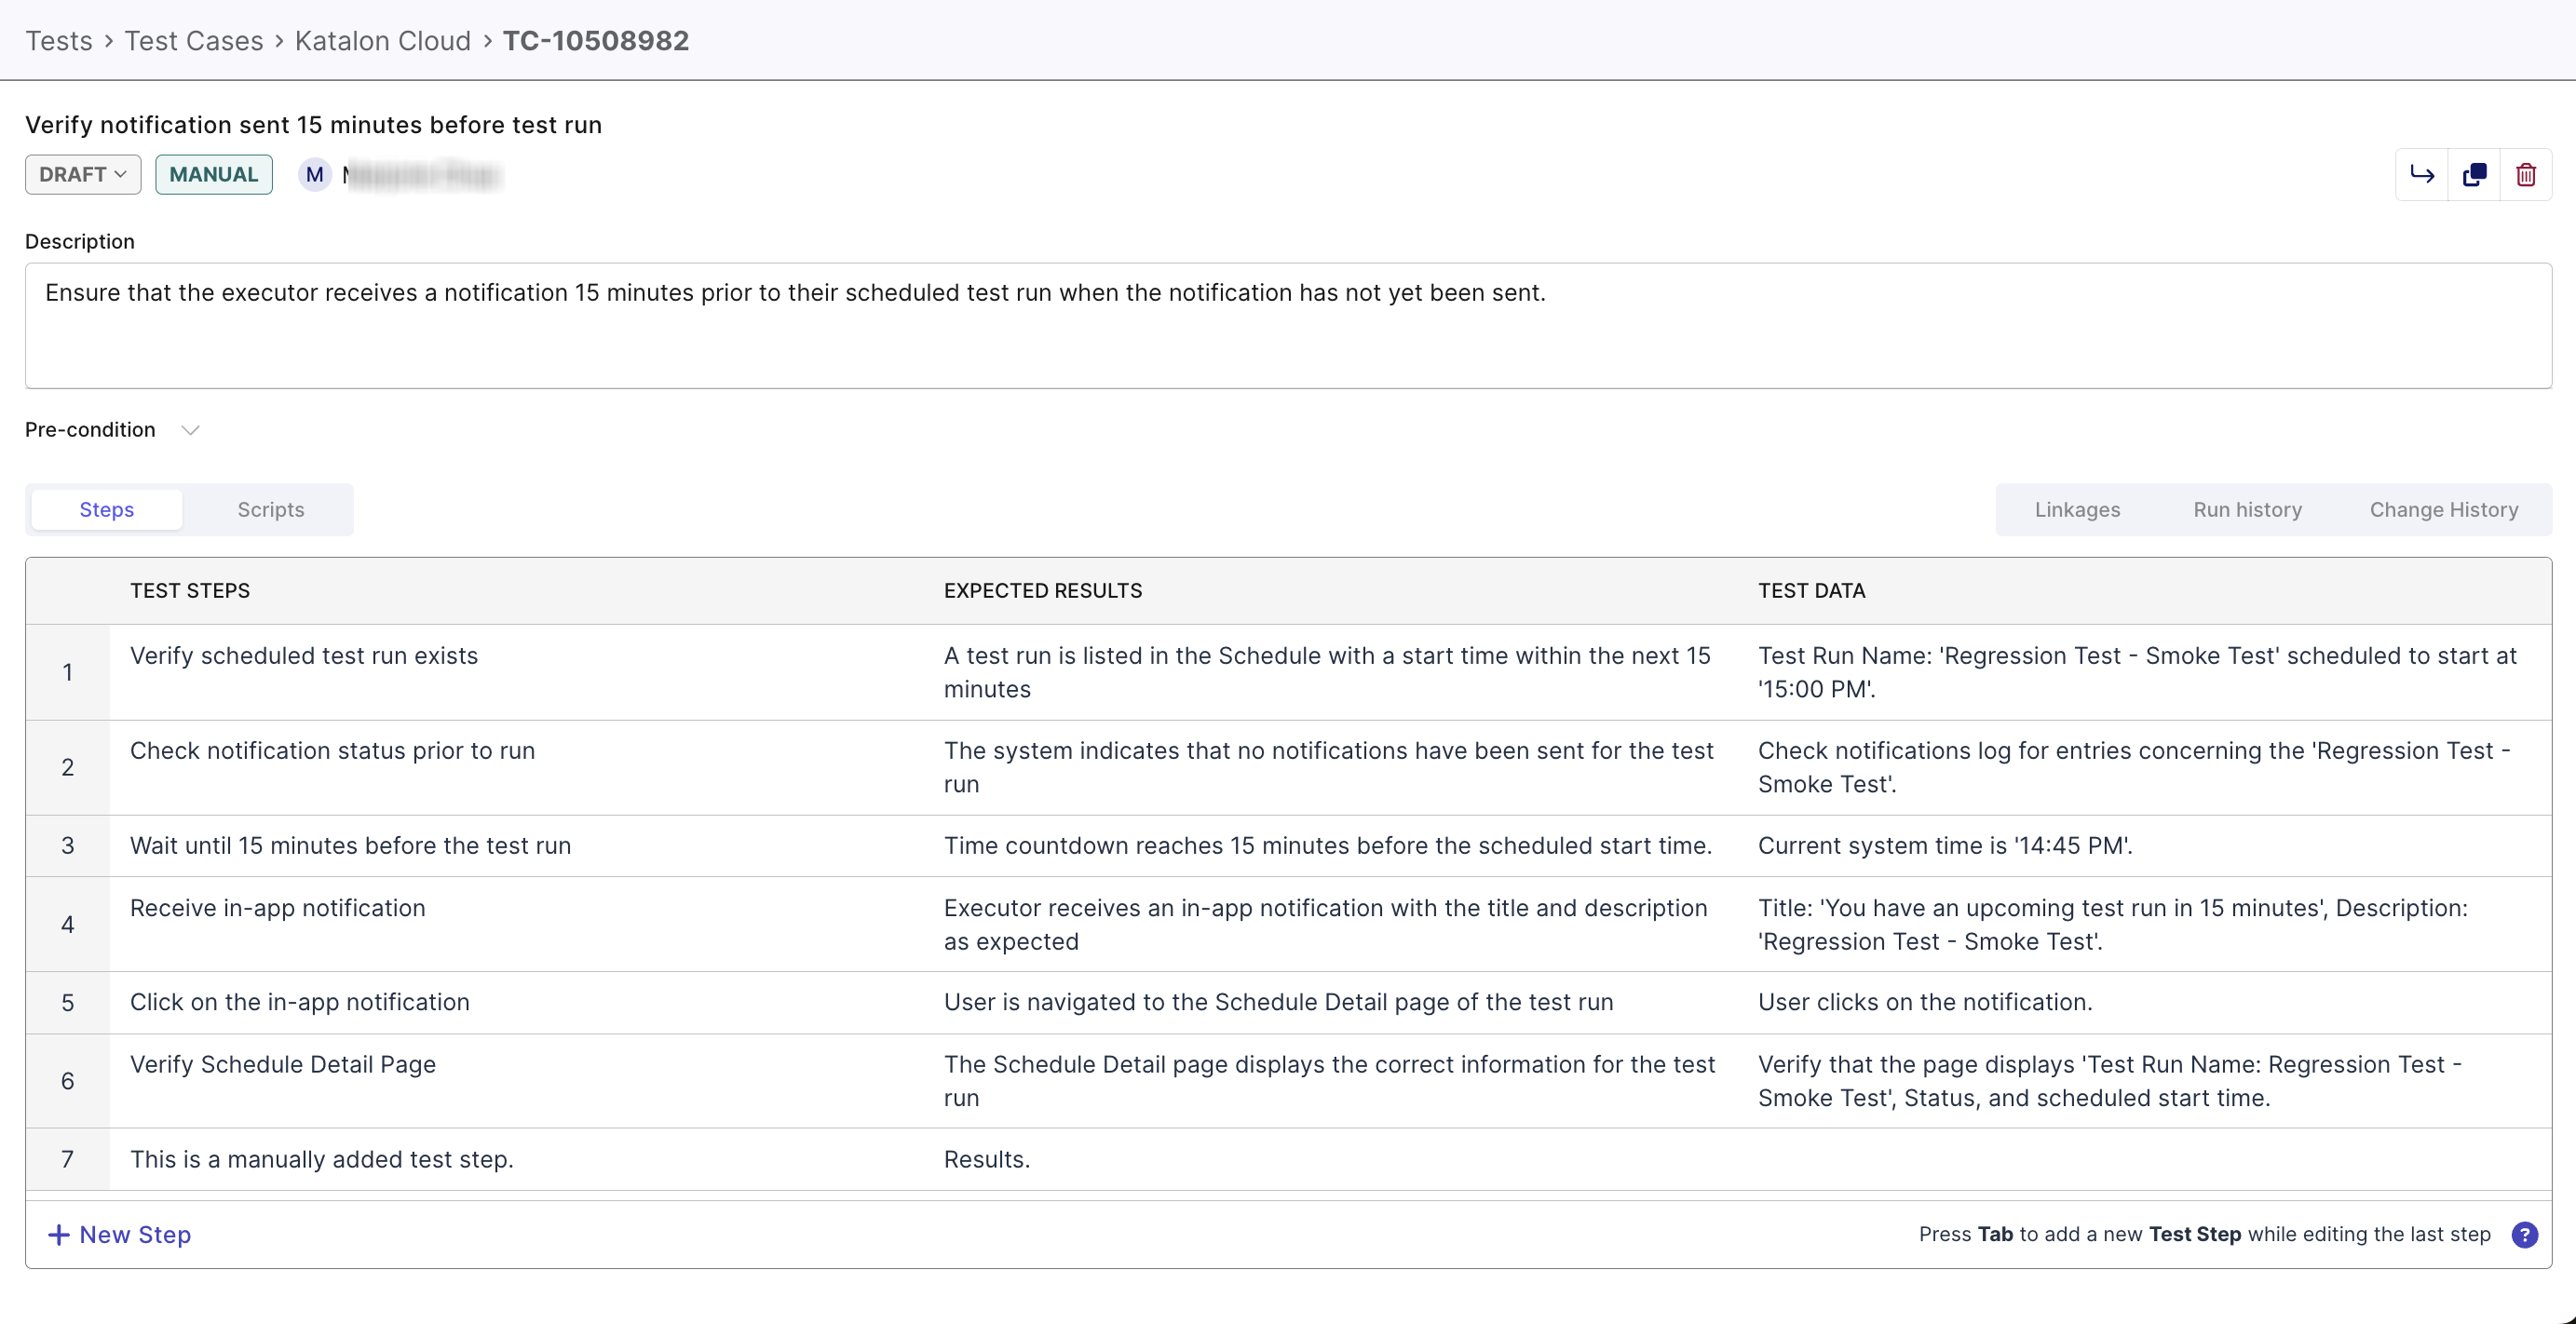
Sample of a test case detail page.
-
Optionally, input customization data into the following fields:
- Select the working status. It is set to Draft by default.
- Input a test case description.
- Input pre-conditions or requirements that must be met before the test case is executed.
-
Scroll down to the Steps section and type or paste your steps in as follows:
- Description: Detail the action that needs to be done.
- Expected results: Define the success criteria based on the result of the action.
- Test Data: Optionally input additional information about the step.
note
- You can copy the test steps from a spreadsheet and paste directly to the section.
- CTRL+Z or CMD+Z to undo an action up to 20 times.
- A cell can fit multiple lines of wrapped text.
-
You can further edit your test steps directly by clicking on the test steps' numbers and selecting any of the following functions from the pop-up menu:
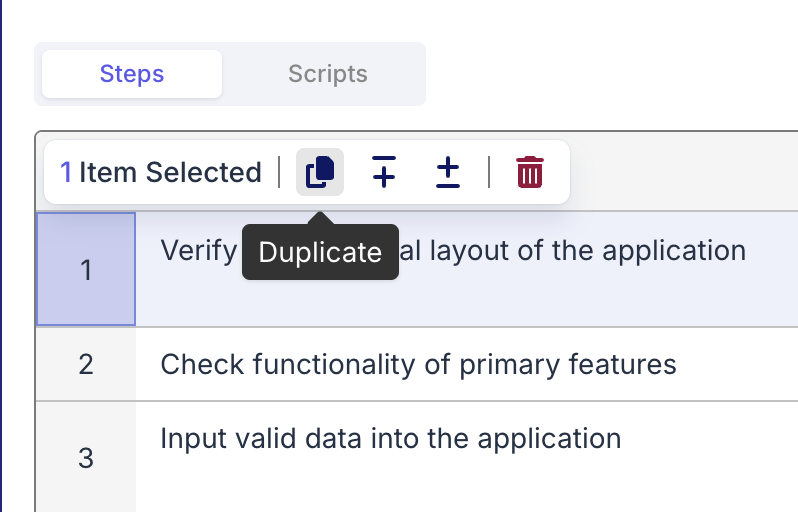
- Duplicate: Duplicate one or multiple steps.
- Insert above: Inserts a step above.
- Insert below: Inserts a step below.
- Delete: Delete one or multiple steps.
Result
You have created or edited a manual test case's steps.