[Mobile] Image-based testing in Katalon Studio
Katalon Studio provides an image locator method that allows you to associate test objects with images. This method enables image-based testing, which is useful when the elements of the mobile application under test (AUT) retain their visual appearance but their underlying structure has changed.
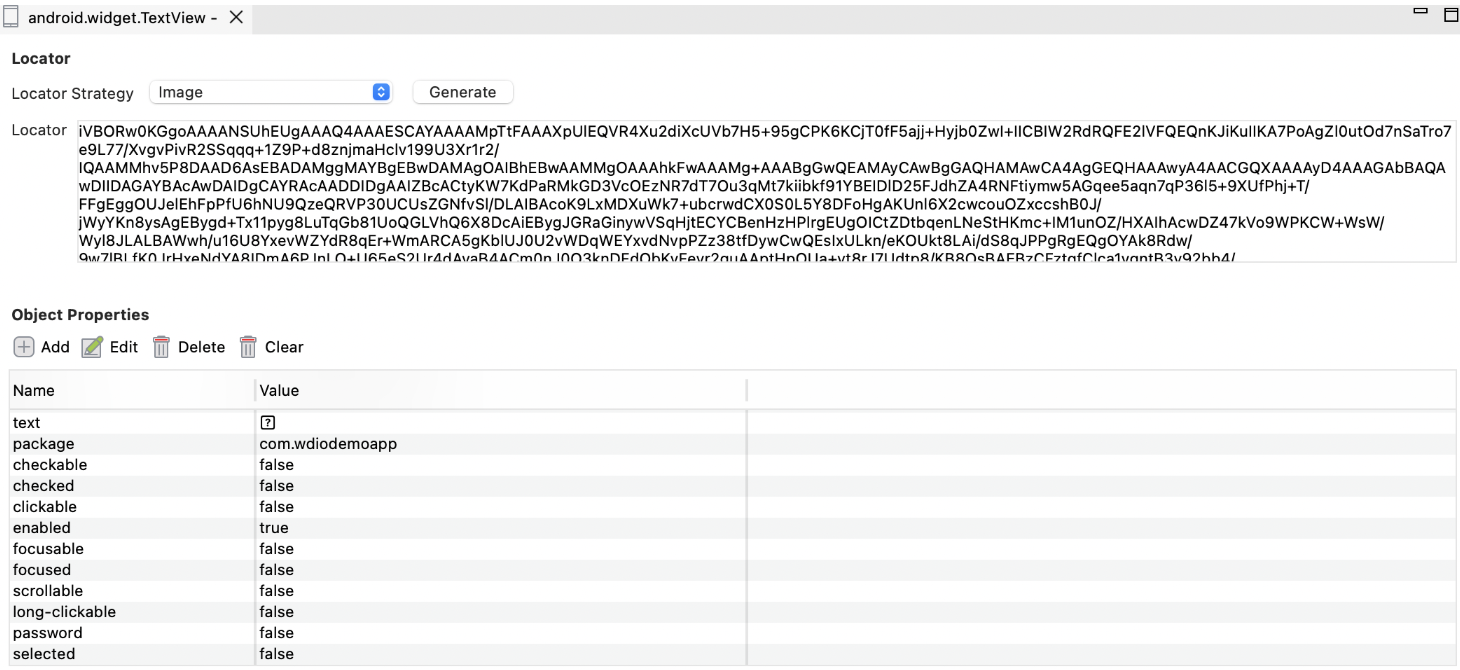
Image-based testing for Mobile in Katalon Studio is built on Appium’s image element detection feature. Katalon Studio automatically encodes your reference images to Base64 and uses them during test execution to find matching areas on the screen. The accuracy of image-based testing depends heavily on capturing high-quality reference images.
This guide shows you how to configure image-based object recognition for mobile testing, capture reference screenshots, and reduce the chance of failures when using image locators in Katalon Studio.
Requirements
- An active Katalon Studio license.
- Appium 3 must be installed and properly configured on your machine. If you haven't installed Appium 3, follow Execute mobile tests with Appium.
- If you previously installed Appium 1 or Appium 2, follow this guide to switch to Appium 3: Uninstall and Reinstall Appium.
- You no longer need to install
opencv4nodejs, CMake, or Windows Build Tools. The new image plugin architecture introduced in Appium 3 simplifies setup and removes the need for native OpenCV bindings.
Setup: Install Appium Image Plugin
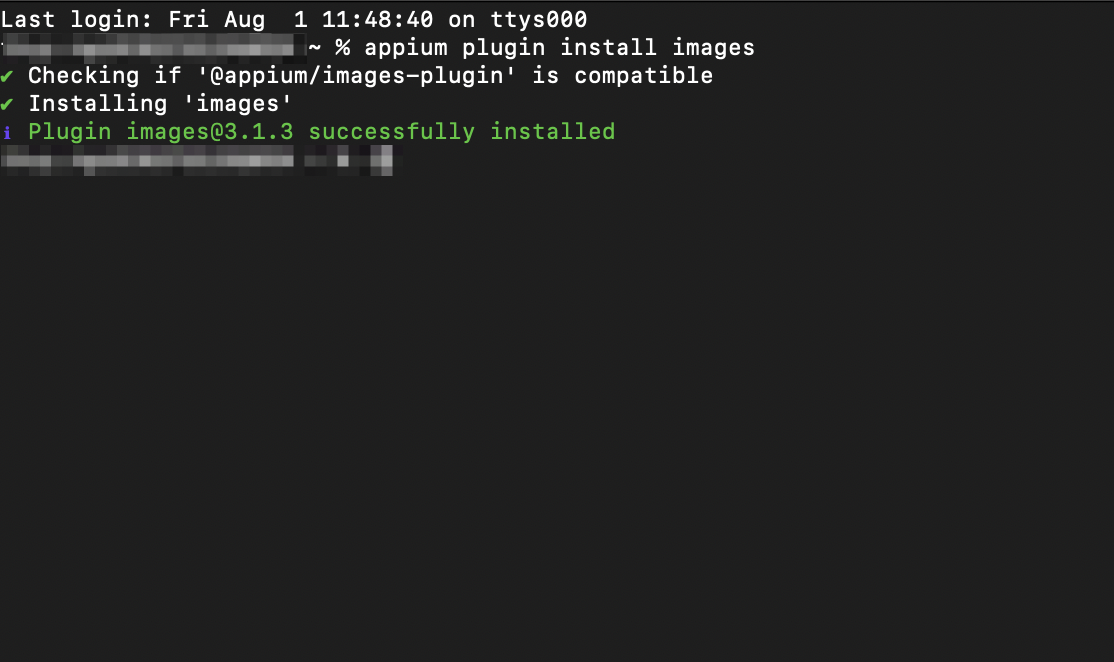
To install the Image Plugin, run the following command in your terminal:
appium plugin install images
You have successfully installed the Appium Image Plugin. After running the installation command, you should see the following confirmation message in your terminal:
Capture Images
Image-based locators are not auto-captured. You must initiate the screenshot manually using the Add Screenshot button.
Follow the steps on how to capture an image of the desired Mobile elements for interaction during test recording. You can use either the Mobile Recorder or Mobile Spy to complete this process:
-
Start the Mobile Recorder. Launch the recorder as you normally would.
-
Select the element. In the device view, choose the element you want to capture.
-
Capture the object. Right-click on the element and select Capture Object.
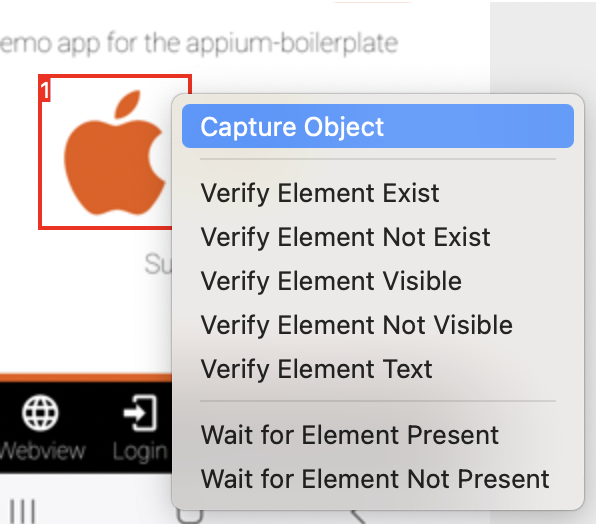
The element will appear under the Captured Objects section.
-
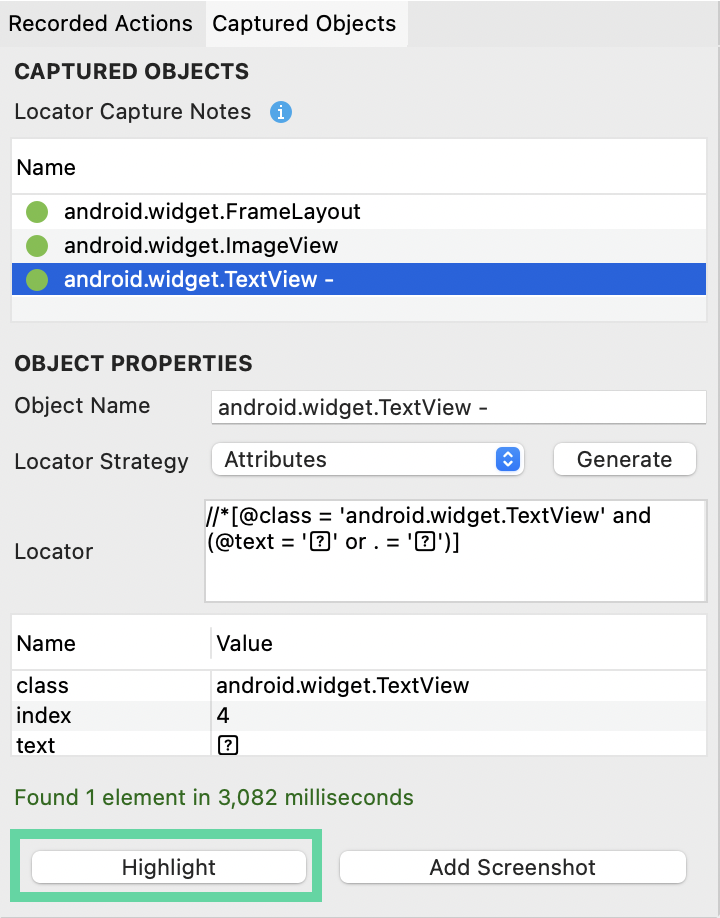
Highlight to verify. Click Highlight to verify the captured element. Katalon Studio will search for the element on the device.
noteCurrently, if Katalon Studio finds more than one match for the captured image, the Add Screenshot button will be disabled.
-
Add screenshot. Click Add Screenshot to attach the image to the object. A confirmation message (
Screenshot taken!) will appear once the image is successfully saved to the object’s Image property.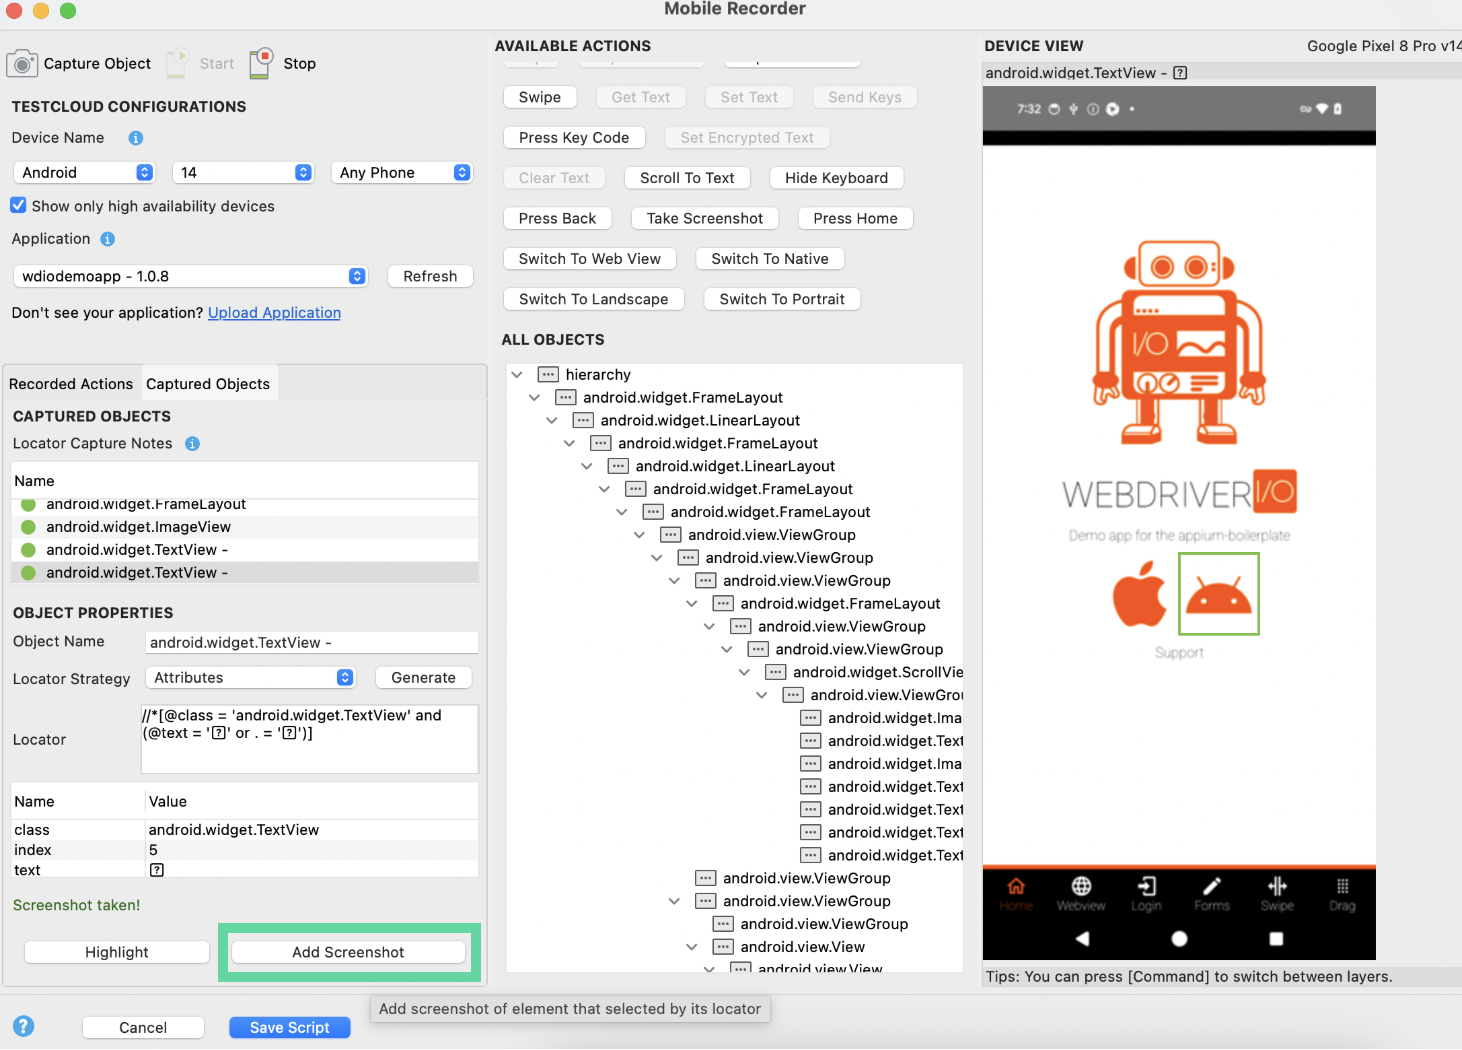
You have successfully captured a screenshot of your mobile object. The image locator is now added to your mobile test object.