Local testing in Katalon Studio
This document shows you how to perform local testing with Test Execution - Cloud Tunnel in Katalon Studio.
If your application under test is locally hosted in a private network, you can set up a tunnel for Test Execution - Cloud server to access the application.
- Configure Katalon Tunnel from Admin settings. See Configure Katalon Tunnel.
- Run tests with the Private/Local Testing option enabled in Katalon Studio.
Run tests with Test Execution - Cloud Tunnel in Katalon Studio
- Test Execution - Cloud integration is enabled in Katalon Studio (KS), see: Enable Test Execution - Cloud integration in Katalon Studio.
- Test Execution - Cloud Tunnel Server hostnames are whitelisted. See: Common network issues and solutions.
- To allow User Datagram Protocol (UDP) connections, the proxy must be configured.
- If you use a Man-in-the-Middle (MITM) proxy, it must be configured to allow Transport Layer Security (TLS) connections.
In Katalon Studio, you can use the Tunnel Setup Helper to download and configure Test Execution - Cloud Tunnel.
-
In Katalon Studio, select the dropdown Run menu and choose to run with Cloud Execution.
-
In the Test Execution - Cloud Configuration dialog, select your testing environment, then enable the Private/Local Testing option.
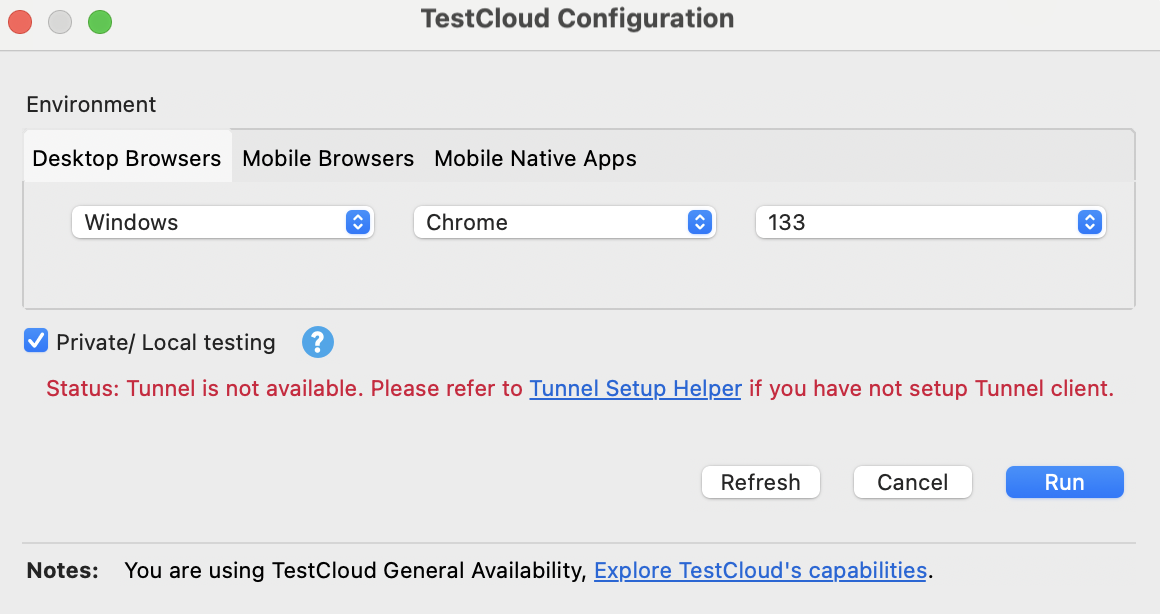
-
Click the Tunnel Setup Helper link. The Tunnel Setup Helper dialog appears.
-
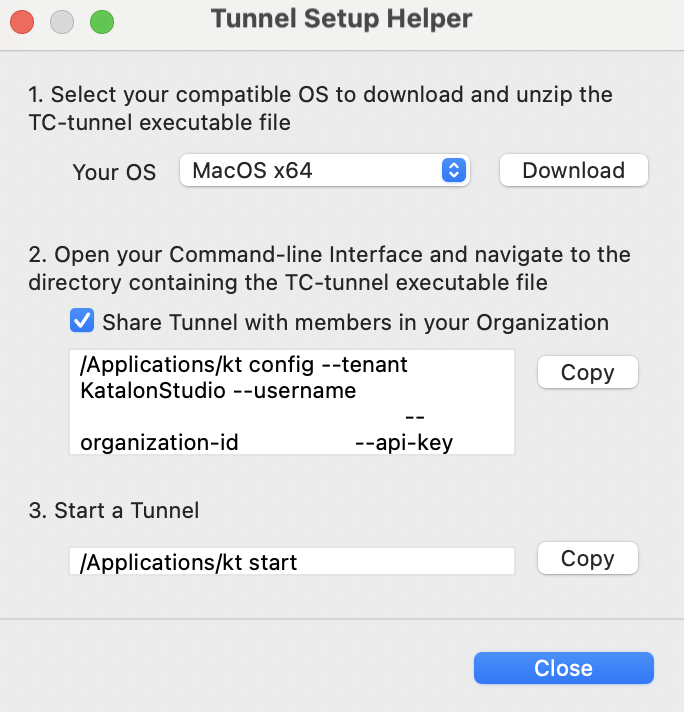
Follow the step-by-step instructions in the dialog:
-
Select your OS and download the .zip file, then unzip it.
-
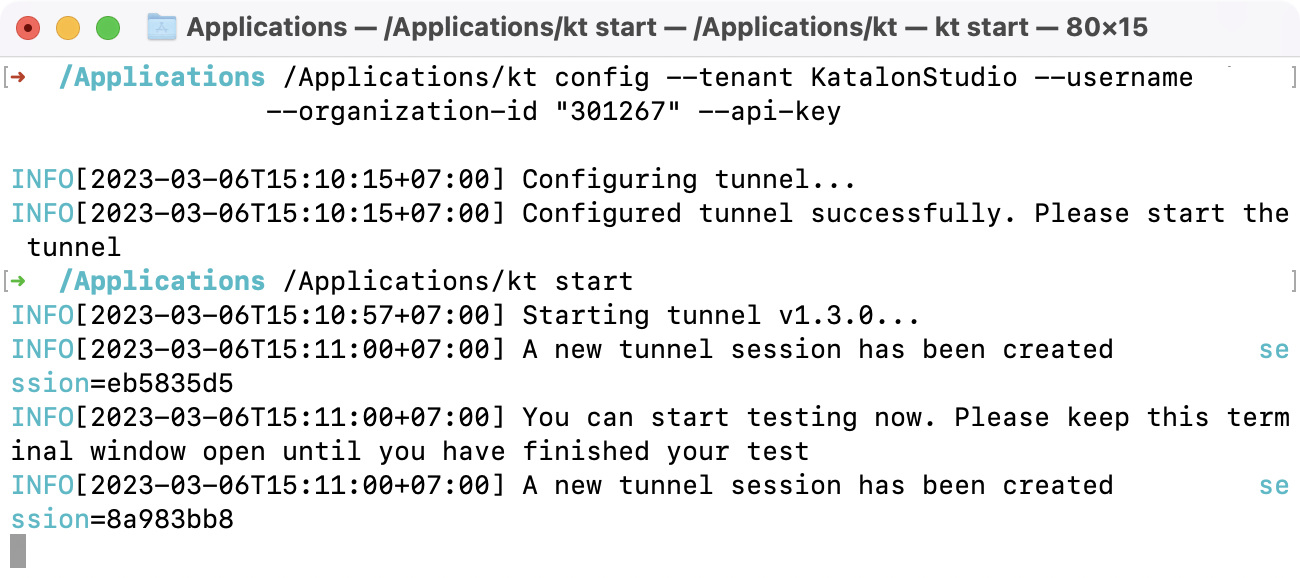
Open the command-line interface (CLI) and navigate to the directory containing the tunnel executable. Copy the command from the dialog and run it.
Example command:
/Applications/kt config --tenant KatalonStudio --username "myusername@katalon.com" --organization-id "myid" --api-key "myapikey"noteFor users outside the US region (e.g., EU): after this step, update the server URL in the
tunnelconfigfile before continuing. -
Run
kt startto start the tunnel.Note: Keep your CLI open until you have finished running tests.
-
-
Switch back to Tunnel Setup Helper and click Close.
Click Refresh and you should see the message: "Tunnel is available".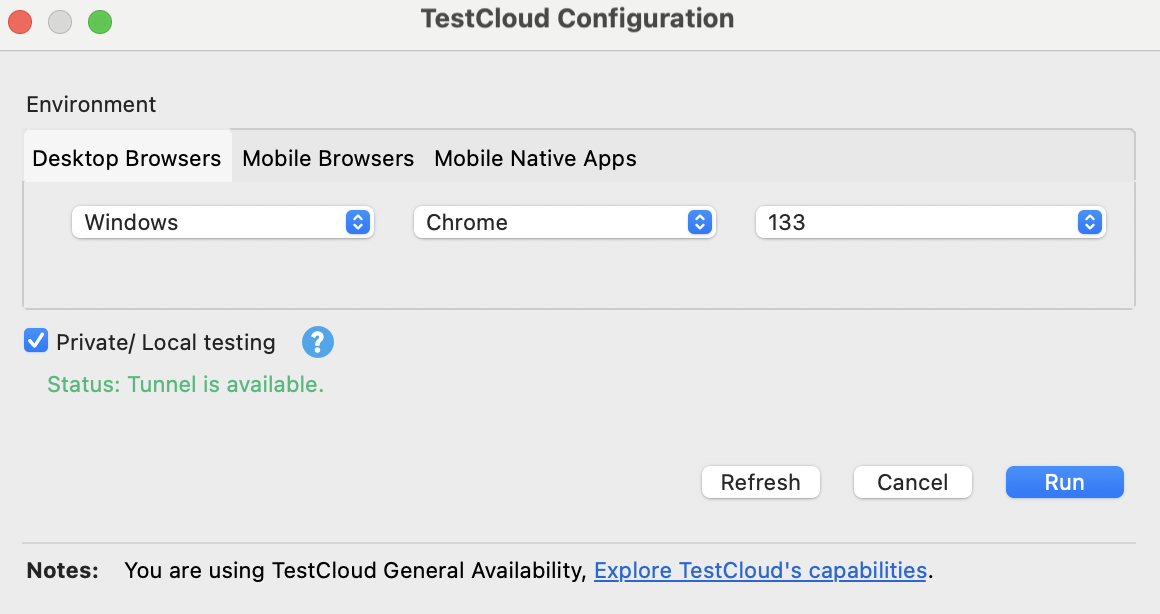
-
Select Run to start executing your test suite or test suite collection with Test Execution - Cloud Tunnel.