Set up Visual Testing
Attention
This document covers TestOps Legacy version only.
Set up Visual Testing
To set up Visual Testing, follows these steps:
Enable screenshot capture in Katalon Studio. See Capture Screenshots.
- You can only apply visual testing for screenshots taken as checkpoints. For new users, we highly recommend using the following keywords:
- You can also use this Visual testing sample project on Katalon Studio for basic setup. To learn more about using the WebUI sample project, see: Sample WebUI tests project.
Run a test suite in Katalon Studio. If you have enabled Katalon Studio Integration, Katalon Studio automatically uploads the Test Results to Katalon TestOps.
Sign in to Katalon TestOps and go to your project.
Go to Reports > Visual Testing.

Click on the ID of a Visual Test Run.
The Results page appears. You can see the screenshots (known as Visual Checkpoints) captured during a test execution.
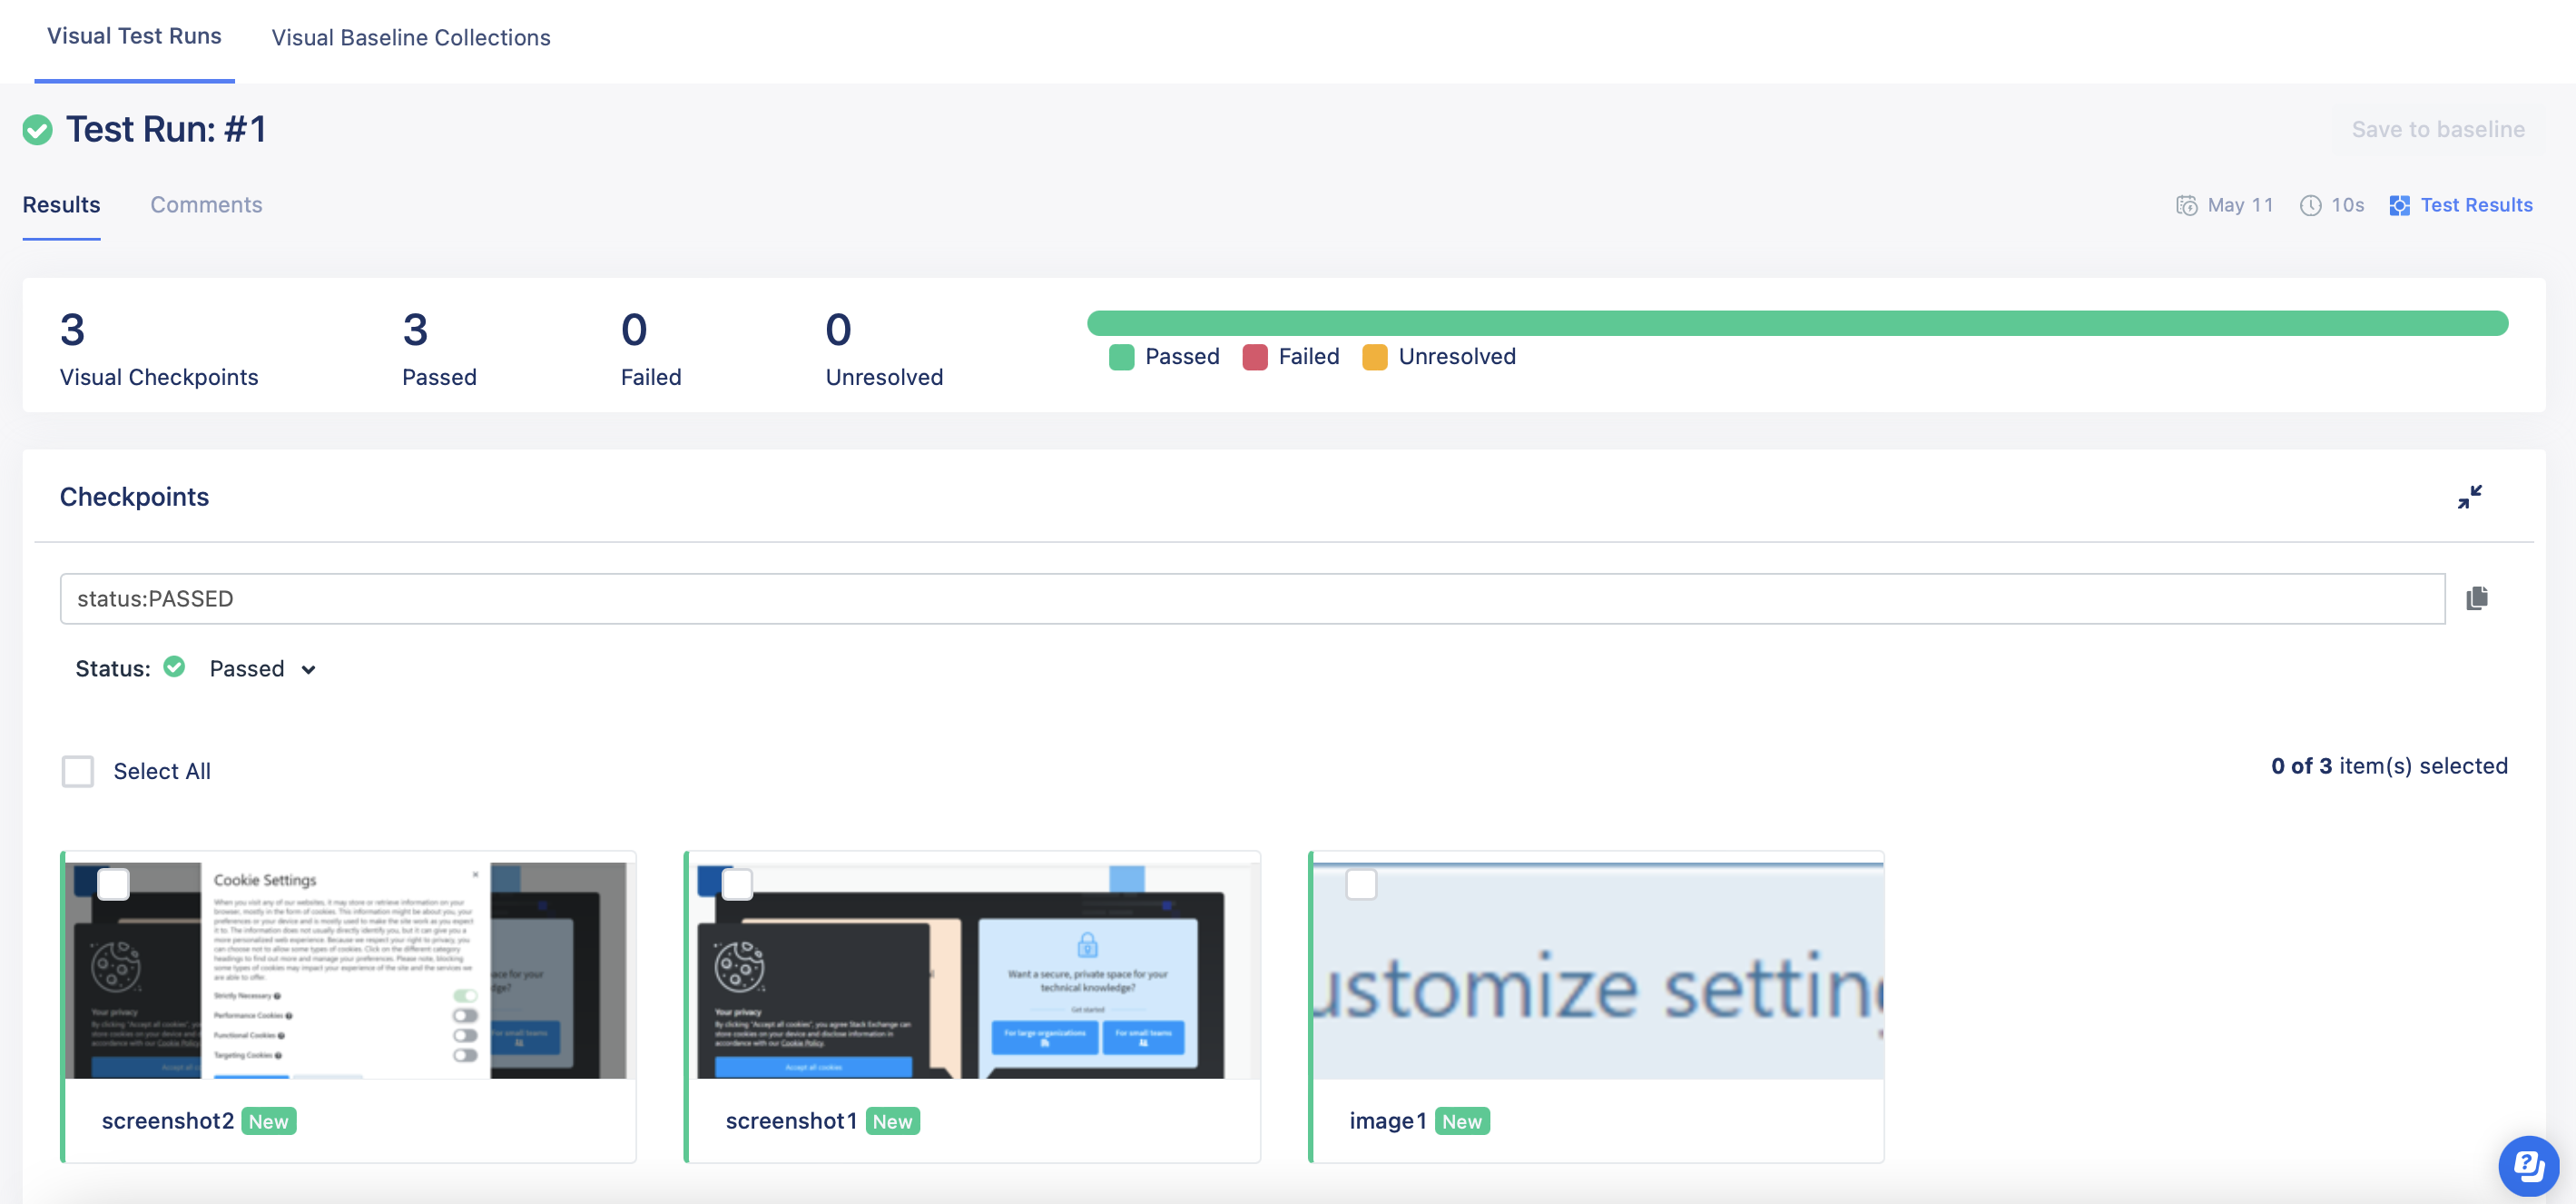
Select a screenshot to see the details.
- If you run a Test Suite for the first time, there is no baseline image.
- If you have existing visual data, you can view the screenshots in the System-generated baseline collection folder.
Result
You have successfully set up Visual Testing in Katalon TestOps.