Current Version
Add test cases to a test suite
Organize your test cases on TestOps quickly and easily by adding multiple test cases to a test suite with one action.
Follow these steps to move test cases to a test suite in bulk. - Sign in to your Katalon account and go to your project.
- In the TestOps Dashboard, go to .
- In the left sidebar menu, click on the repository where the test case you want to add is in.
- In the test case list, click on the tick box to the left of the test cases you would like to add.
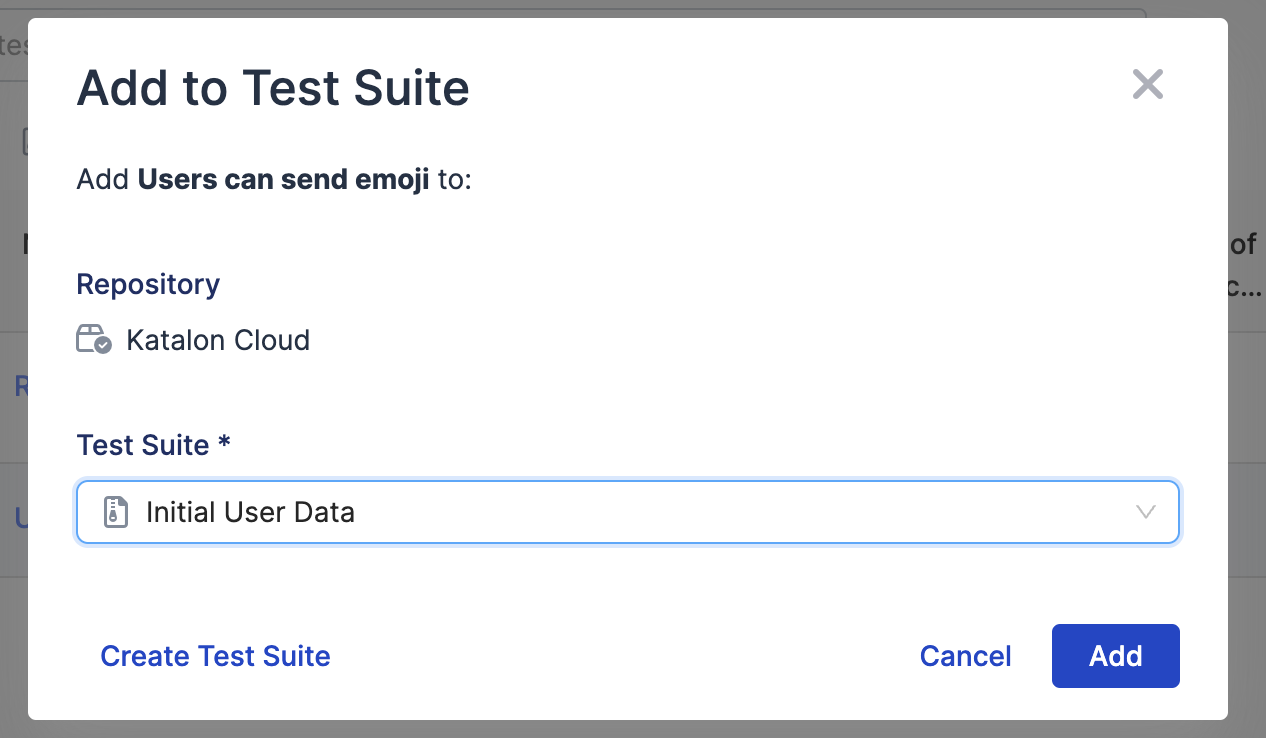
- Click on the Add to Test Suite icon.
- A dialog box pops up. Select the test suite you would like to add the test cases to from the dropdown menu.
- Click Add to confirm your selection.
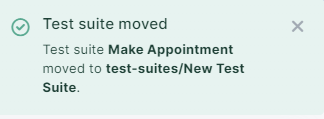
You have successfully added your test cases to another test suite. A pop up notification in the upper right corner confirms this.

Move test suites to another folder
Organize your test suites in TestOps quickly and easily by moving multiple test suites to a new folder with one action.
Follow these steps to move your test suites to a new folder. - Sign in to your Katalon account and go to your project.
- Go to .
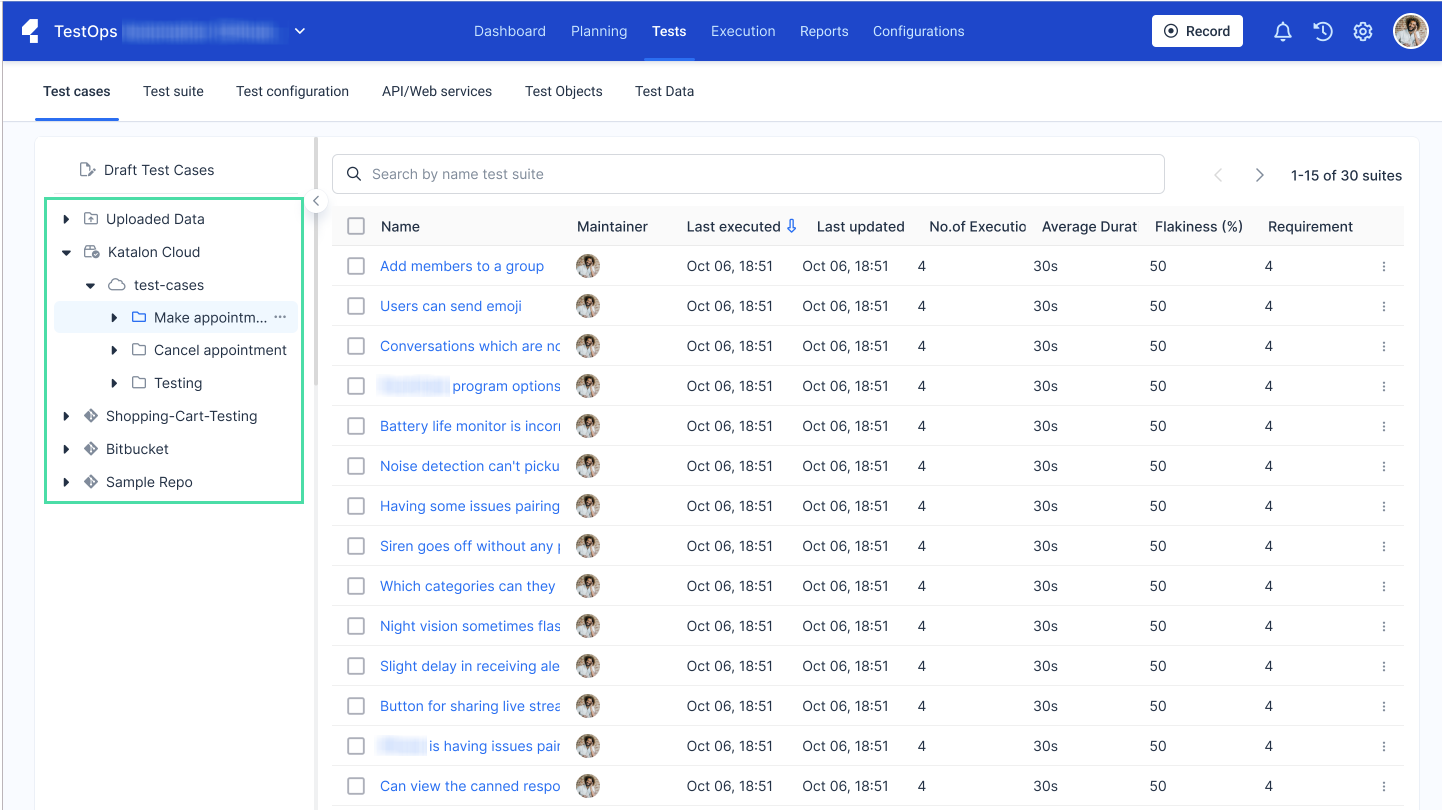
- Navigate to the left sidebar menu and click on the folder where the test suite you want to relocate is in.
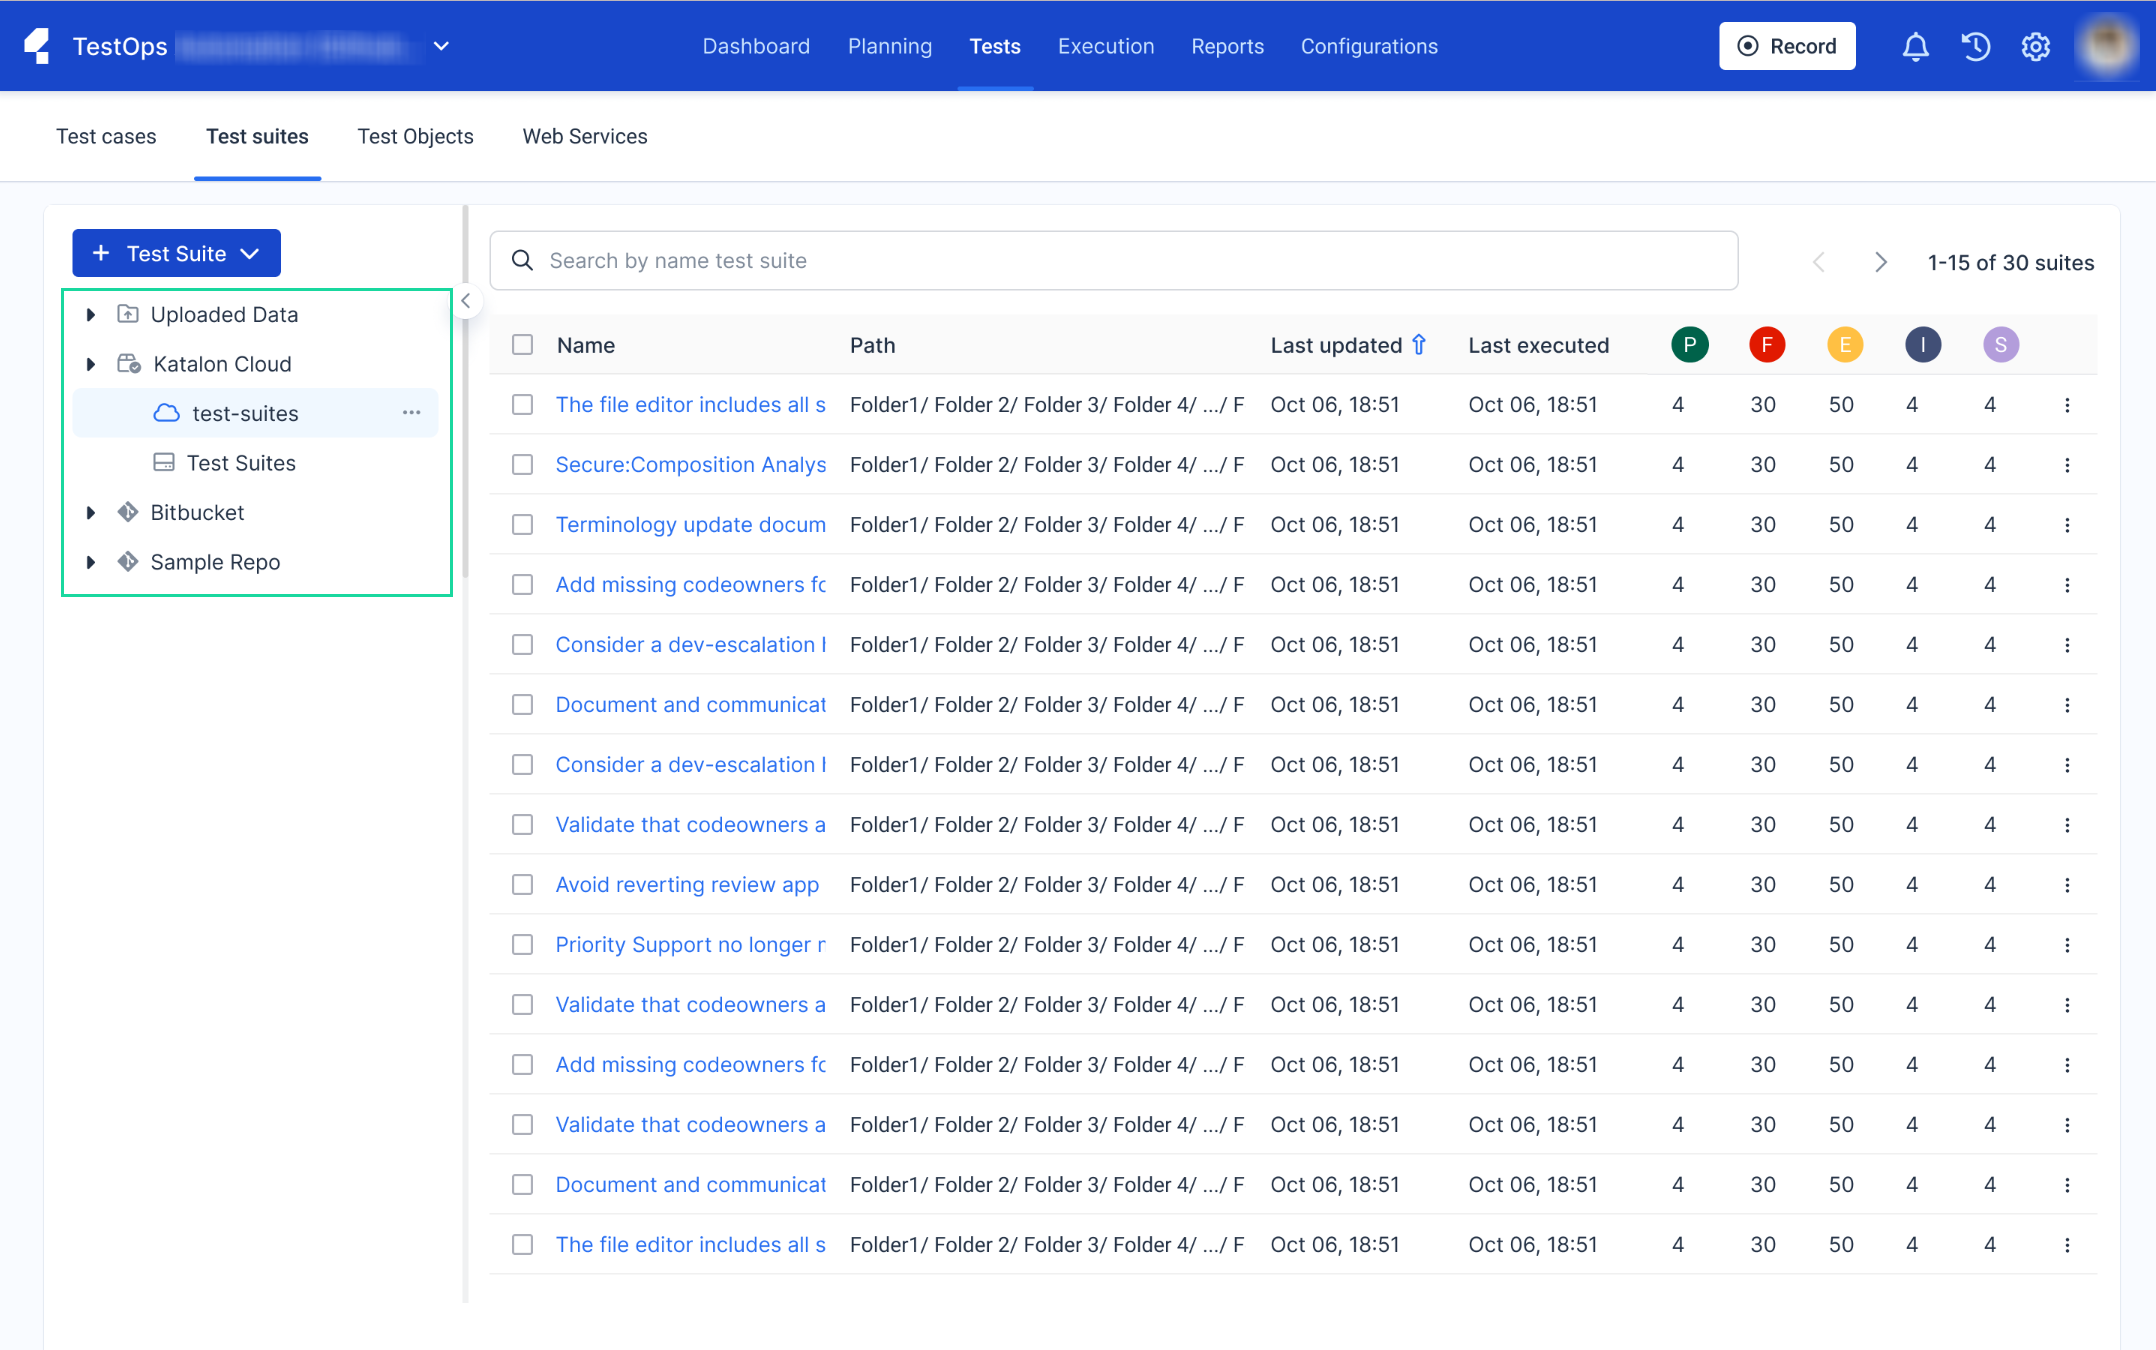
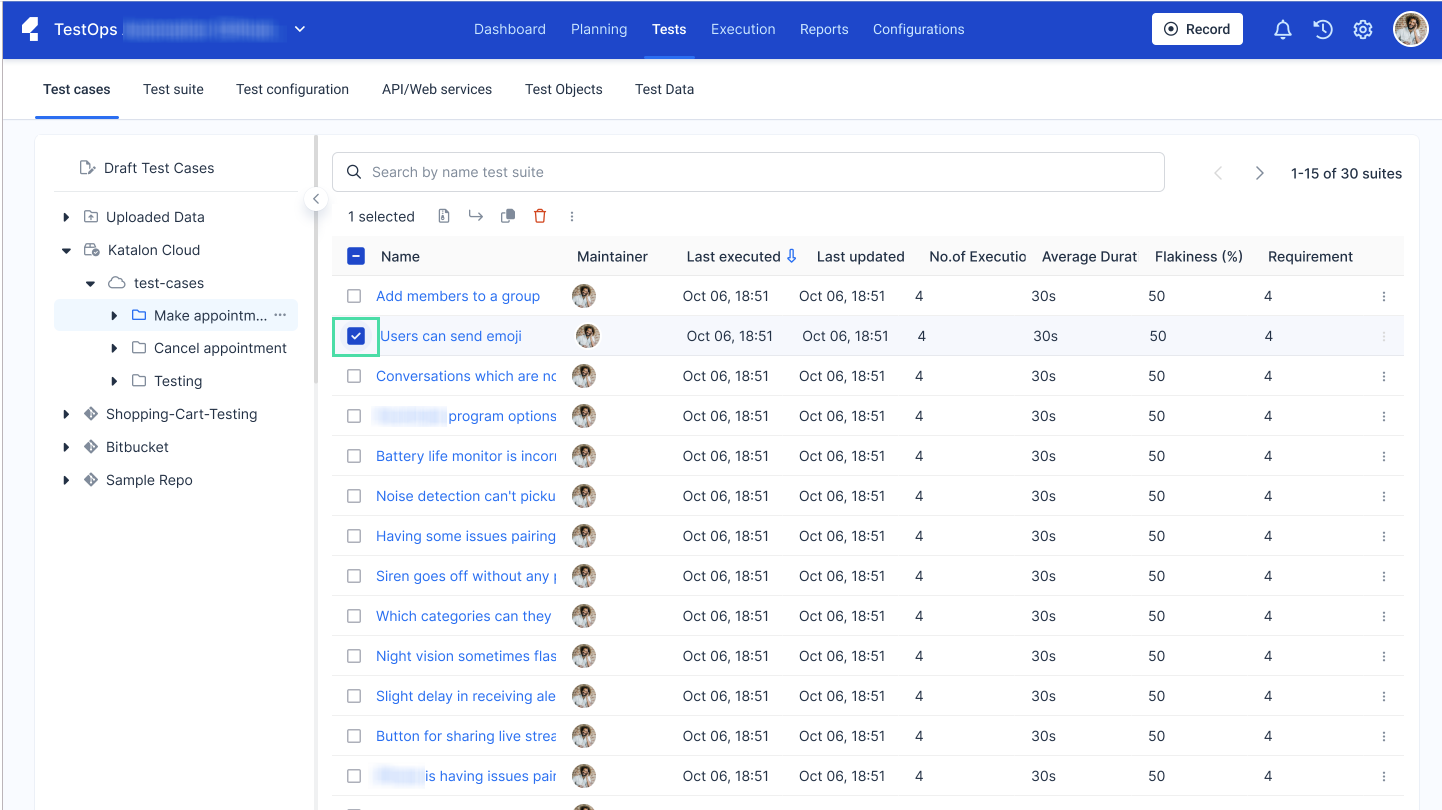
- Click on the tick box to the left of the test suites you would like to move.
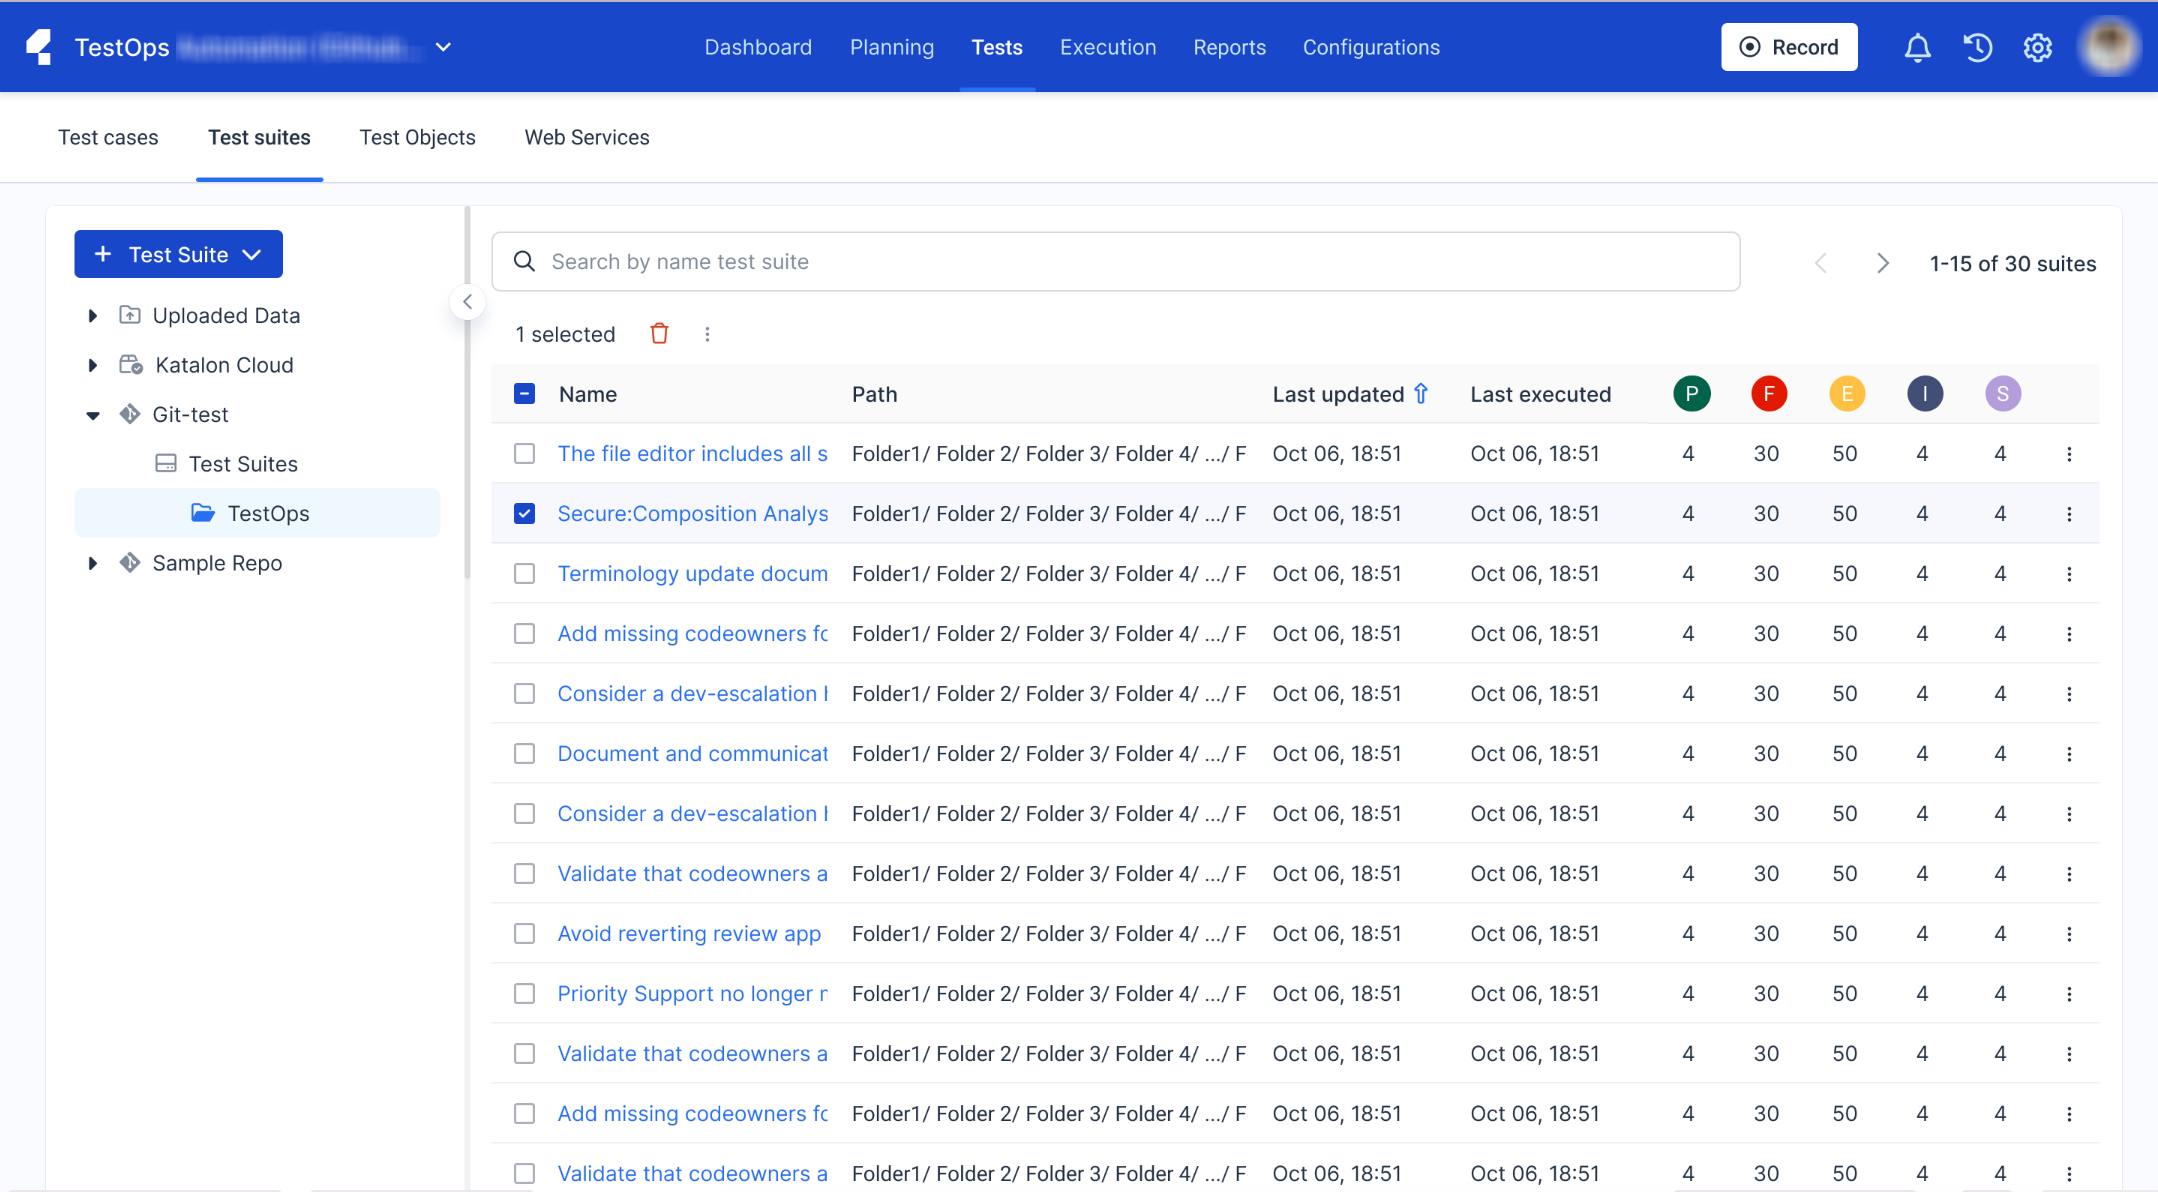
- Click on the Move icon.
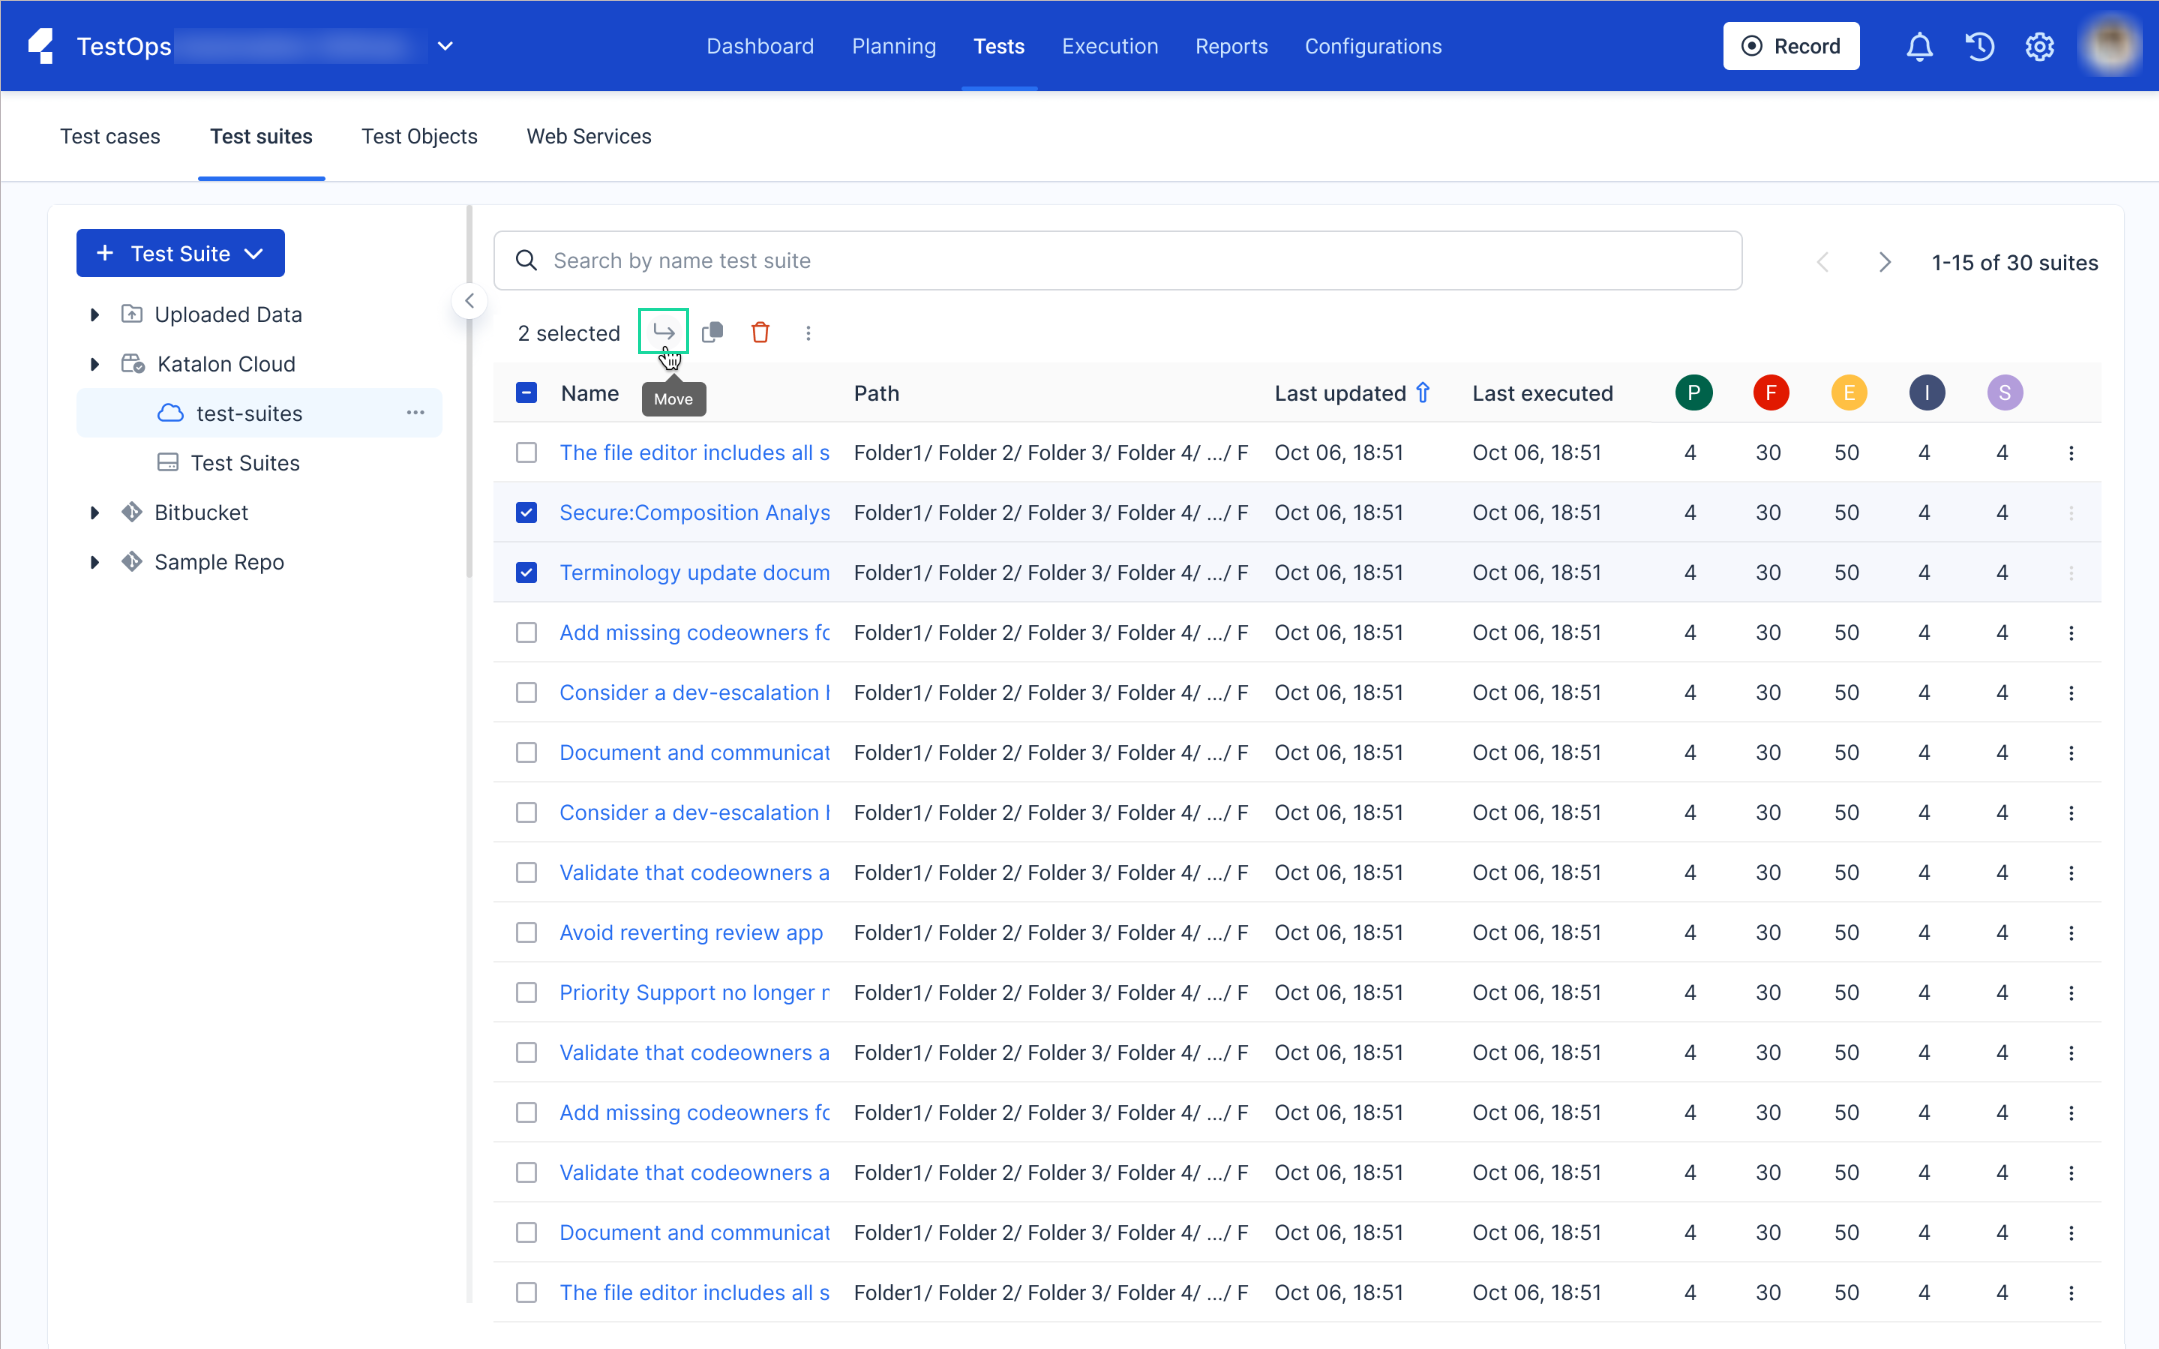
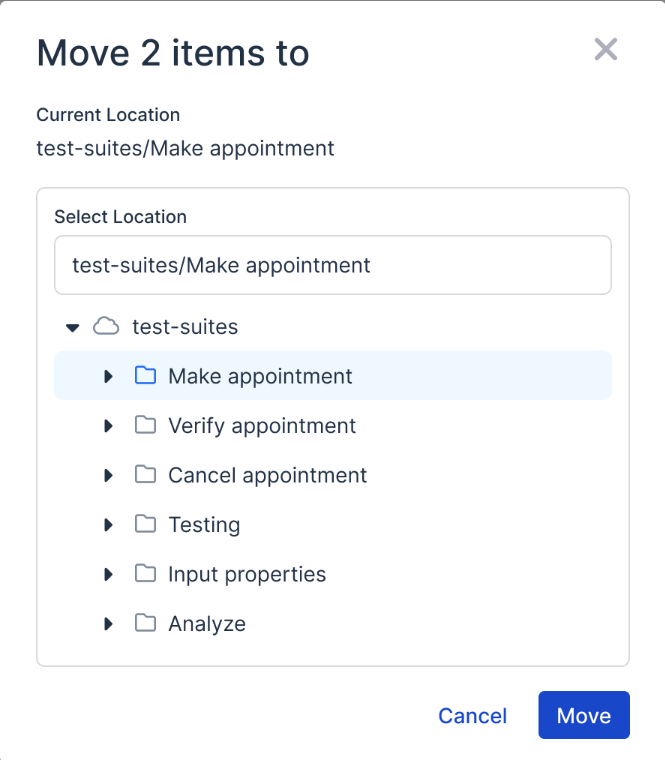
- A dialog box pops up. Select the location where you would like to move the test suites to from the dropdown menu.
- Click Move to confirm your selection.
You have successfully moved your test suites to another folder. A pop up notification in the upper right corner will confirm this. 
Duplicate test cases
Duplicate your test cases on TestOps quickly and easily using only one action.
Follow these steps to duplicate test cases to a test suite in bulk. - Sign in to your Katalon account and go to your project.
- Go to .
- In the left sidebar menu, click on the repository where the test case you want to duplicate is in.
- Your test cases appear in a list.

- In the test case list, click on the tick box to the left of the test cases you would like to duplicate.
- Click on the Duplicate icon.
You have successfully duplicated your test cases. A pop up notification in the upper right corner confirms this.
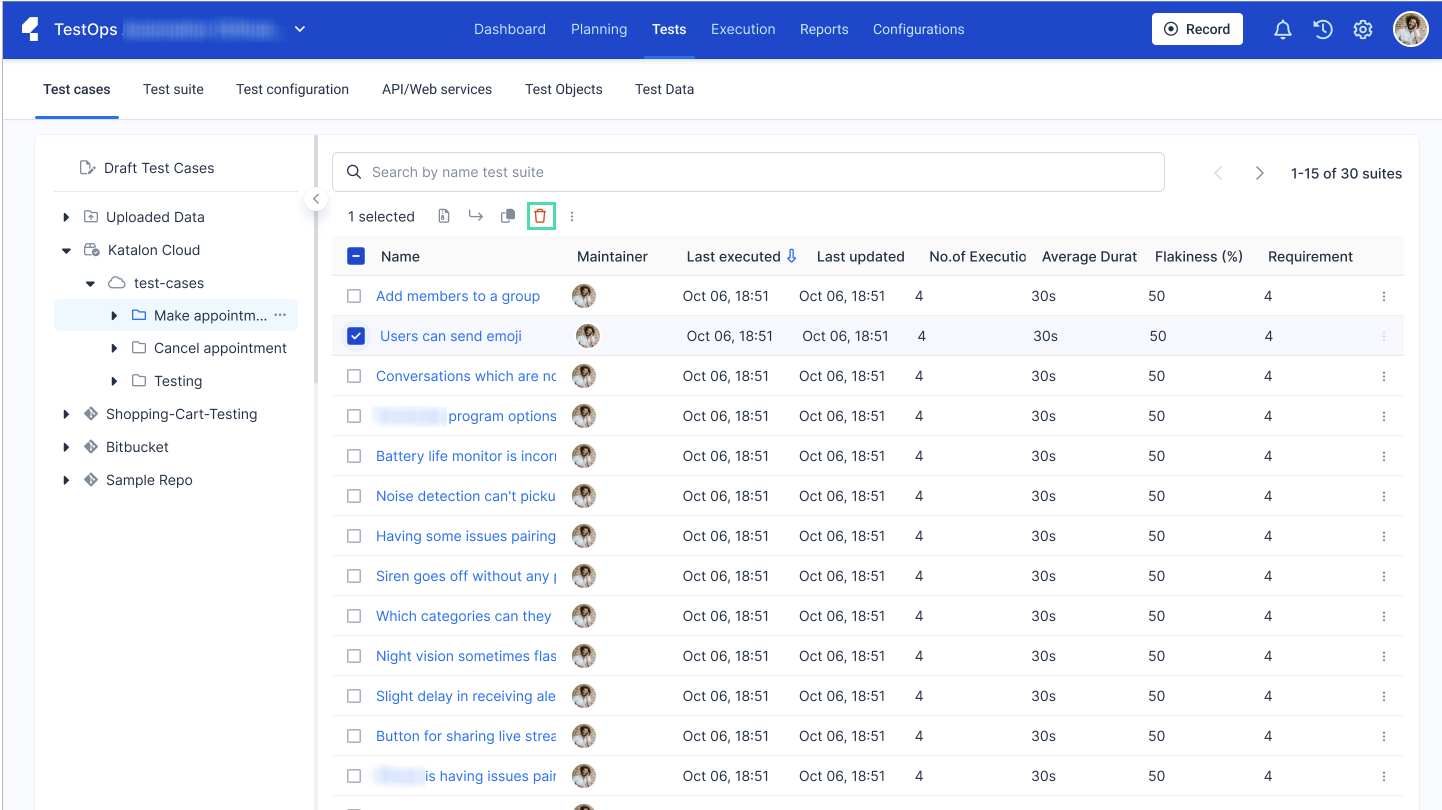
Delete test cases
Trim down your test cases on TestOps quickly and easily by deleting multiple test cases with one action.
Follow these steps to delete test cases in bulk. - Sign in to your Katalon account and go to your project.
- Go to .
- In the left sidebar menu, click on the repository where the test cases you want to delete are in.
- Click on the tick box to the left of the test cases you would like to delete.
- Click on the red Delete icon.
- A dialog box pops up that asks you to confirm this action. Click Delete to continue.
You have successfully deleted your test cases. A pop up notification in the upper right corner confirms this.

Alternate version
Delete test case
This section shows you how to delete test cases.
Click on a test case's three-dot menu from the Test Directory and select Delete.- Go to Tests > Test Cases.
- Click on the three-dot menu of the test case you would like to move at the rightmost column and shows upon hovering.
- Alternatively, you could click on the check box then click on Delete in the toolbar that appears. You can select more than one test case using this method.
- Click the Delete icon.
- A dialog box asks you to confirm this action. Click Delete.
A toast notification confirms that you've deleted your test case. Duplicate test cases
Click on a test case's three-dot menu from the Test Directory and select Duplicate.- Go to Tests > Test Cases.
- Click on the three-dot menu of the test case you would like to move at the rightmost column and shows upon hovering.
- Alternatively, you could click on the check box then click the Duplicate icon in the toolbar. You can select more than one test case using this method.
- Click Duplicate.
A toast notification confirms that you've duplicated your test case. Move test cases
Click on a test case's three-dot menu from the Test Directory and select Move.- Go to Tests > Test Cases.
- Click on the three-dot menu of the test case you would like to move at the rightmost column and shows upon hovering.
- Alternatively, you could click on the check box then click on Move to in the toolbar that appears. You can select more than one test case using this method.
- Click the Move to icon.
A dialog box appears. Select the location you would like to move your test case to.
- Click Move.
A toast notification confirms that you've moved your test case.Rename test cases
Click on a test case's three-dot menu from the Test Directory and select Rename.- Go to Tests > Test Cases.
- Click on the three-dot menu of the test case you would like to rename. It is found at the rightmost column and shows upon hovering.
- Click Rename.
- Type the new name in the displayed dialog box.
- Click Save.
A toast notification confirms that you've renamed your test case.Manage test case working status
This document shows you how to change the working status of your test case.
Click on the status dropdown from the test case's details page and selects its corresponding status.- Navigate to the test case you would like to change the status of.
- Click on the test case. The test case's details appear.
- Click on the status dropdown. Select from the five available options: Draft, Ready to review, In review, Published, and Inactive.
After selected, the working status is updated automatically.