Use TestOps Visual Testing
You can compare images captured during test executions with TestOps Visual Testing.
- TestOps
- TestOps Legacy
Set up a new baseline
You can set up a new baseline image to compare it with the screenshot of the next Test Run:
If you run a Test Suite for the first time and the Test Suite has passed, the screenshots are automatically marked as Passed and there is no Save to baseline button. You can open a screenshot and click Failed, then switch back to Passed so that the Save to baseline button appears.
- Navigate to your specific project's UI > Executions. Select the test suite that has Visual Testing.
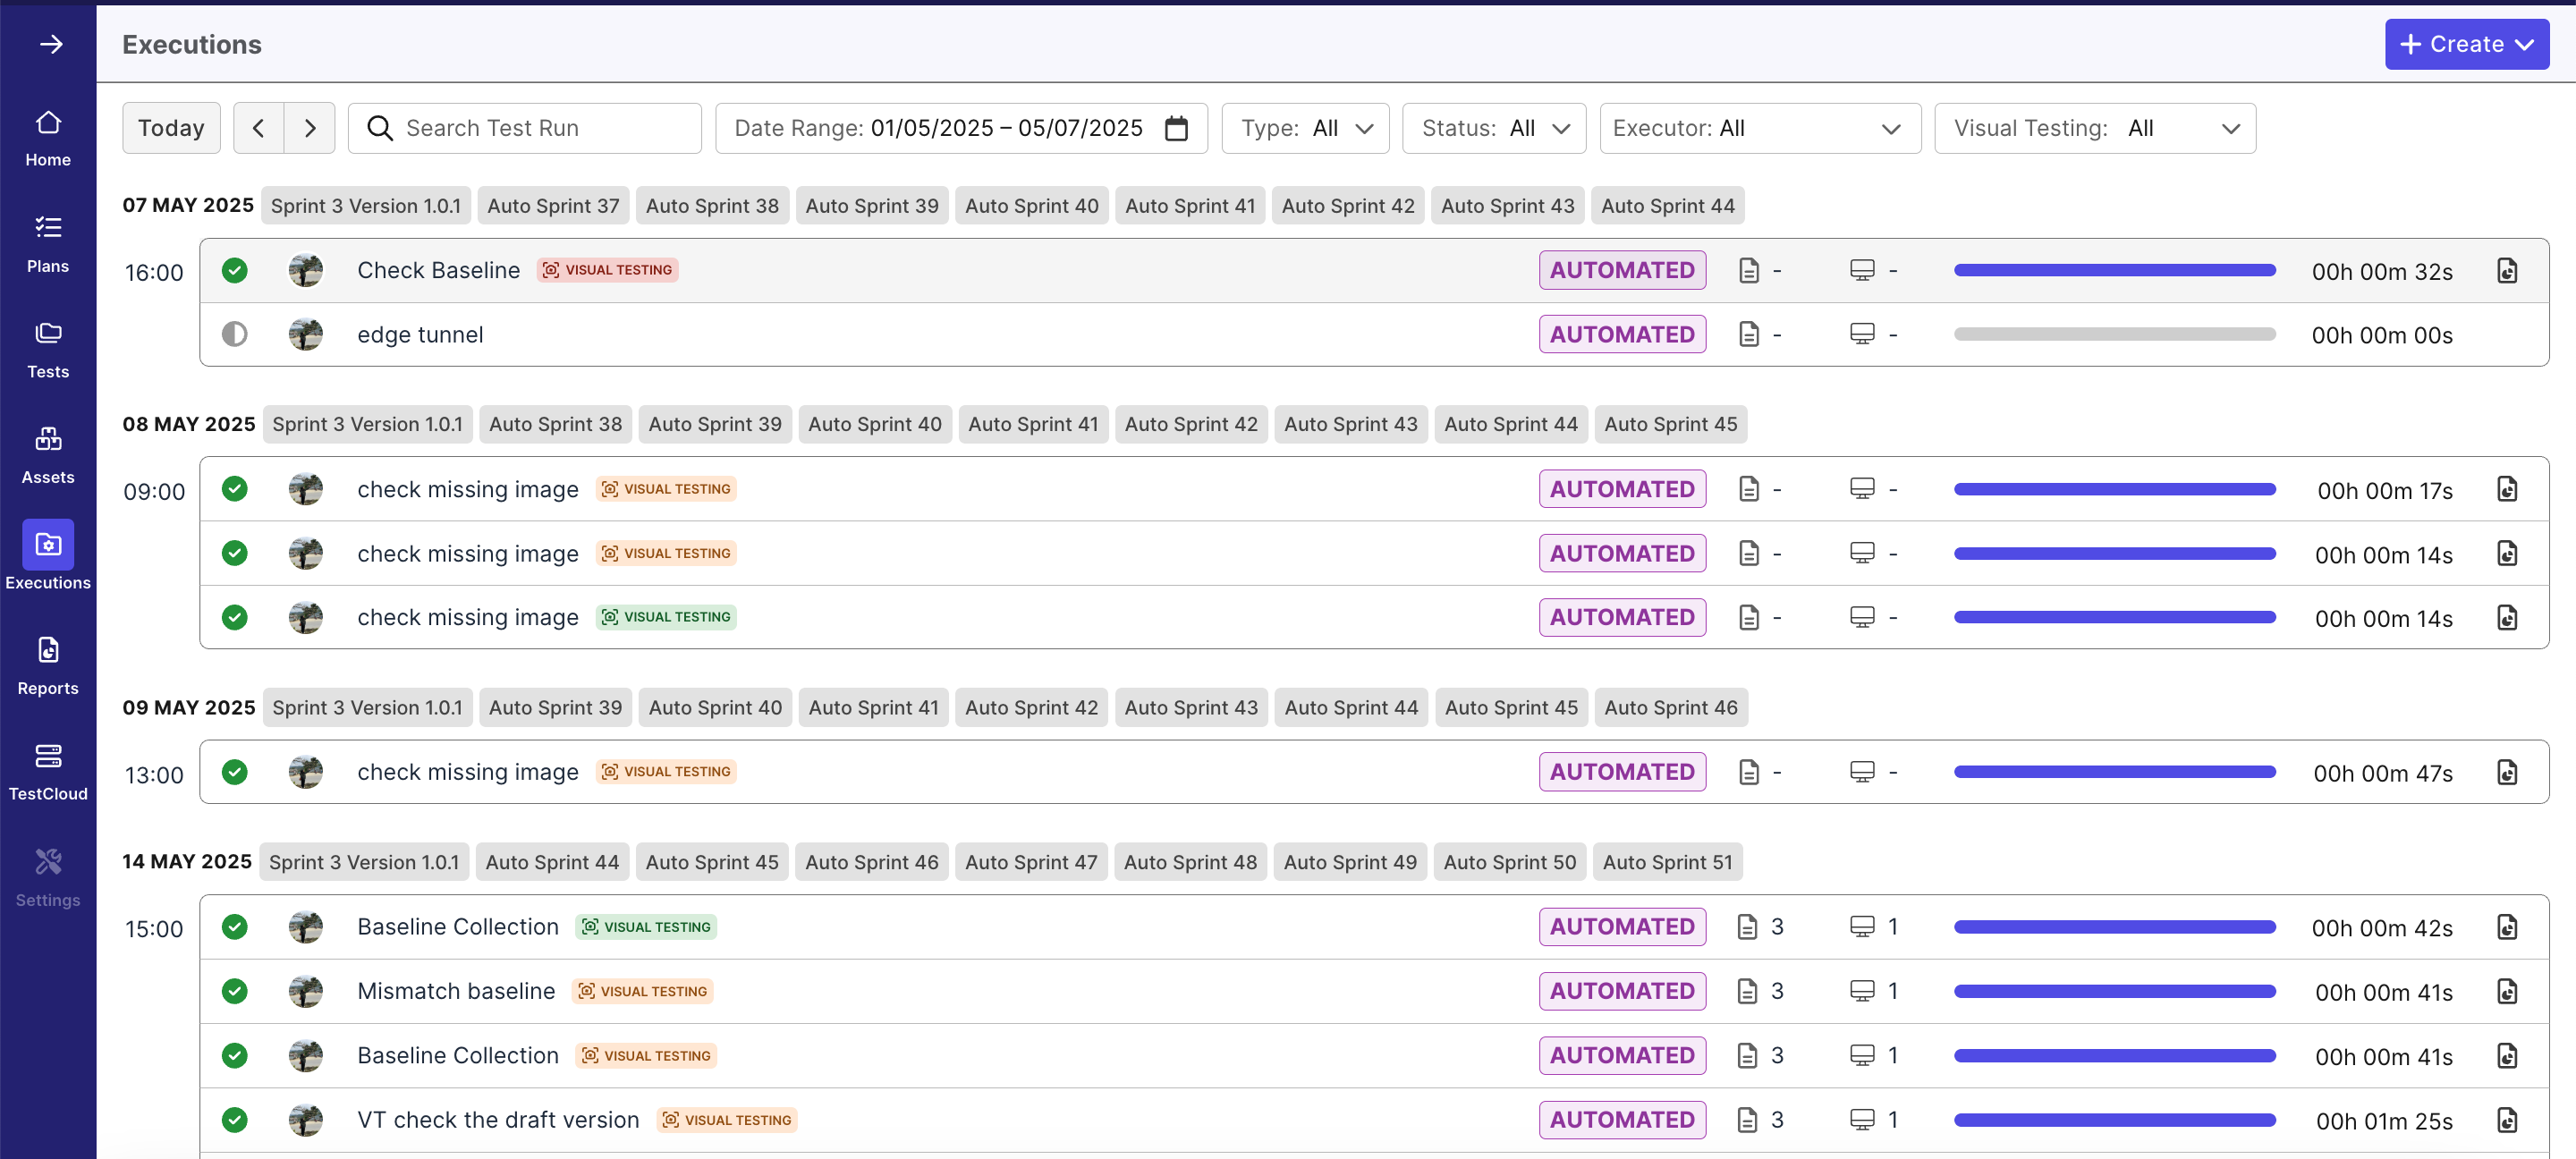
- Click the
Visual Testingtab. Then, select a checkpoint you need to configure.
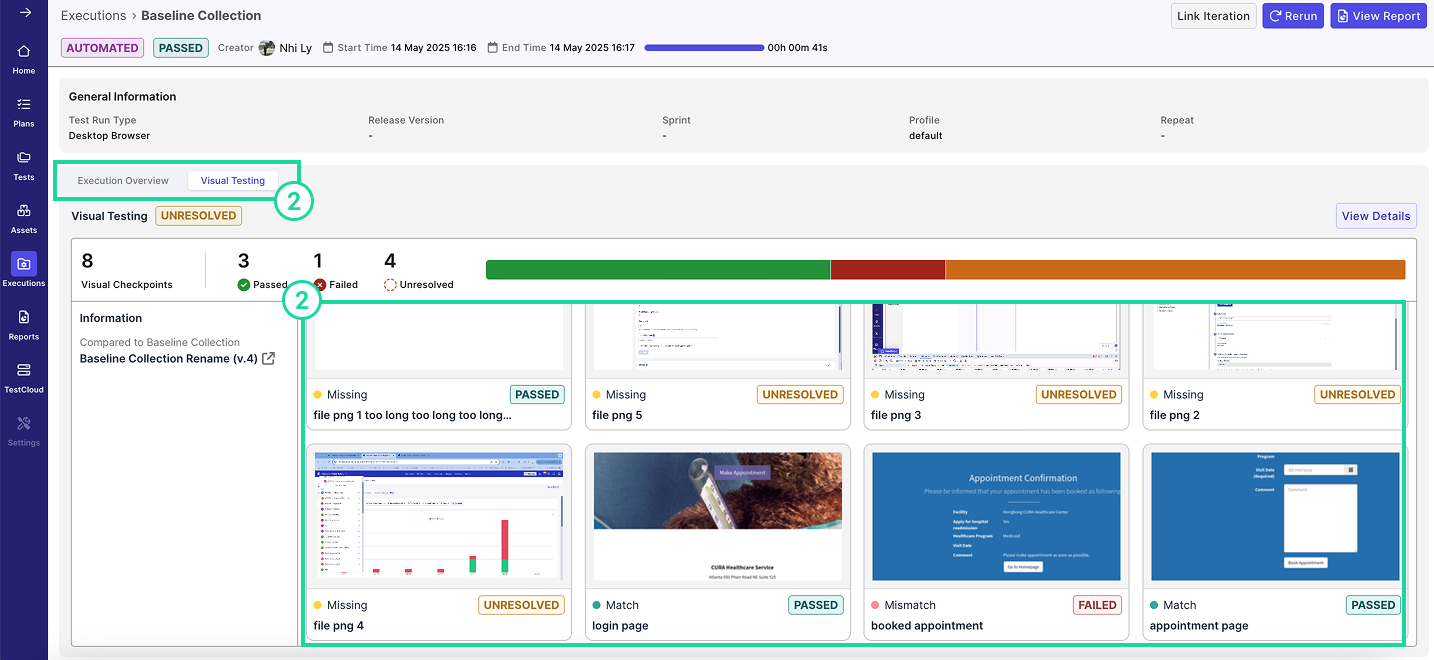
- Click Mark as Passed.
- Then, click Save to baseline.
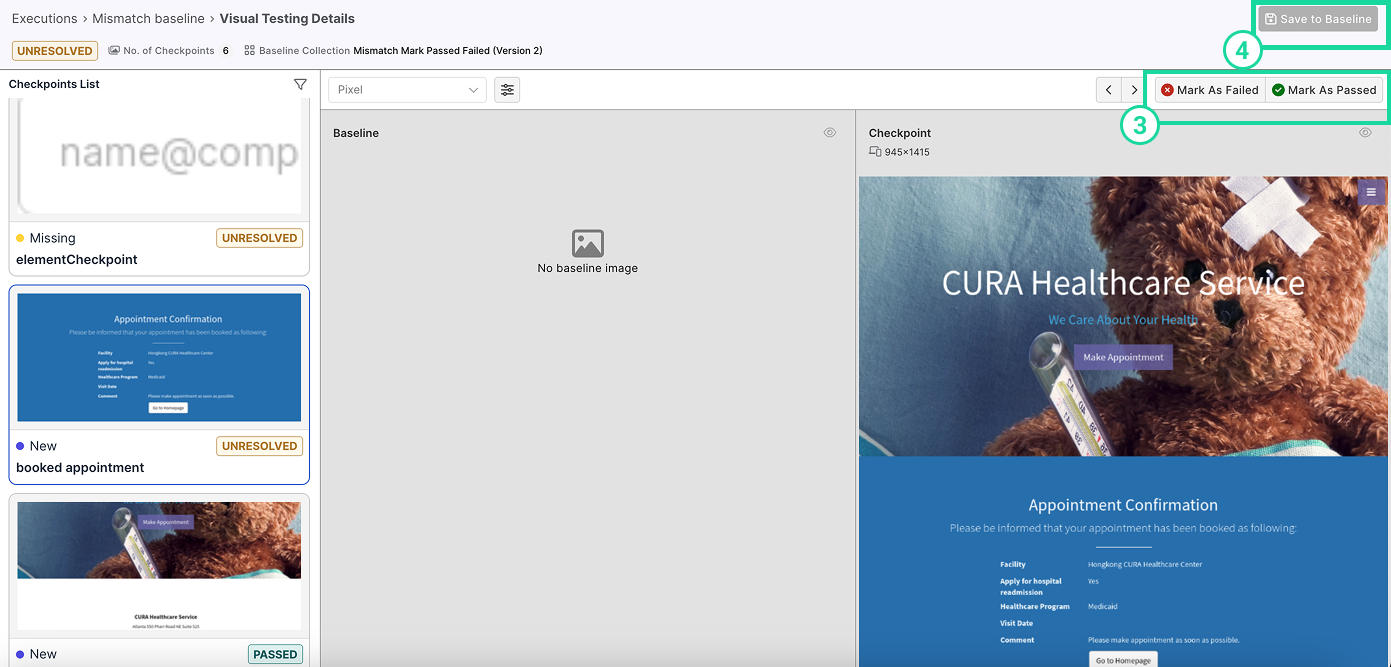
Unresolved images
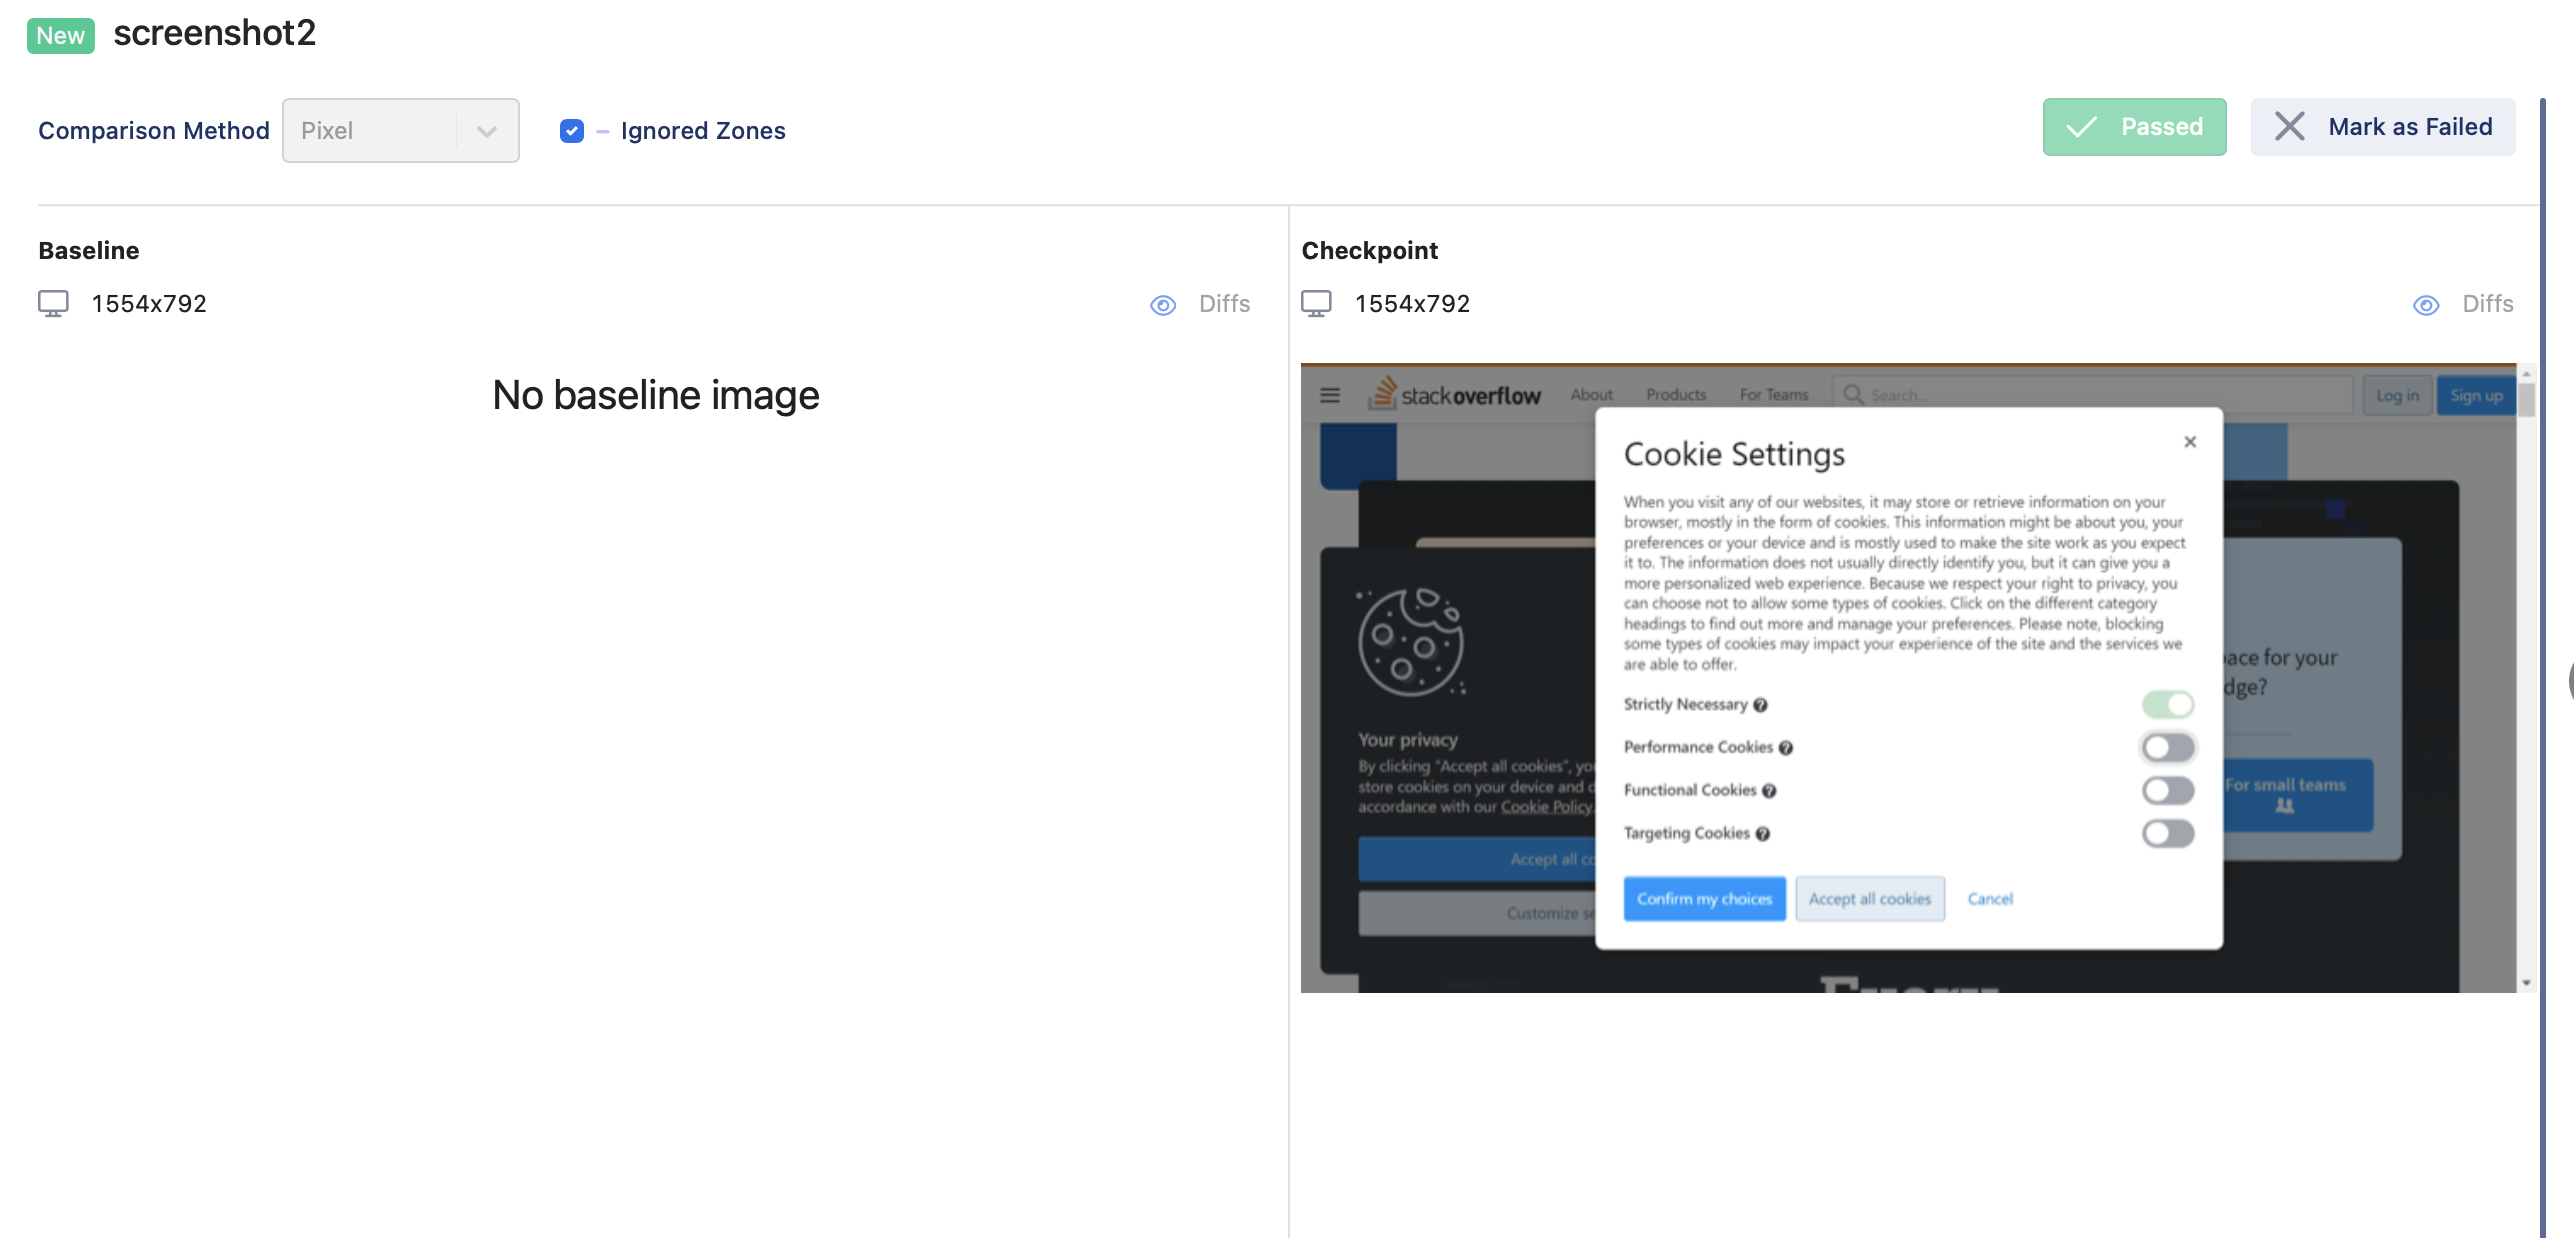
If you run the Test Suite again and the new screenshots from this test execution differ from the baseline images, the status of this Visual Test Run is marked as Unresolved. To resolve these images:
- Navigate to your specific project's UI > Executions. Select the test suite containing the Visual Testing results you need to resolve.
- Click the Visual Testing tab, then select an Unresolved checkpoint.

The checkpoint may appear Unresolved in different scenarios:
- Baseline exists, Checkpoint missing → The element was not captured in the latest run.
- Action: Mark as Passed (baseline deleted) or Failed.
- Checkpoint exists, Baseline missing → A new element was captured without a baseline.
- Action: Mark as Passed to save the checkpoint as the new baseline, or Failed to reject it.
- Baseline and Checkpoint exist, but mismatch → Visual differences detected.
- Action: Compare using one of the three methods (enabled only for Mismatch):
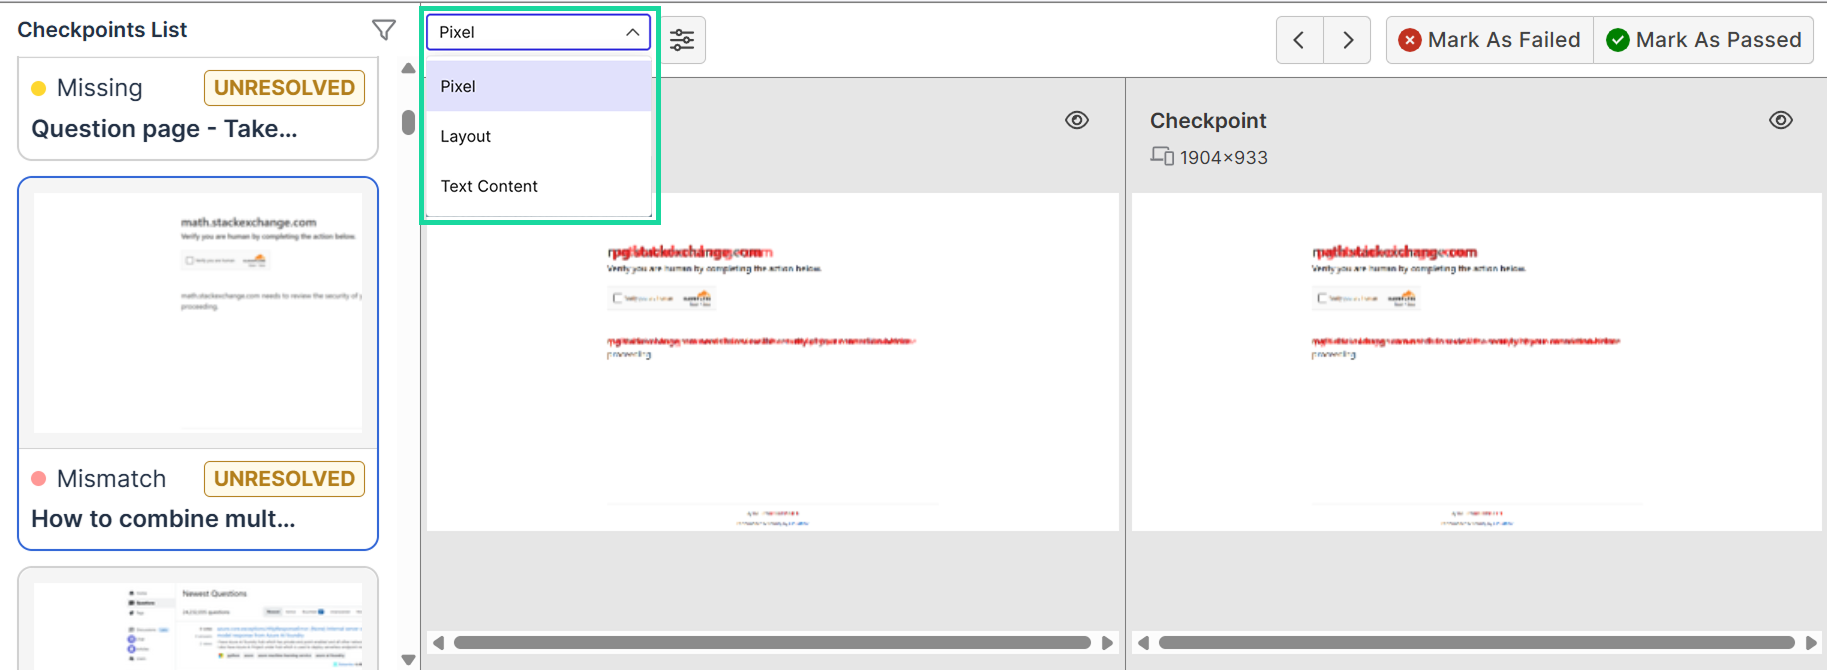
- Pixel: Compare pixel-by-pixel differences. See: Pixel-based comparison.
- Layout: Compare layout and structural differences. See: Layout-based comparison.
- Text Content: Compare text content differences. See: Content-based comparison.
- Checkpoint and Baseline match → Status is already Passed, no action needed.
- To finalize resolution, click Mark as Passed or Mark as Failed:
- Mark as Passed → Accepts the checkpoint. If allowed, it replaces or becomes the new baseline.
- Mark as Failed → Rejects the checkpoint; the baseline remains unchanged.
Ignored zones
Specifying ignored zones is especially useful when testing a website with dynamic content, such as pop-up ads, that changes between runs. By defining ignored zones, Visual Testing will skip these areas when comparing captured screenshots to their baselines.
Add an ignored zone to a single baseline image
To configure an ignored zone, follow these steps:
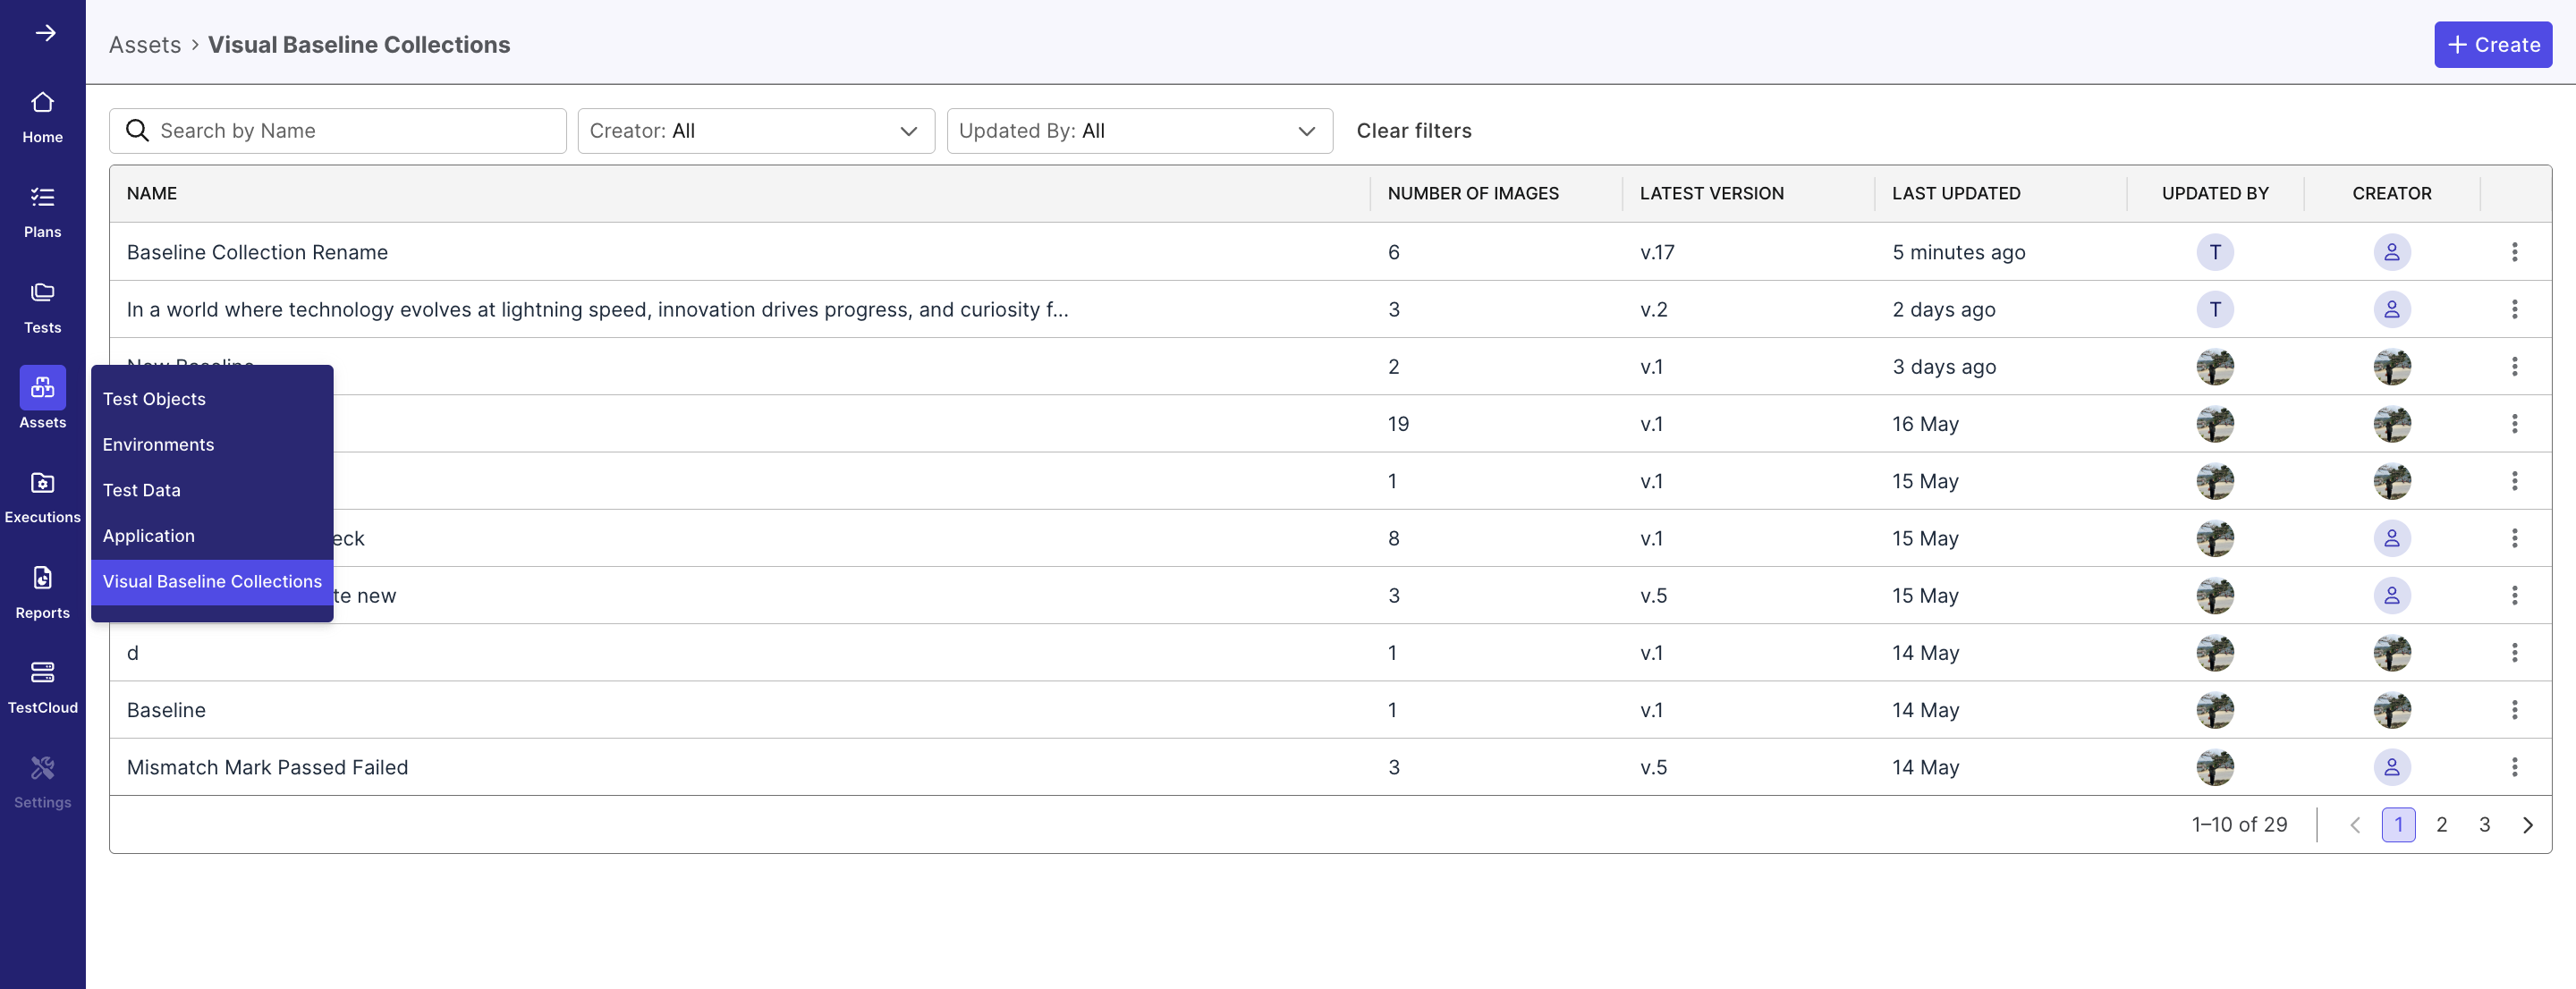
- In your project’s UI, navigate to Assets > Visual Baseline Collections and open the desired collection.
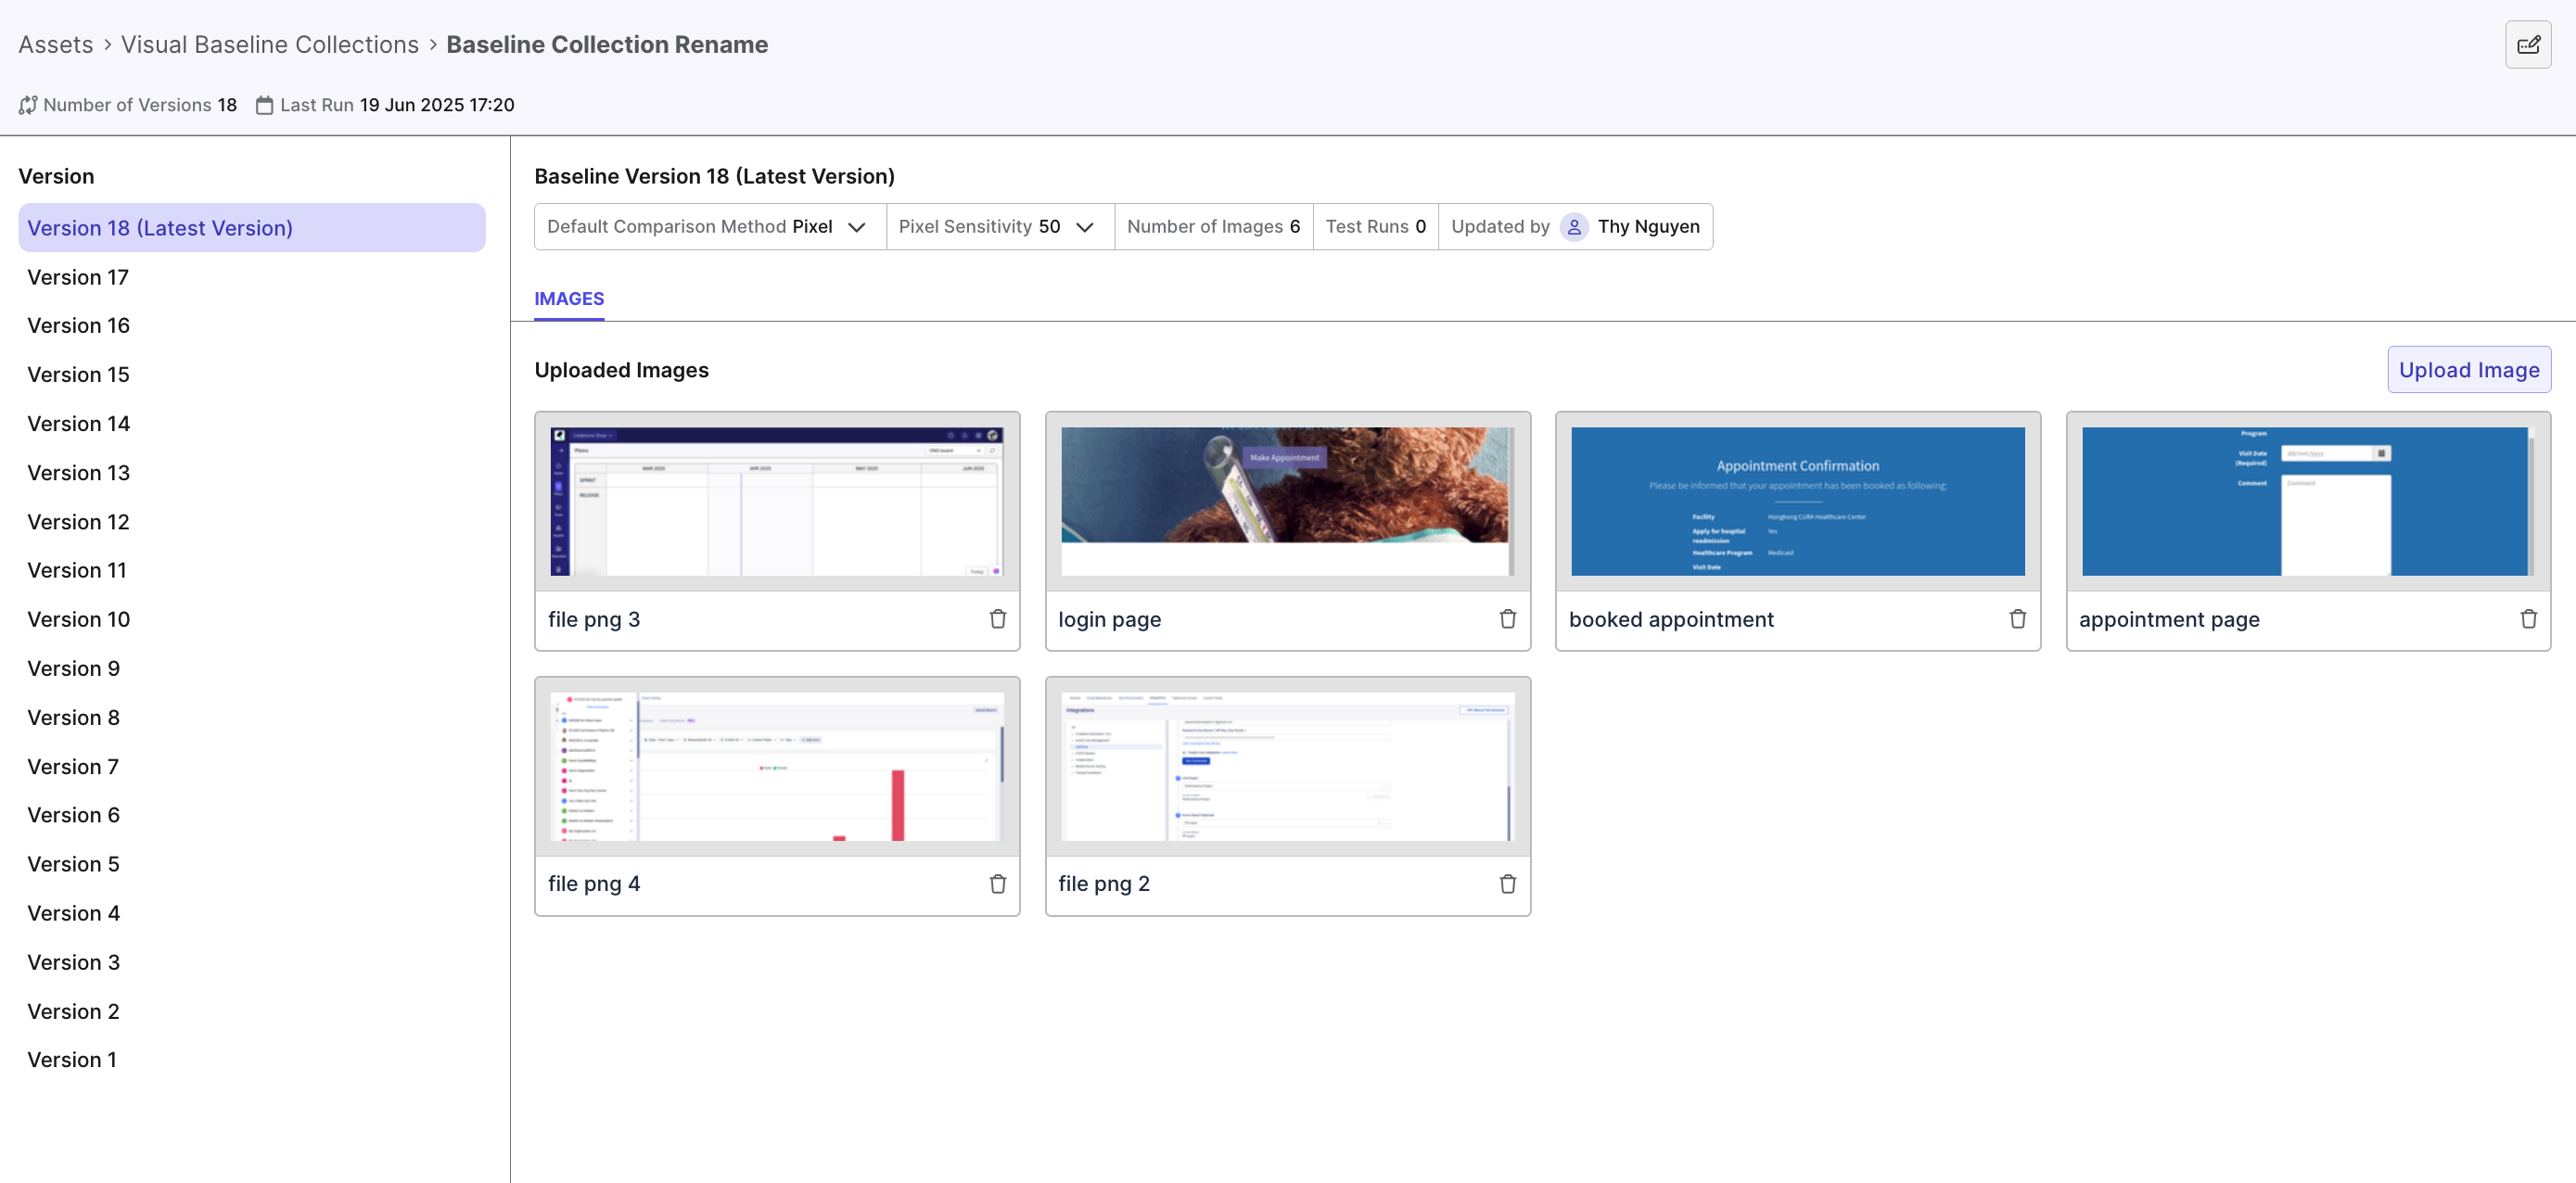
- Click on any images you want to set ignored zone for.
-
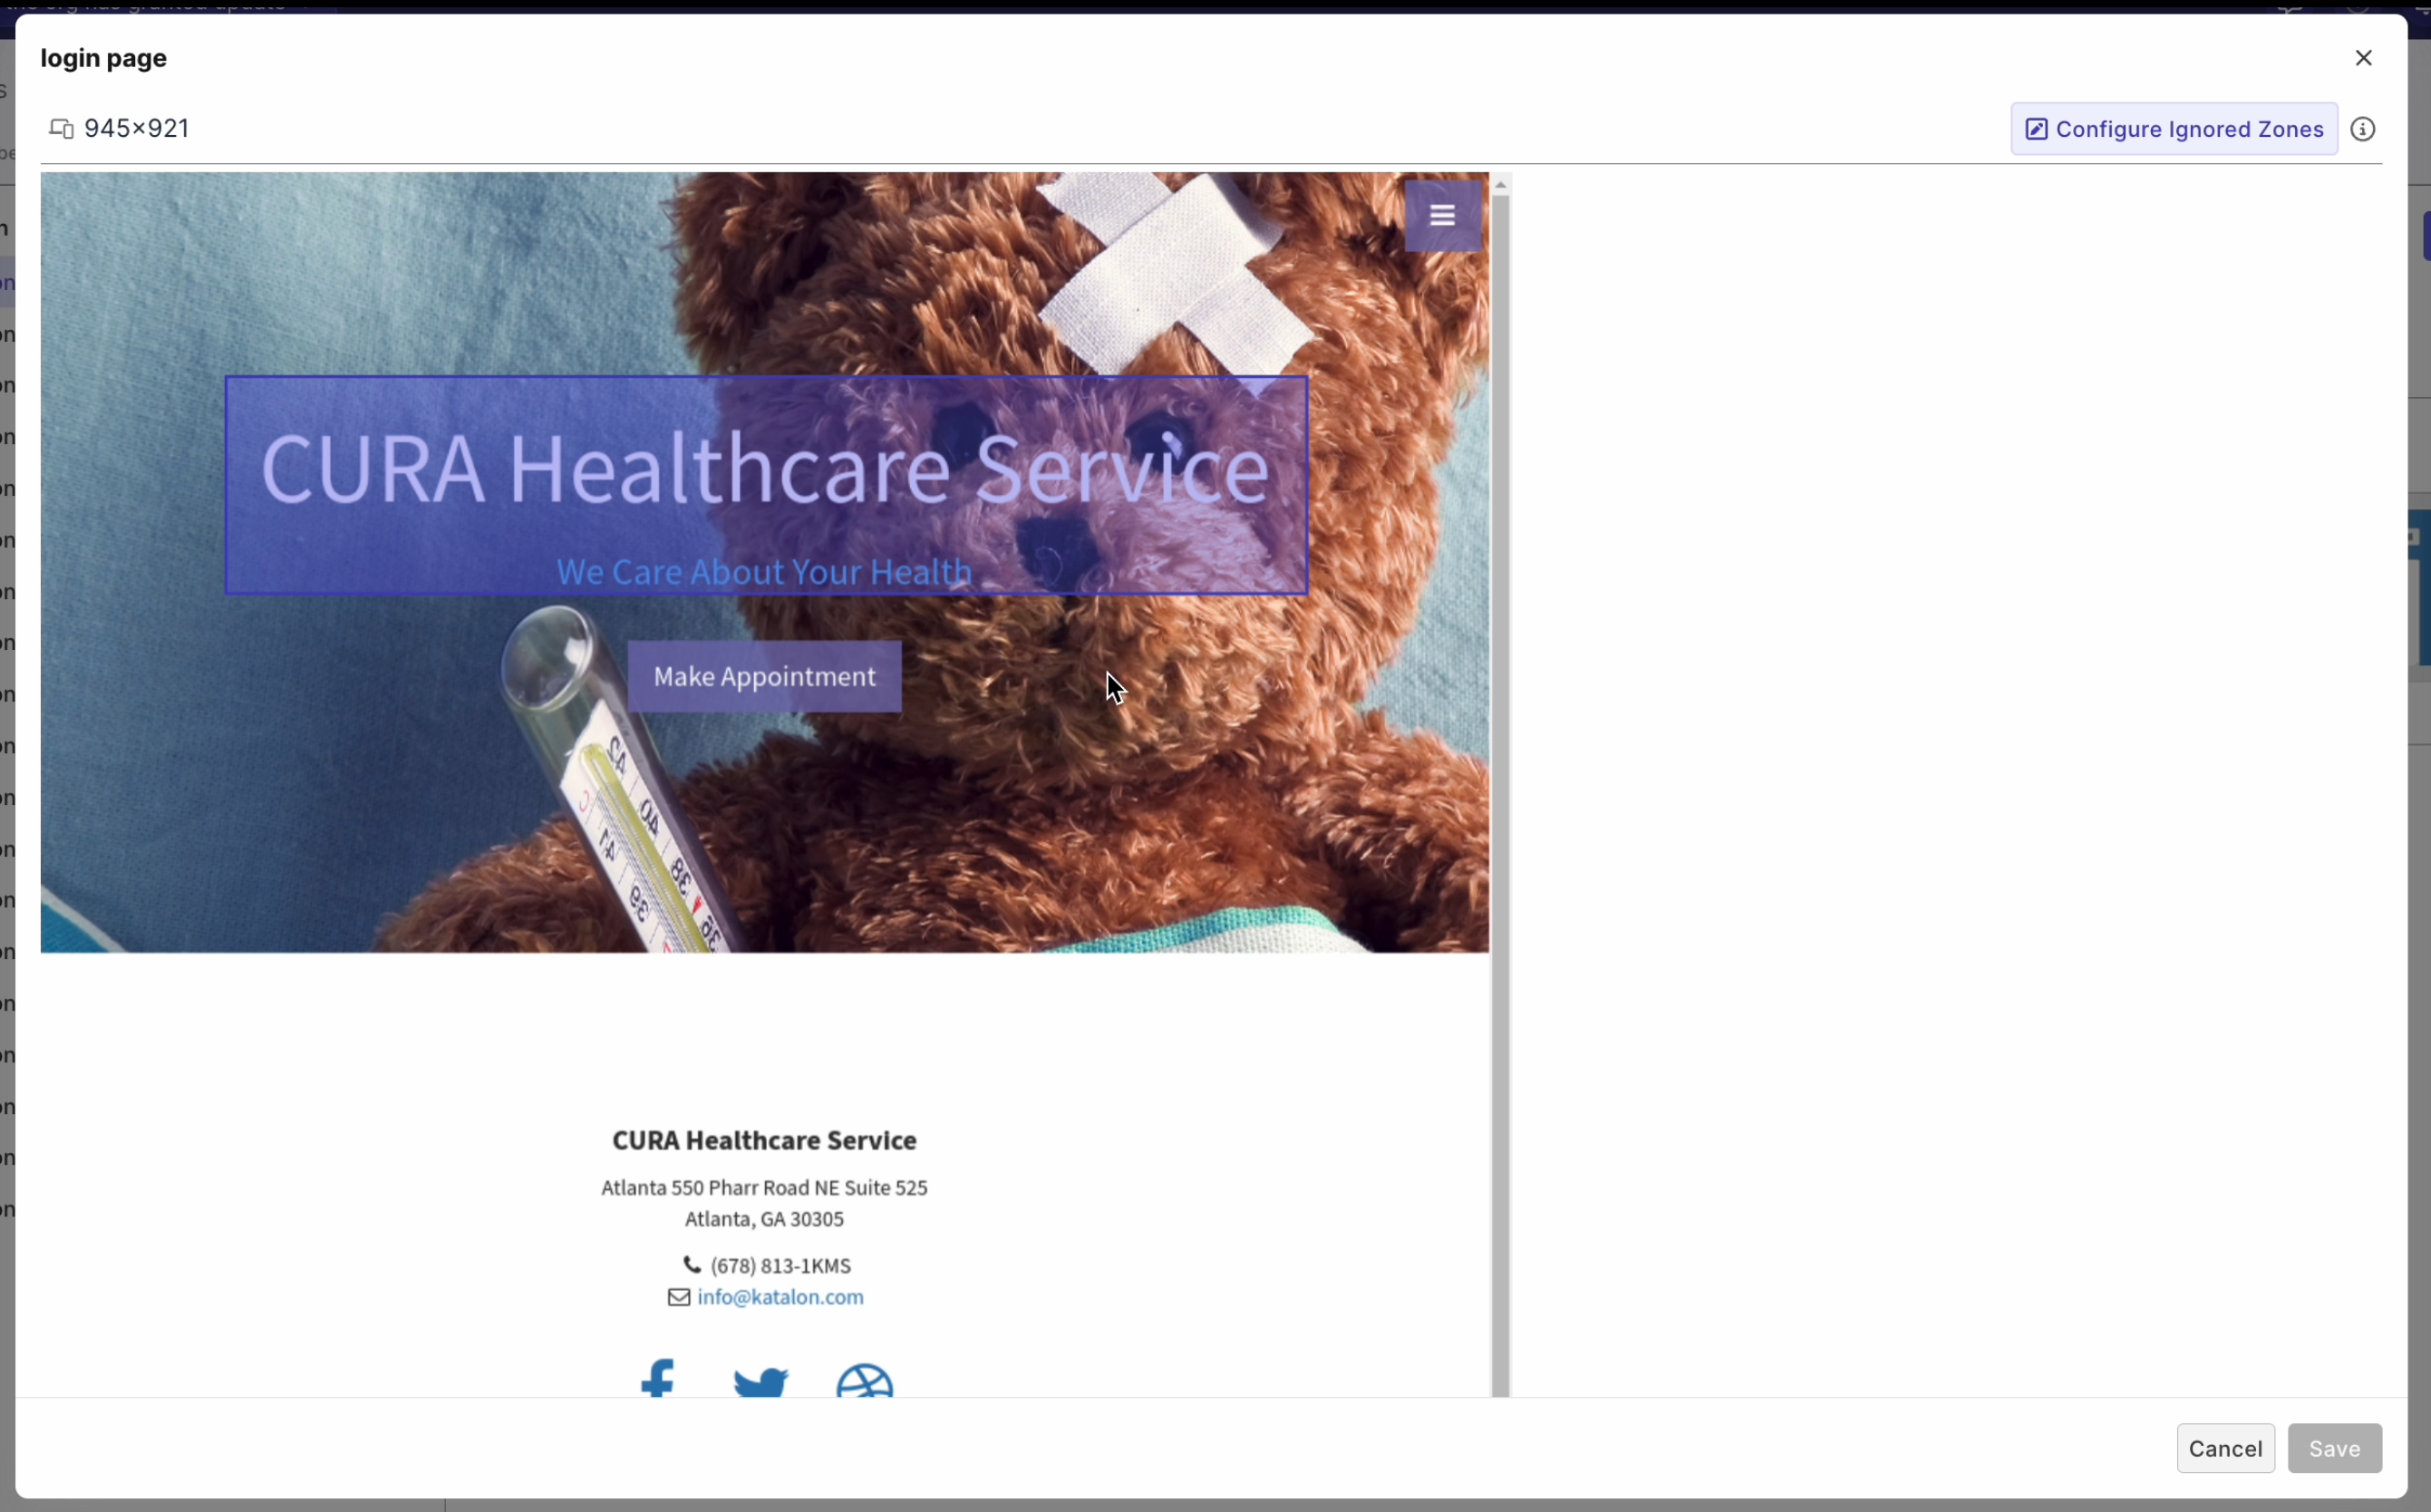
Click Configure Ignored Zones. The button is then highlighted in purple, which indicates the edit mode.
-
Draw (in rectangles) to specify the area you want to ignore. The ignored zones are highlighted in purple. You can draw up to 20 ignored zones (i.e. 20 rectangles). If you want to apply an ignored zone to all baseline images, see: Apply an ignored zone to all baseline images.
-
Click Save. You have temporarily saved the ignored zones on this baseline image.
-
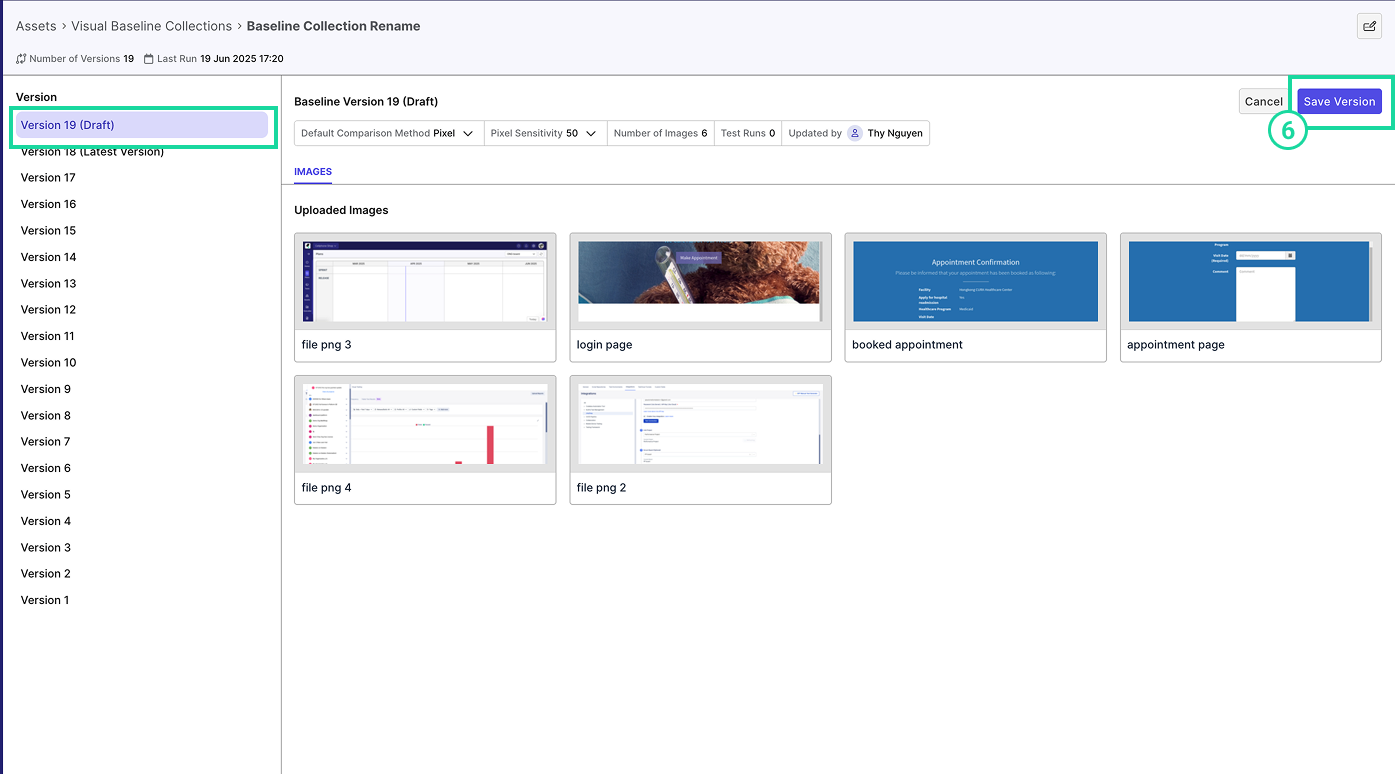
This update is currently in a draft state (e.g., Version 19 (Draft)). To permanently save the ignored zones under a new version, click Save Version at the top right corner.
Result
The baseline image now contains the defined ignored zones. During visual comparisons, these zones will be excluded, allowing for more accurate test results by ignoring dynamic or irrelevant content.
This configuration is now saved under a new version, for example, Version 19 (Latest Version):
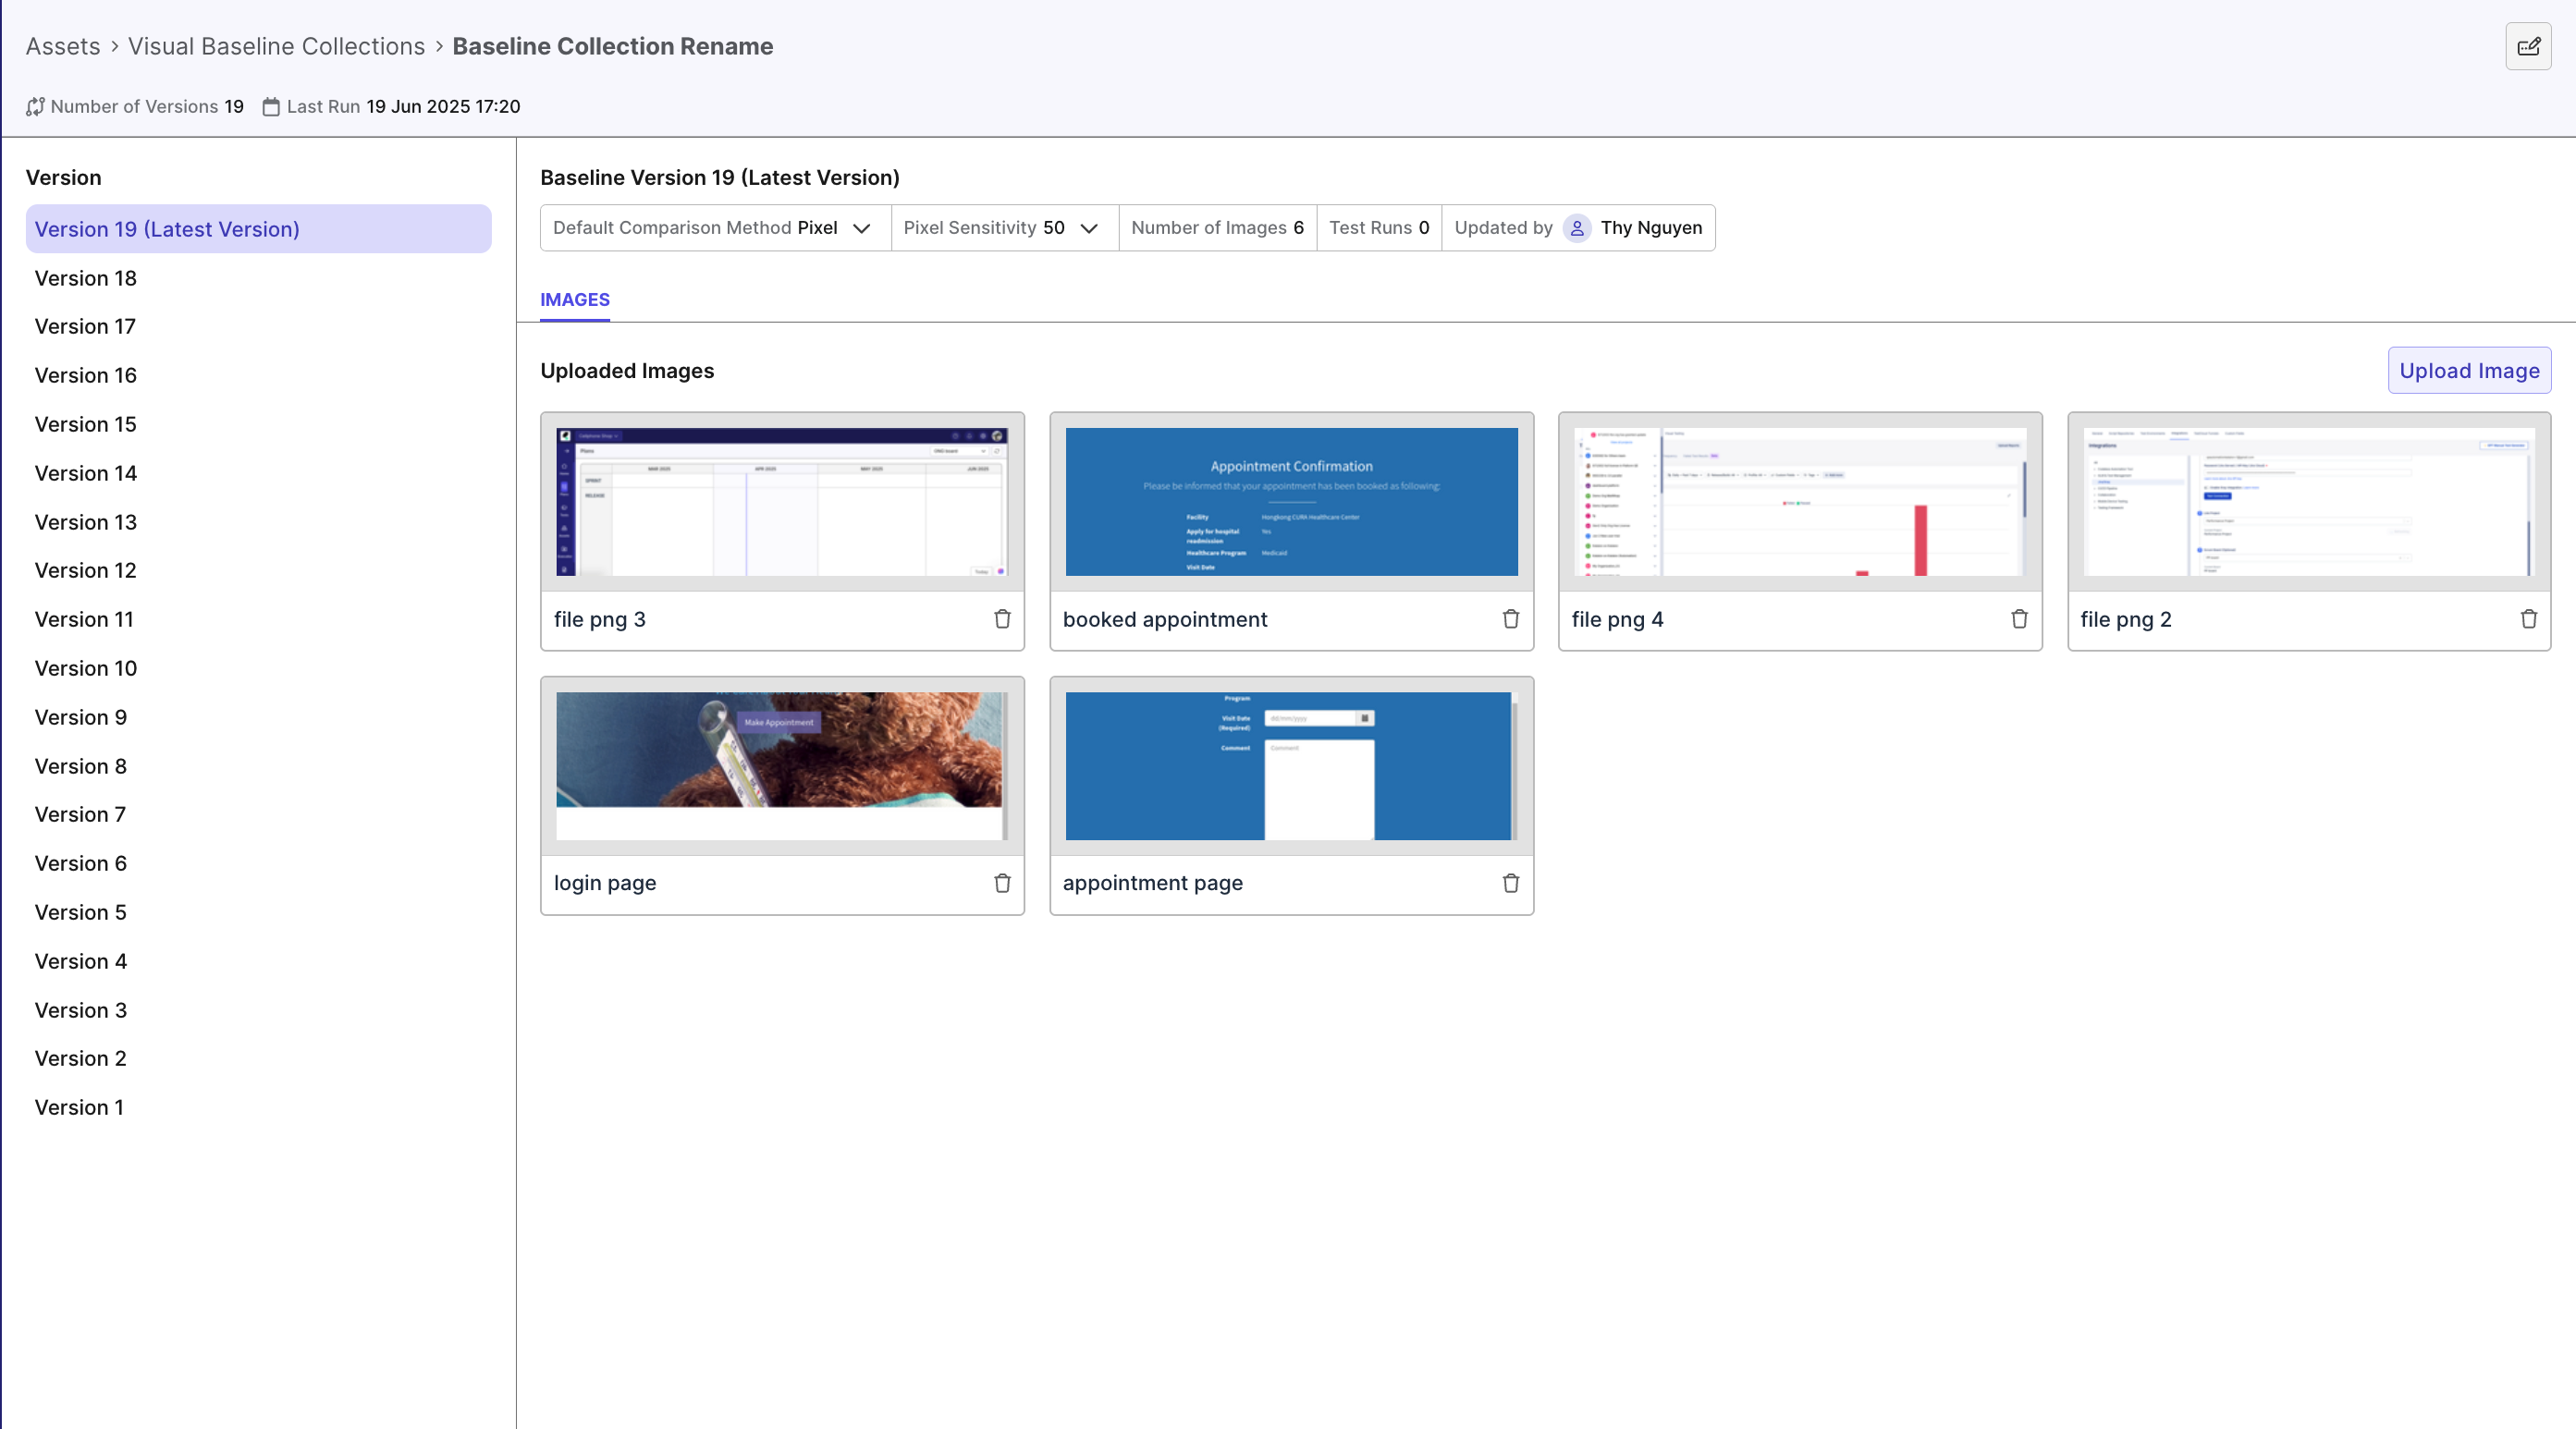
Apply an ignored zone to all baseline images
Manually adding the same ignored zone to multiple baseline images can be time-consuming, especially in large collections. With TestOps Visual Testing, you can apply an ignored zone across all baseline images.
The Apply to all feature only works if all baseline images in the collection have the same resolution (e.g., 400×500). Zones cannot be applied across images of different sizes.
To apply an ignored zone to all baseline images in a collection:
- In your project’s UI, navigate to Assets > Visual Baseline Collections and open the desired collection.

- Click on any images you want to set ignored zone for.

-
Click Configure Ignored Zones. The button is then highlighted in purple, which indicates the edit mode.
-
Draw (in rectangles) to specify the area you want to ignore. These ignored zones will appear in purple. You can create up to 20 ignored zones per image.
-
Click on the drawn zone, then click the checkmark icon to confirm that you want to apply this zone to all baseline images in the collection.
-
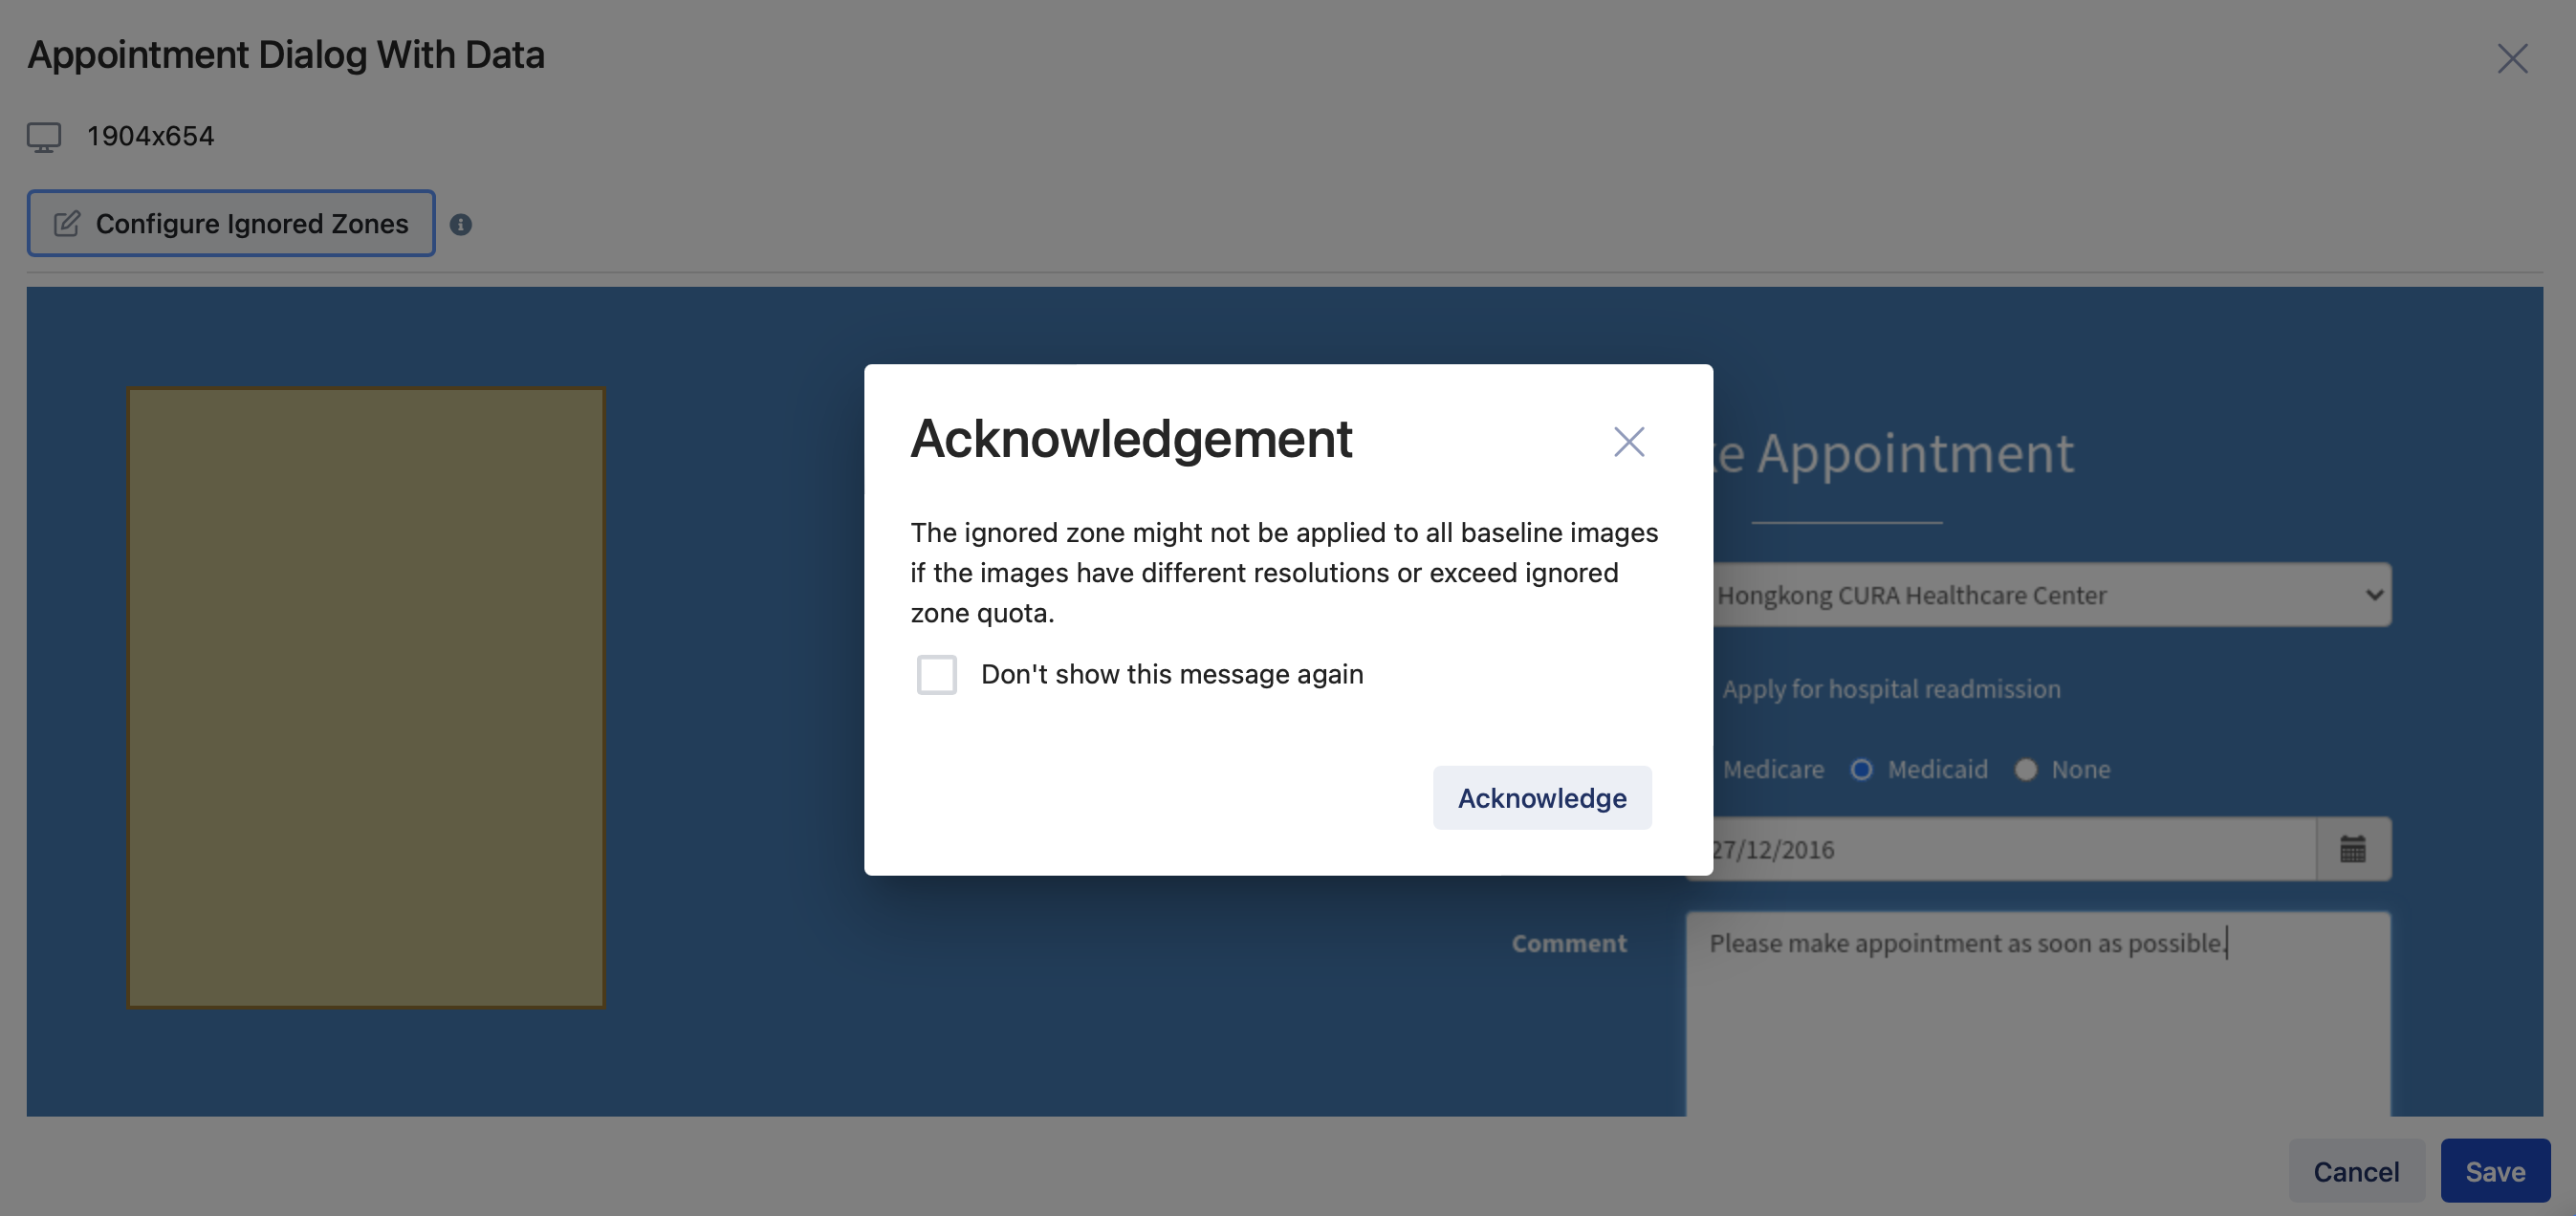
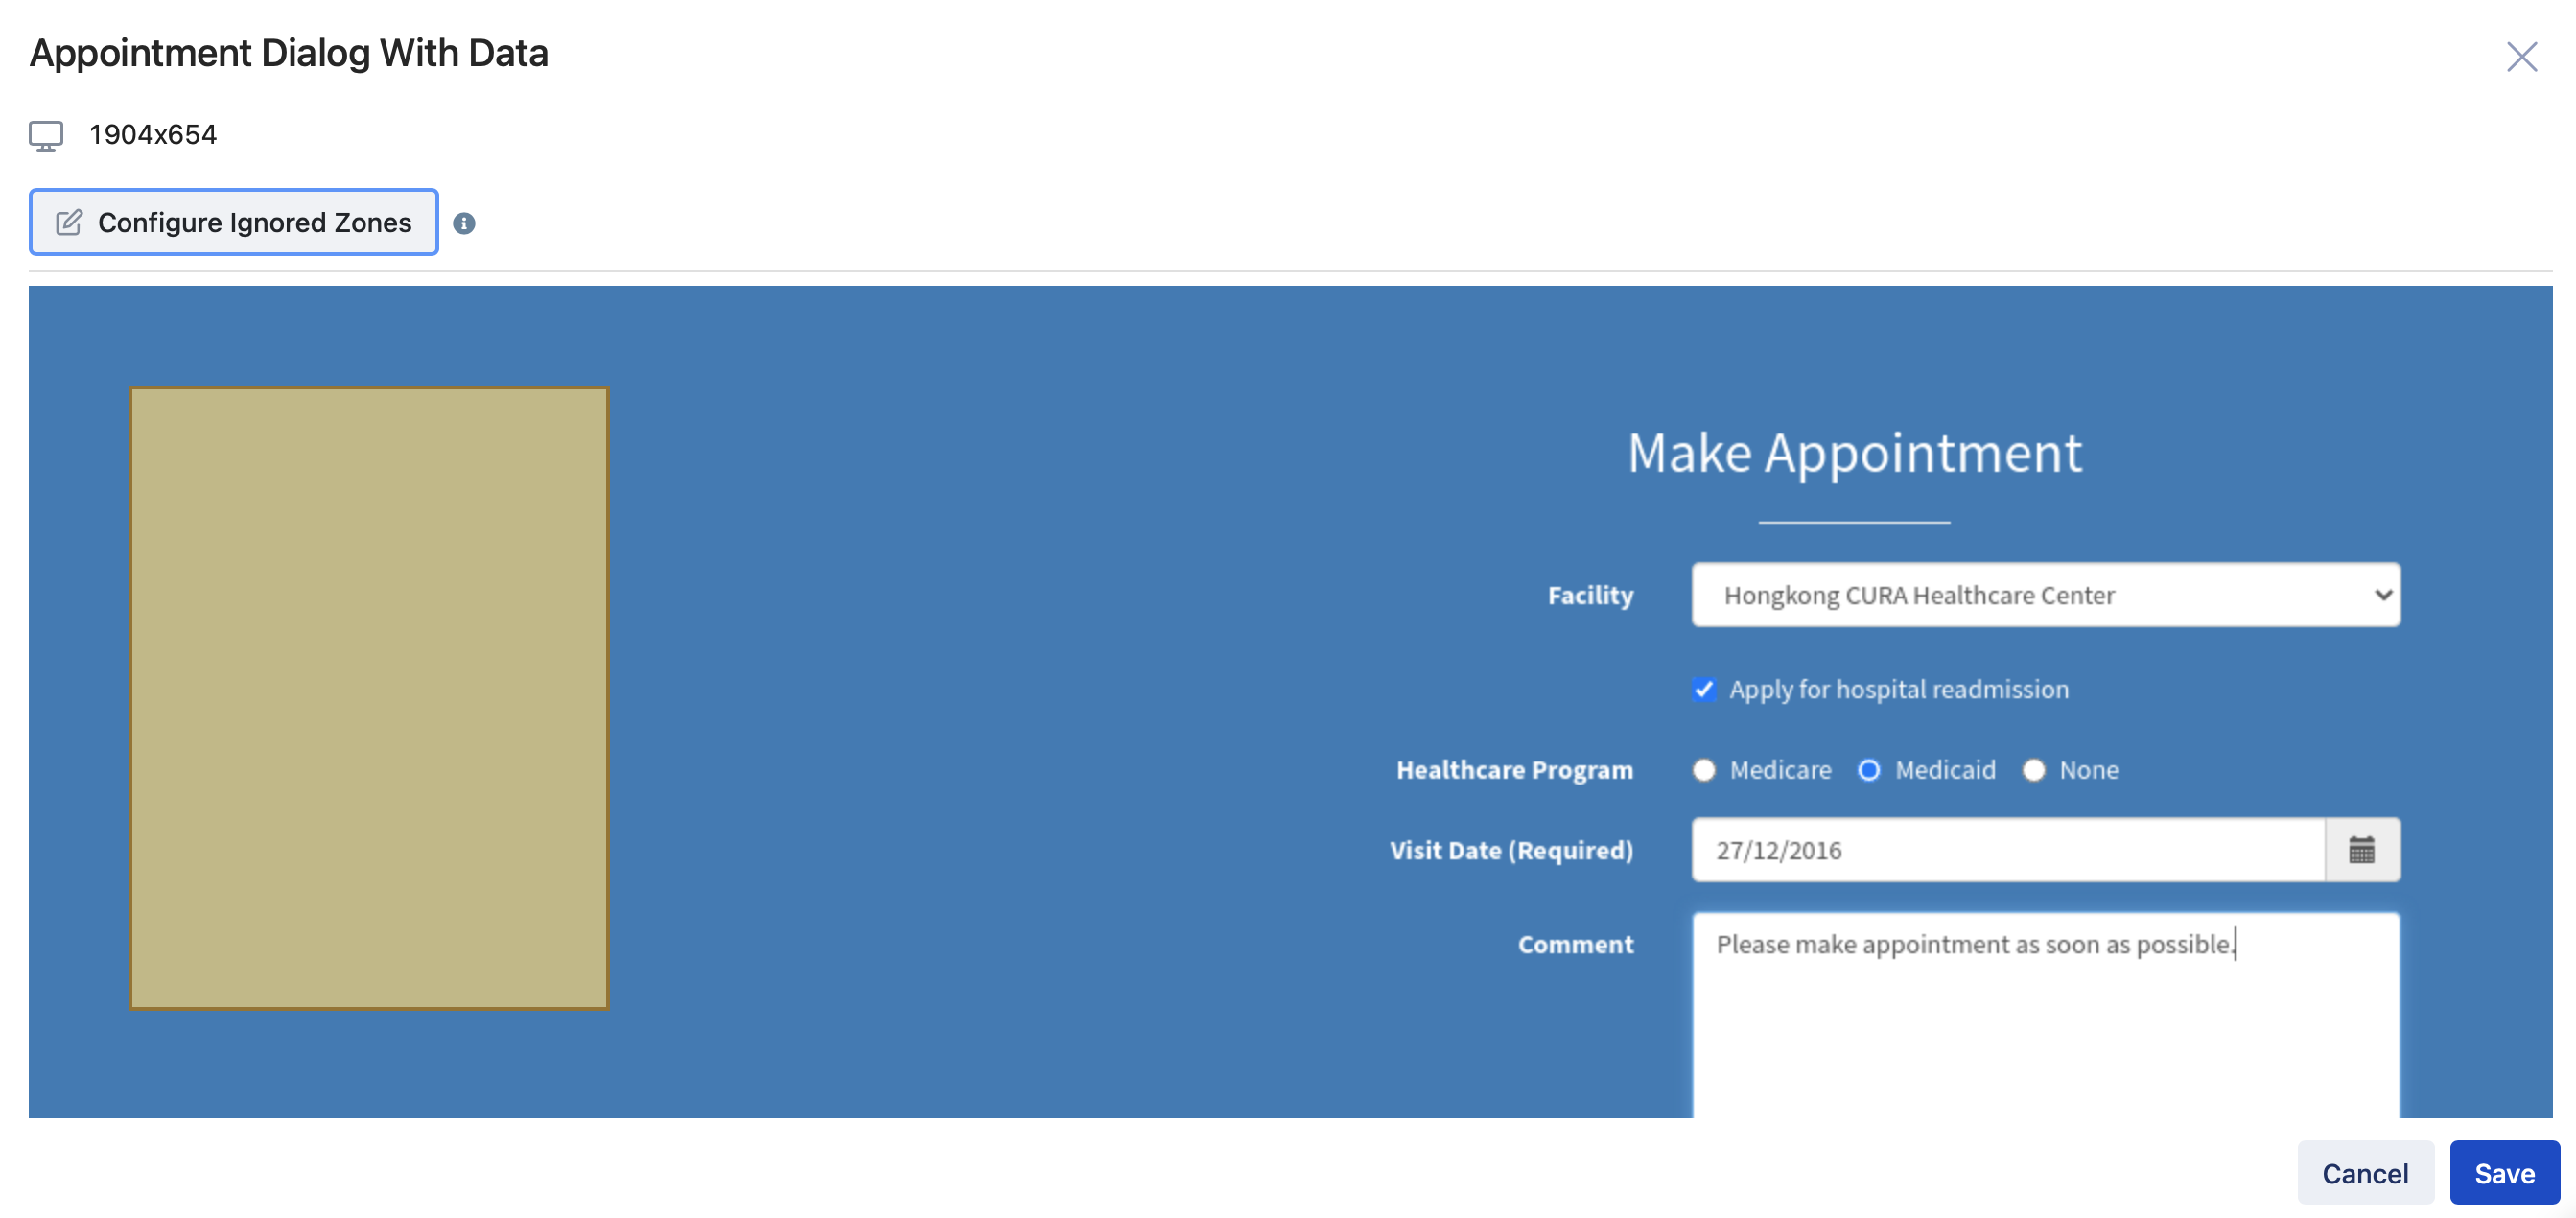
An Acknowledge popup appears. Click Acknowledge to confirm. The ignored zone now turns green, indicating that it has been applied to all baseline images in the collection.
-
Click Save. You have temporarily saved the ignored zones on this baseline image.
-
This update is currently in a draft state (e.g., Version 19 (Draft)). To permanently save the ignored zones under a new version, click Save Version at the top right corner.
Delete ignored zones
You can delete an ignored zone from a single baseline image or from all baseline images in the baseline collection.
- Purple zones indicate ignored zones applied to a single baseline image.
- Green zones indicate ignored zones applied to all baseline images in the collection.
-
Click Configure Ignored Zones. The button will be highlighted in purple, indicating that you are in edit mode.
-
Click on the drawn zone, then click the Delete (trash can) icon to remove it.
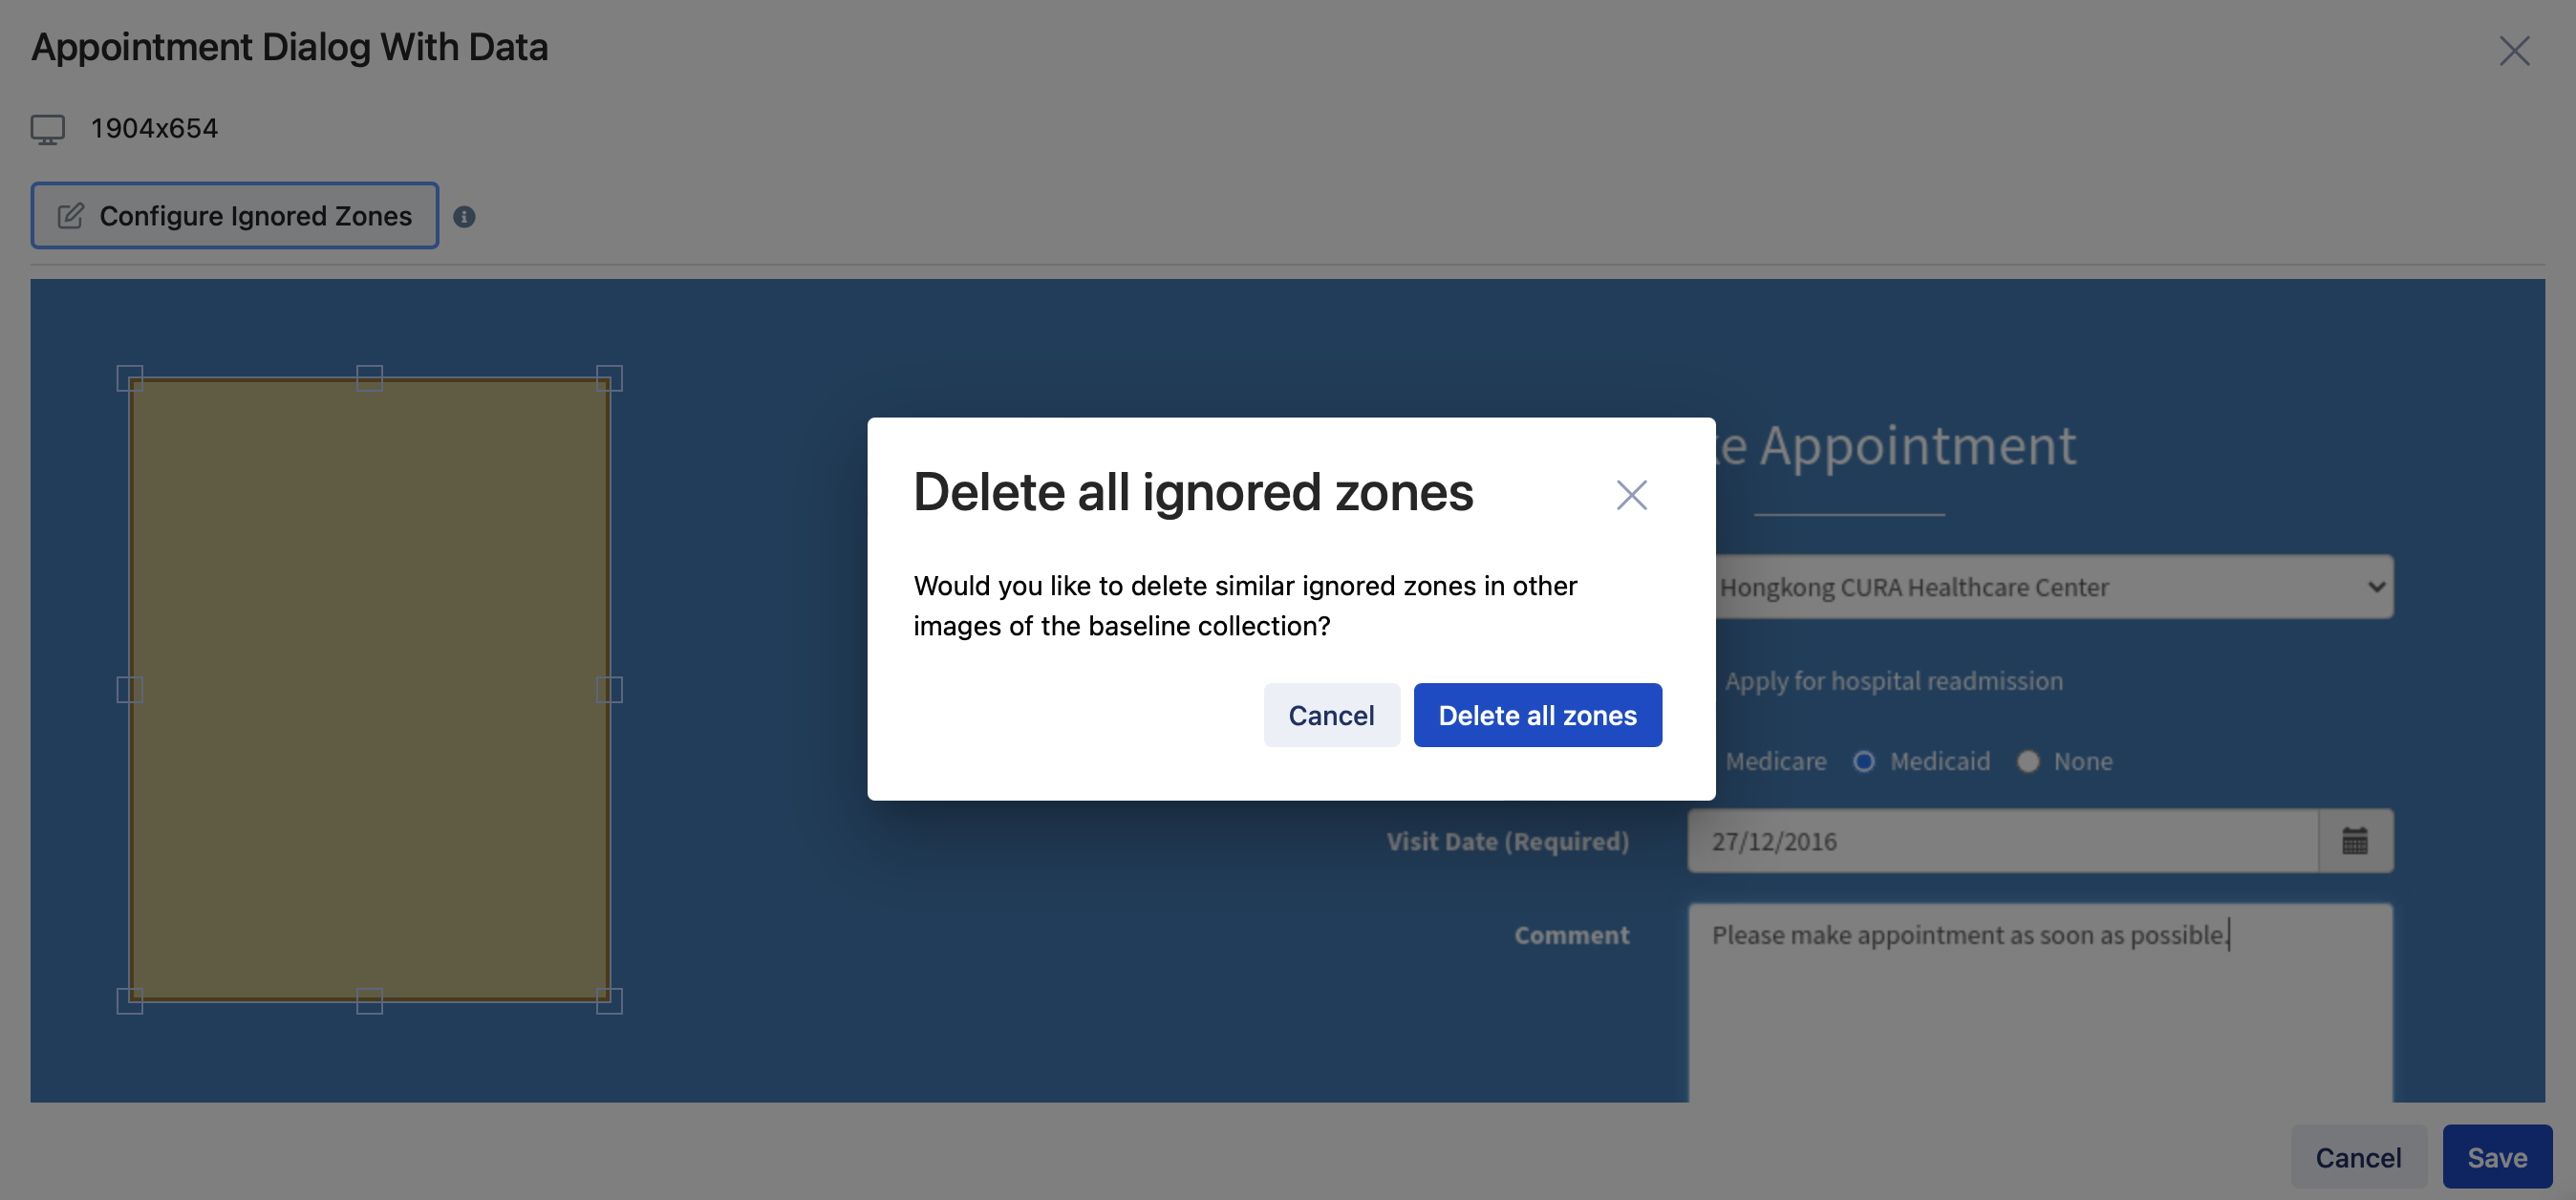
- If the ignored zone is green (indicating it's applied to all images with the same resolution), a Delete All Ignored Zones confirmation dialog appears. Click Delete to confirm.
-
Click Save to temporarily save the configuration.
-
This change is currently in a draft state (e.g., Version 19 (Draft)). To permanently save the ignored zones under a new version, click Save Version at the top right corner.
Hide or unhide ignored zones when comparing checkpoint
When comparing the checkpoint image with the baseline image, you have the option to show or hide Ignored Zones in the comparison interface.
Legacy Version
Configure a baseline image
Unresolved images
If you run the Test Suite again and the new screenshots of this test execution are different from the baseline images, the status of this Visual Test Run is then marked as Unresolved. To resolve these images, follow these steps:
Ignored zones
Specifying ignored zones is especially useful when testing a website with some dynamic and changing content (such as pop-up ads on specific areas). Visual testing can ignore such content while comparing captured images with the baseline one.
In TestOps Visual Testing, you can configure an ignore zone in a baseline image and apply this ignored zone to all baseline images in the baseline collection. You can also delete the ignored zone(s) in all baseline images.
Add an ignored zone to a baseline image
When comparing the checkpoint image with the baseline image, you can show or hide the ignored zones by ticking/un-ticking the Ignored Zones checkbox.
Apply an ignored zone to all baseline images
Adding an ignored zone to the same area in multiple baseline images could become time-consuming if there are more than one baseline image. With TestOps Visual Testing, you can apply an ignored zone to multiple baseline images in a baseline collection.
To apply an ignored zone to all baseline images within one baseline collection, follow these steps:
Delete ignored zones
You can delete an ignored zone in one baseline image and/or all baseline images in the baseline collection.
An ignored zone applied to all baseline images is displayed in yellow. To delete it, follow these steps:
