Attention
This document covers TestOps Legacy version only.
Set up Visual Testing
To set up Visual Testing, follows these steps:
-
Enable screenshot capture in Katalon Studio. See Capture Screenshots.
- You can only apply visual testing for screenshots taken as checkpoints. For new users, we highly recommend using the following keywords:
- You can also use this Visual testing sample project on Katalon Studio for basic setup. To learn more about using the WebUI sample project, see: Sample WebUI tests project.
-
Run a test suite in Katalon Studio. If you have enabled Katalon Studio Integration, Katalon Studio automatically uploads the Test Results to Katalon TestOps.
-
Sign in to Katalon TestOps and go to your project.
-
Go to Reports > Visual Testing.

-
Click on the ID of a Visual Test Run.
The Results page appears. You can see the screenshots (known as Visual Checkpoints) captured during a test execution.
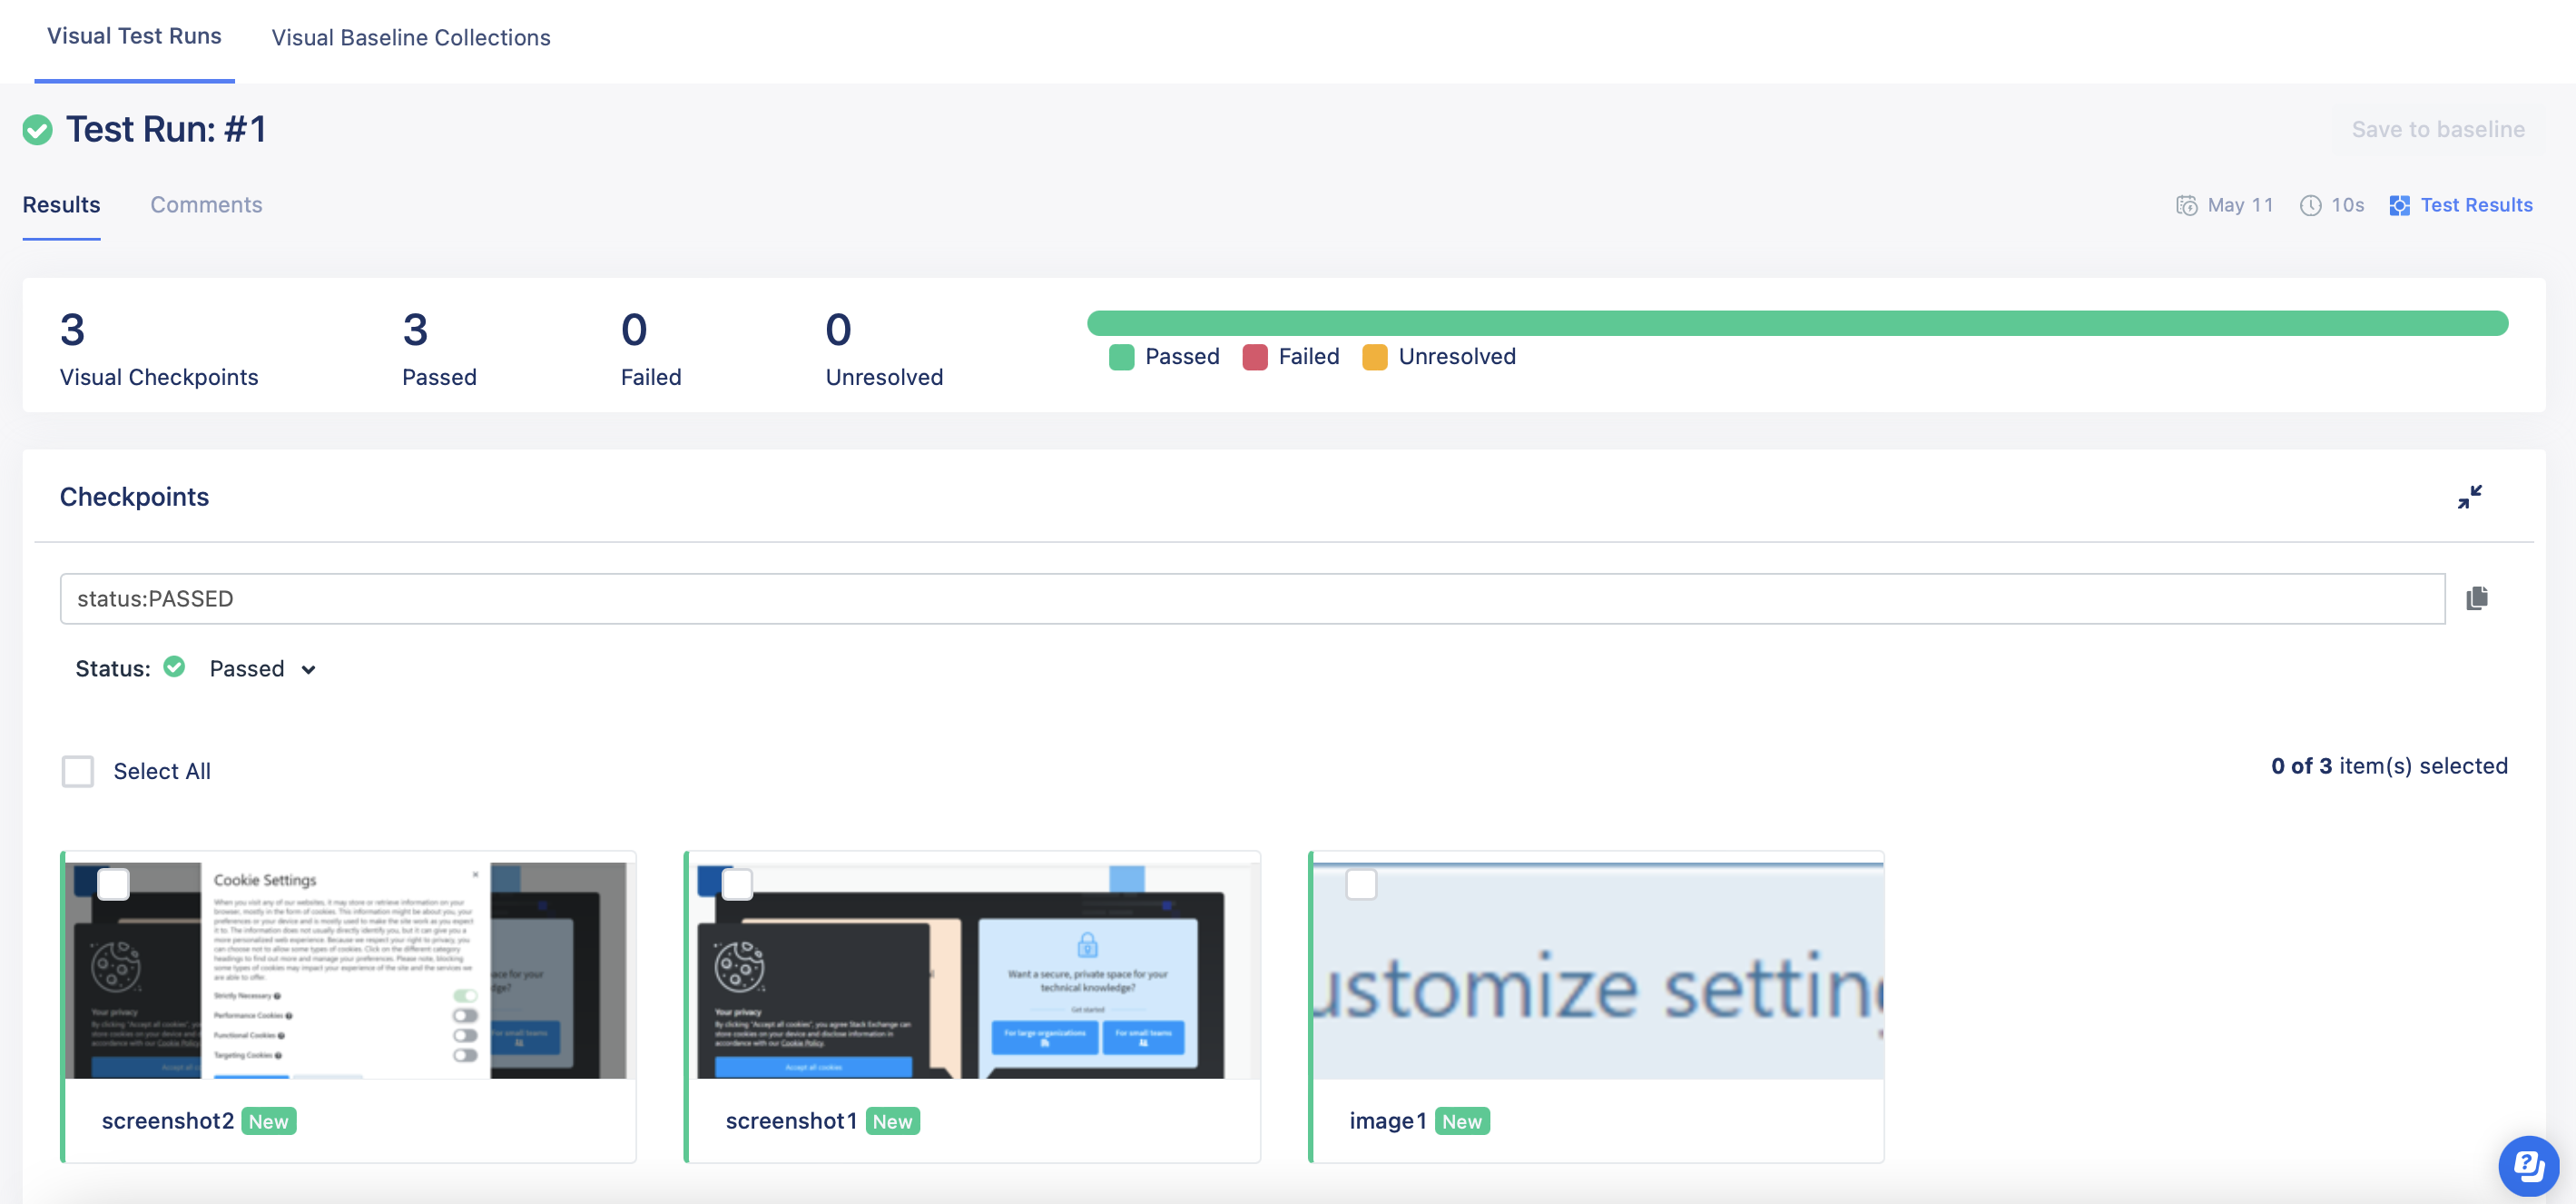
-
Select a screenshot to see the details.
- If you run a Test Suite for the first time, there is no baseline image.
- If you have existing visual data, you can view the screenshots in the System-generated baseline collection folder.
Result
You have successfully set up Visual Testing in Katalon TestOps.