Set up a User Group (Legacy)
Last updated: September 2025
Attention
This document covers TestOps Legacy version only.
A user group is a group of users in an Organization that shares the same purpose, goal, or characteristic. You can invite a user group to a Project at once, rather than inviting every single user's email.
Important:
You must be an Owner or Admins of your Organization.
Create a user group
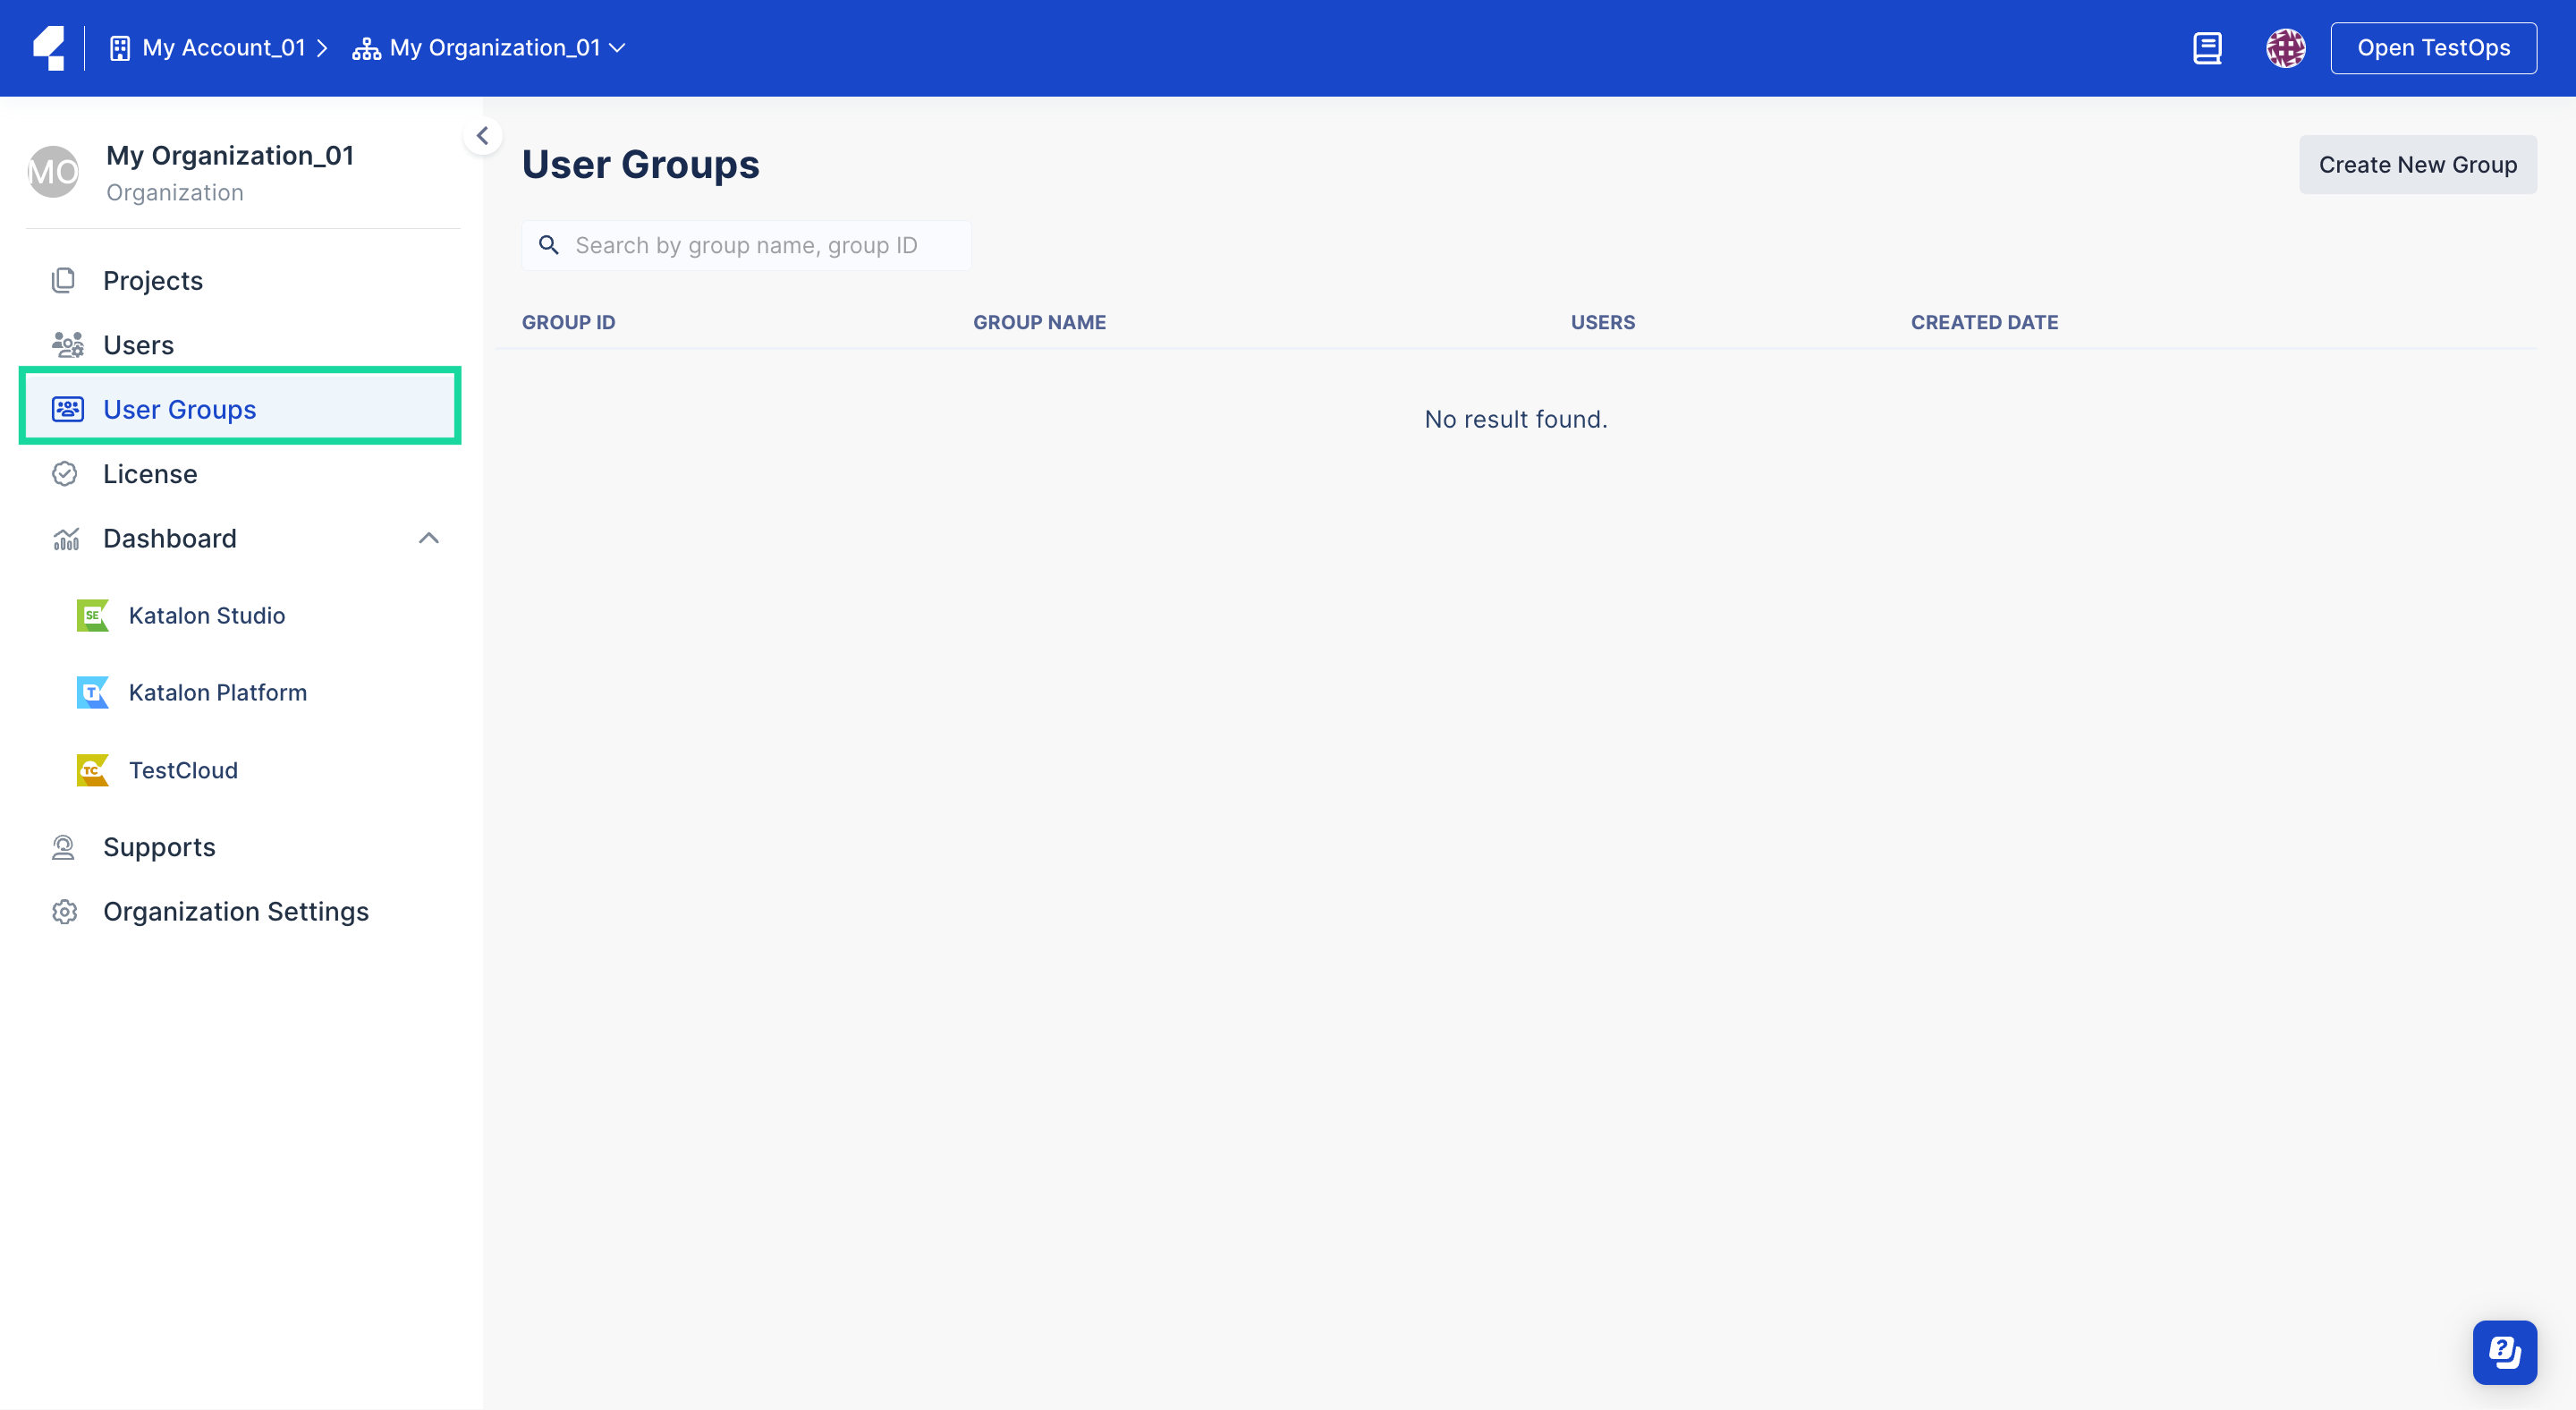
- Once you're in your Organization page, select User Groups from the sidebar.The User Groups page appears.
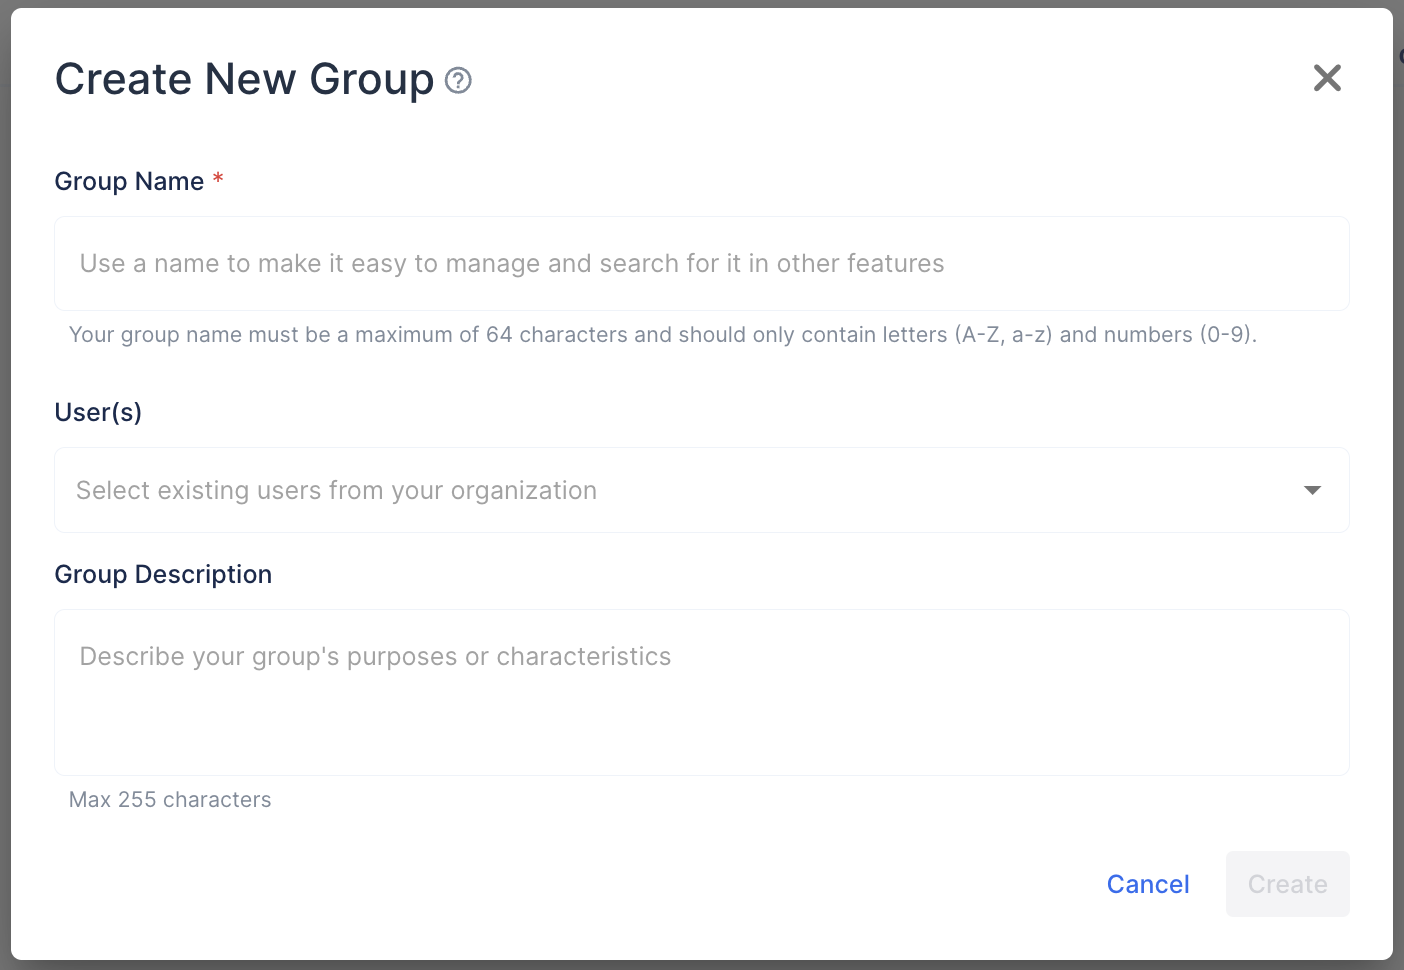
- The Create New Group dialog pops up as below.
You've created your user group successfully.
Now you can invite this user group to any Project. To learn how, see: Add users to a Project.
Update a user group's information
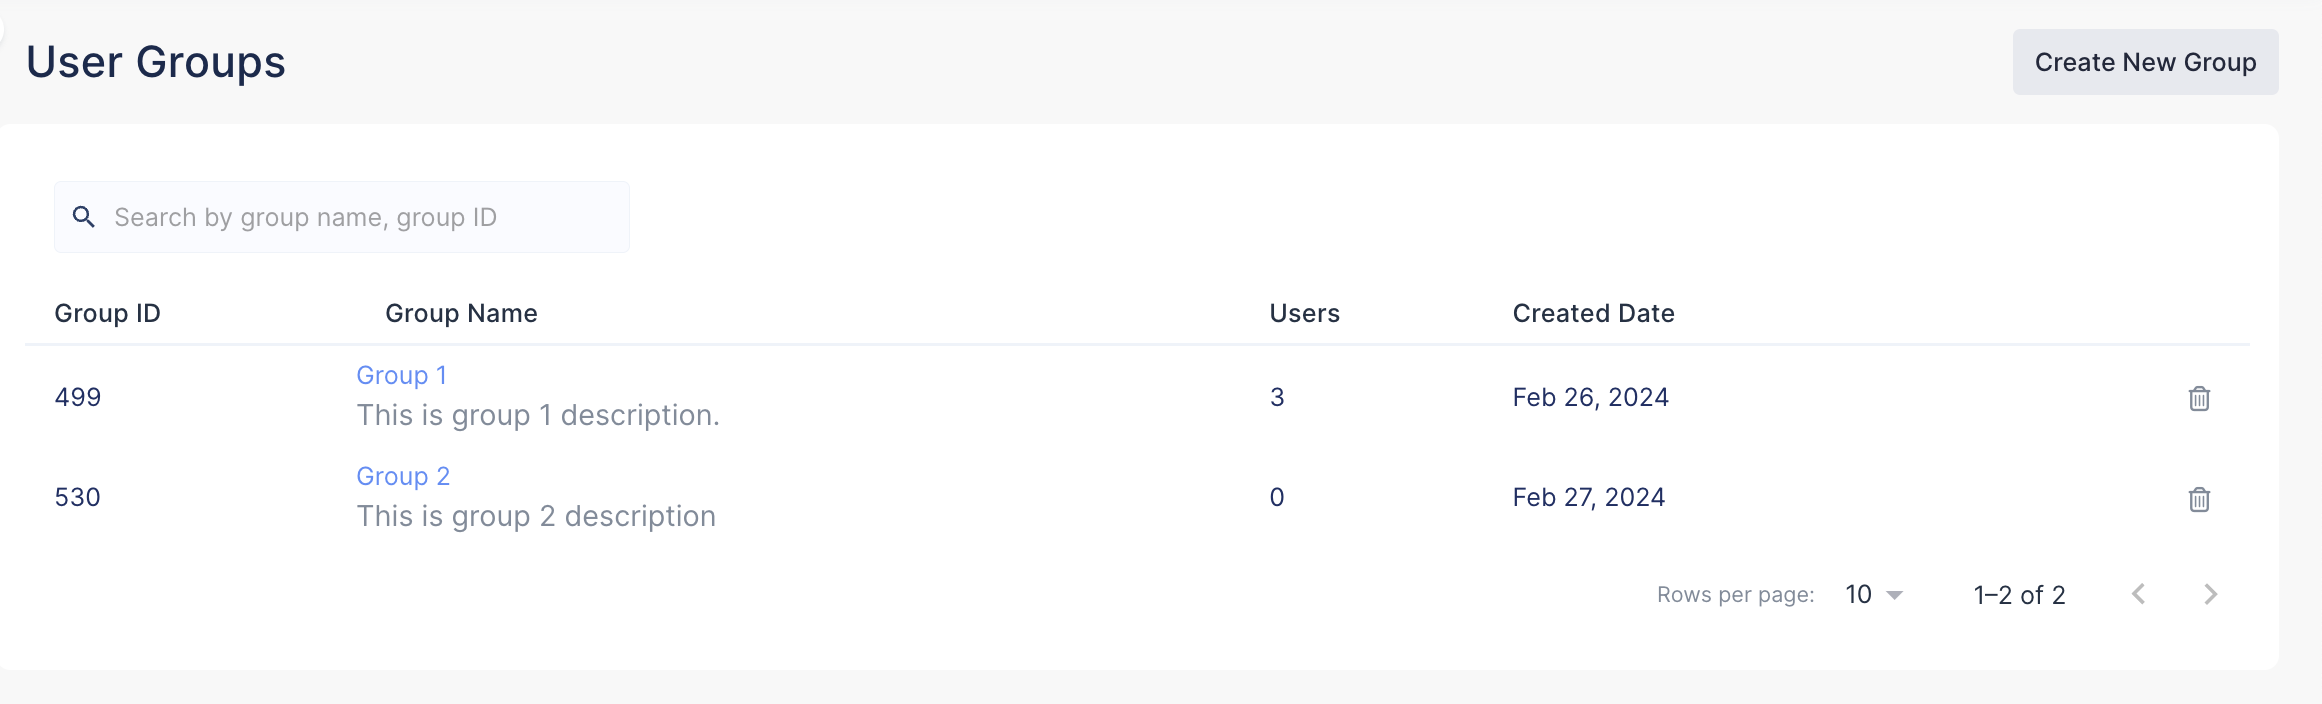
- Go to the User Groups page, then select your desired user group by clicking on the group name.
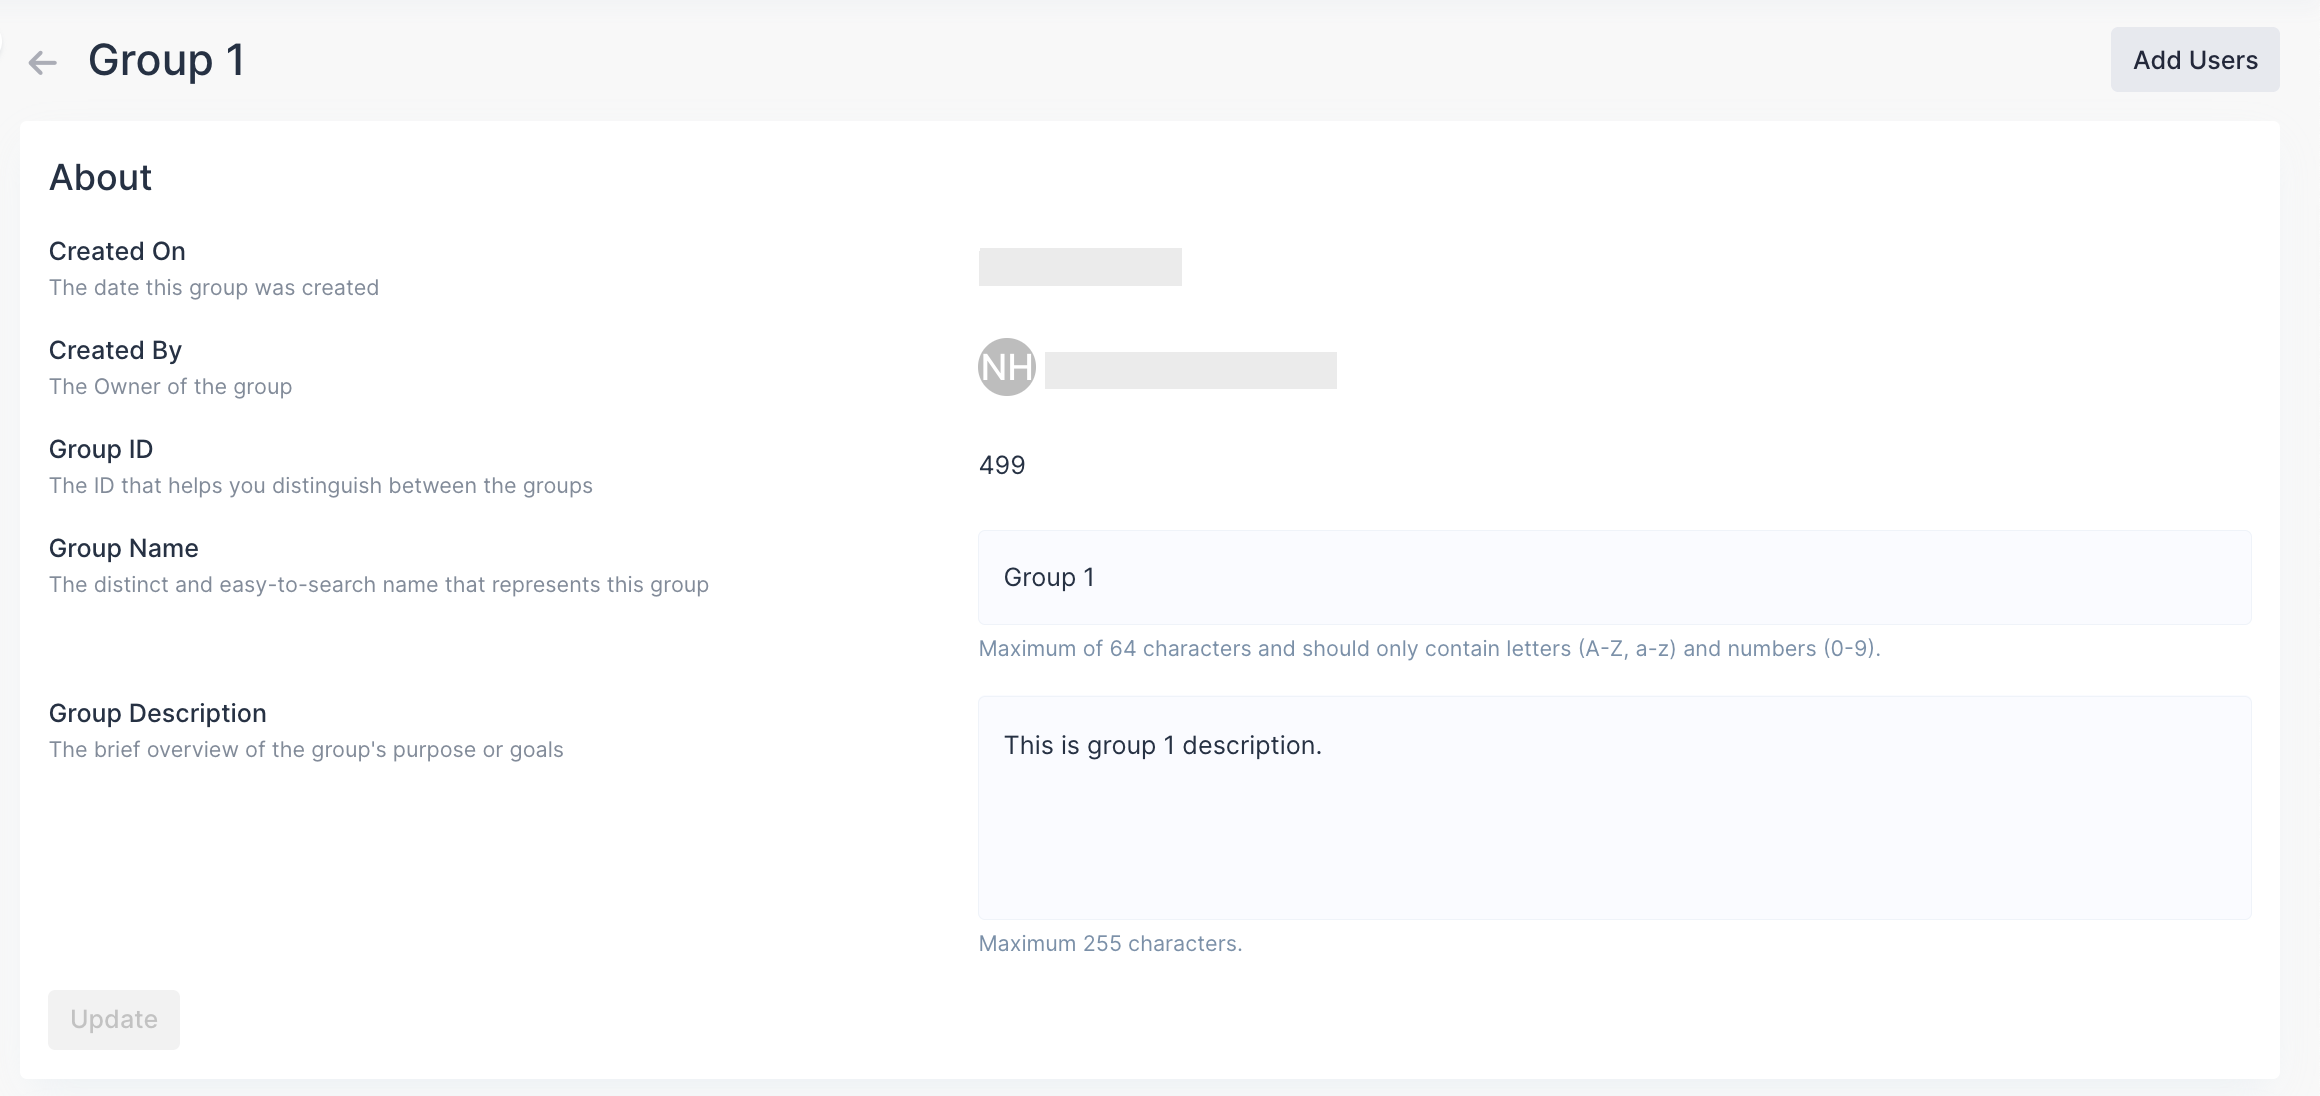
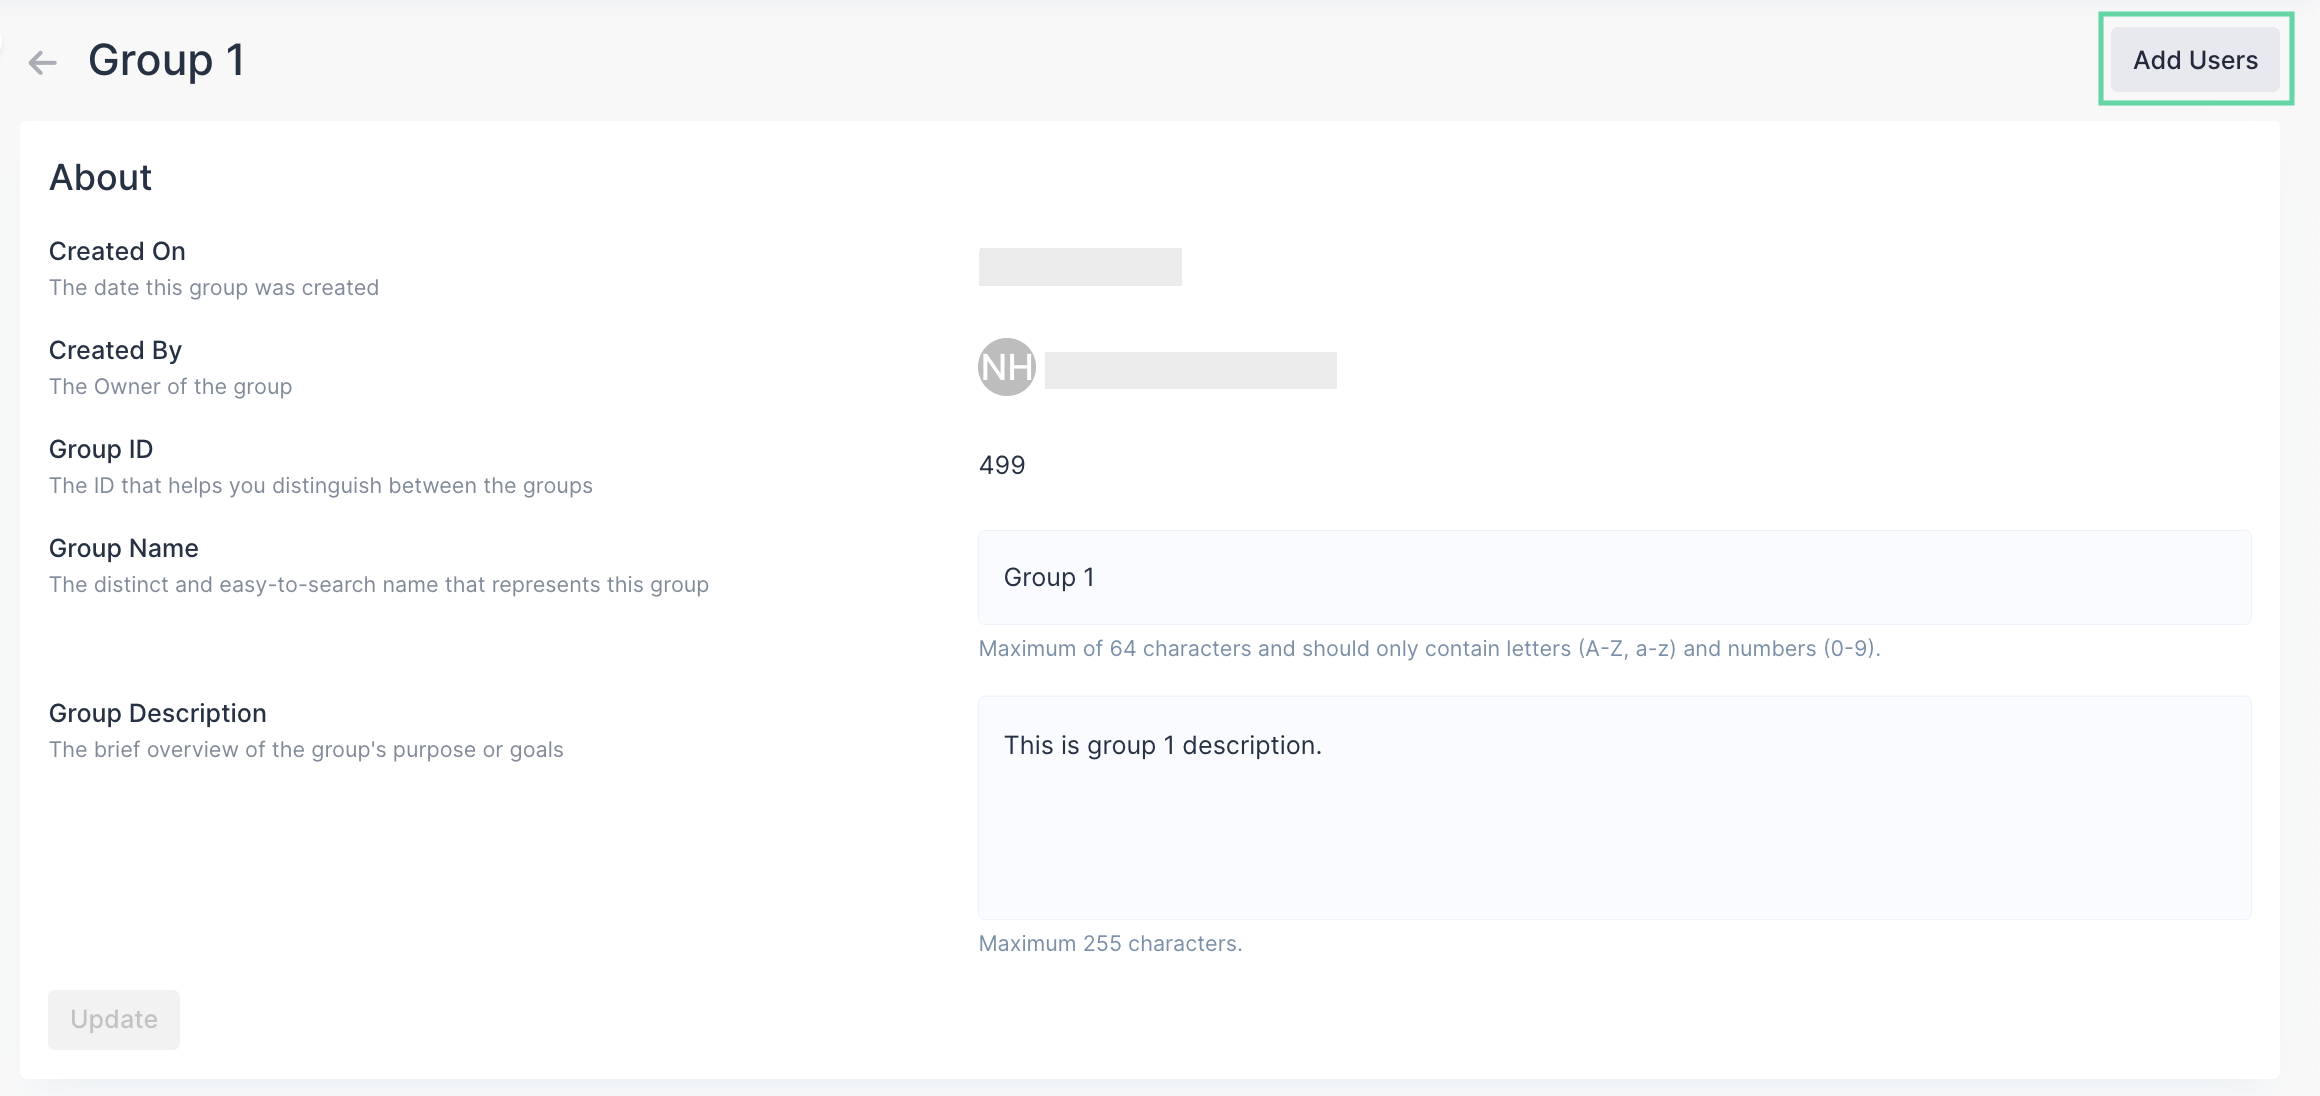
- The Group Detail page displays your group's information as the following screenshot.
Add new users to a group user
- Click on Add Users button on the top-right corner of the page.
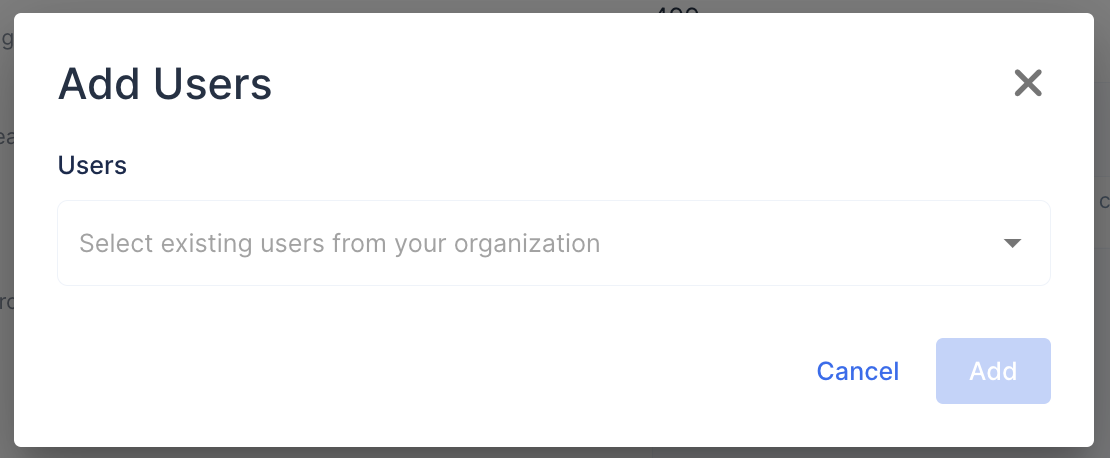
- The Add Users dialog pops up. Select the existing users from your Organization, then click Add to confirm your action.
Remove existing users
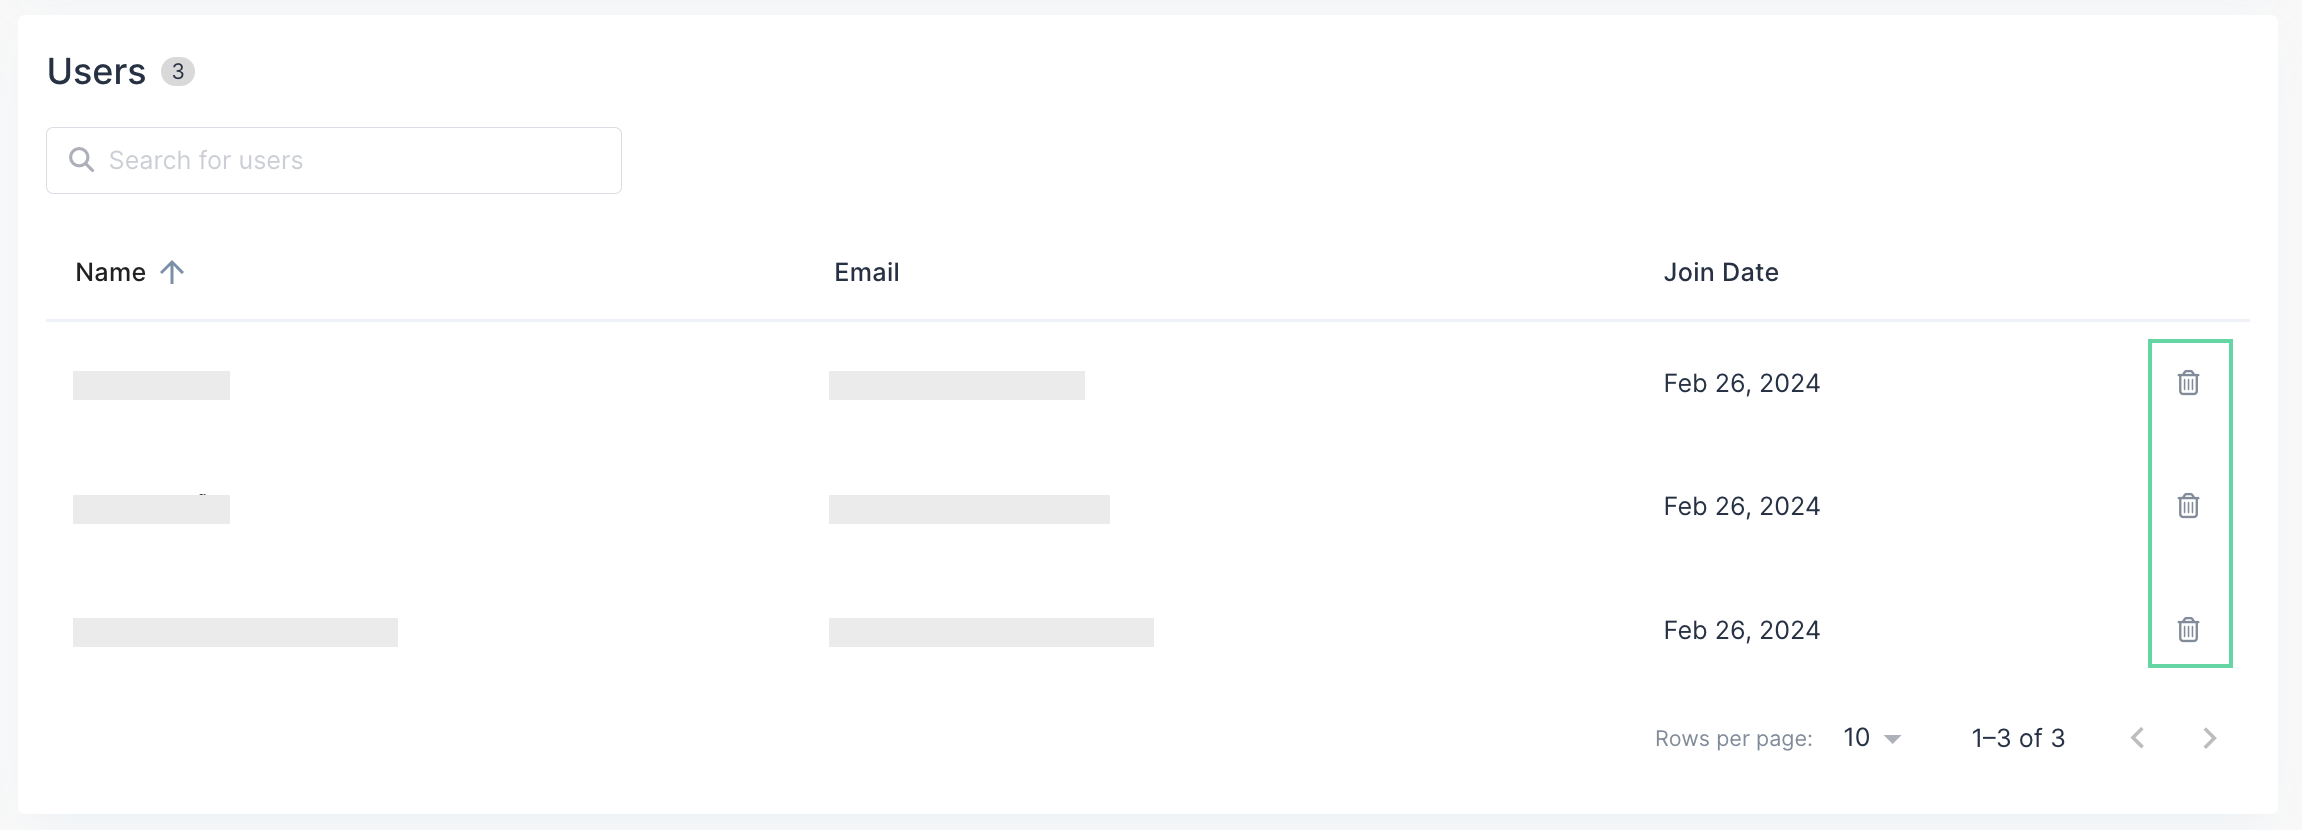
- Click on the trash bin icon next to the user that you want to remove, then click Remove to confirm your action.
 Note:
Note:- Removing users from this group will not affect their access to the relevant projects and features associated with this group.
Delete a user group
Note:
- This action will not affect the membership status of users within your Organization or any Projects.
There are two (2) ways to delete a user group:
On the User Groups page:
You'll find the trash bin icon next to each group.

On the Group Detail page:
Scroll down til the bottom of the page, you'll find the Delete Group section.
