Manage users (Legacy)
This document covers TestOps Legacy version only.
The following article shows you how to invite new users and manage your users within your Organization.
Requirements
You must be the Owner or Admin of your Organization.
Invite users to join an Organization
To work with your team on a project, start by adding them to your Organization.
Follow these steps to add users to your Organization:
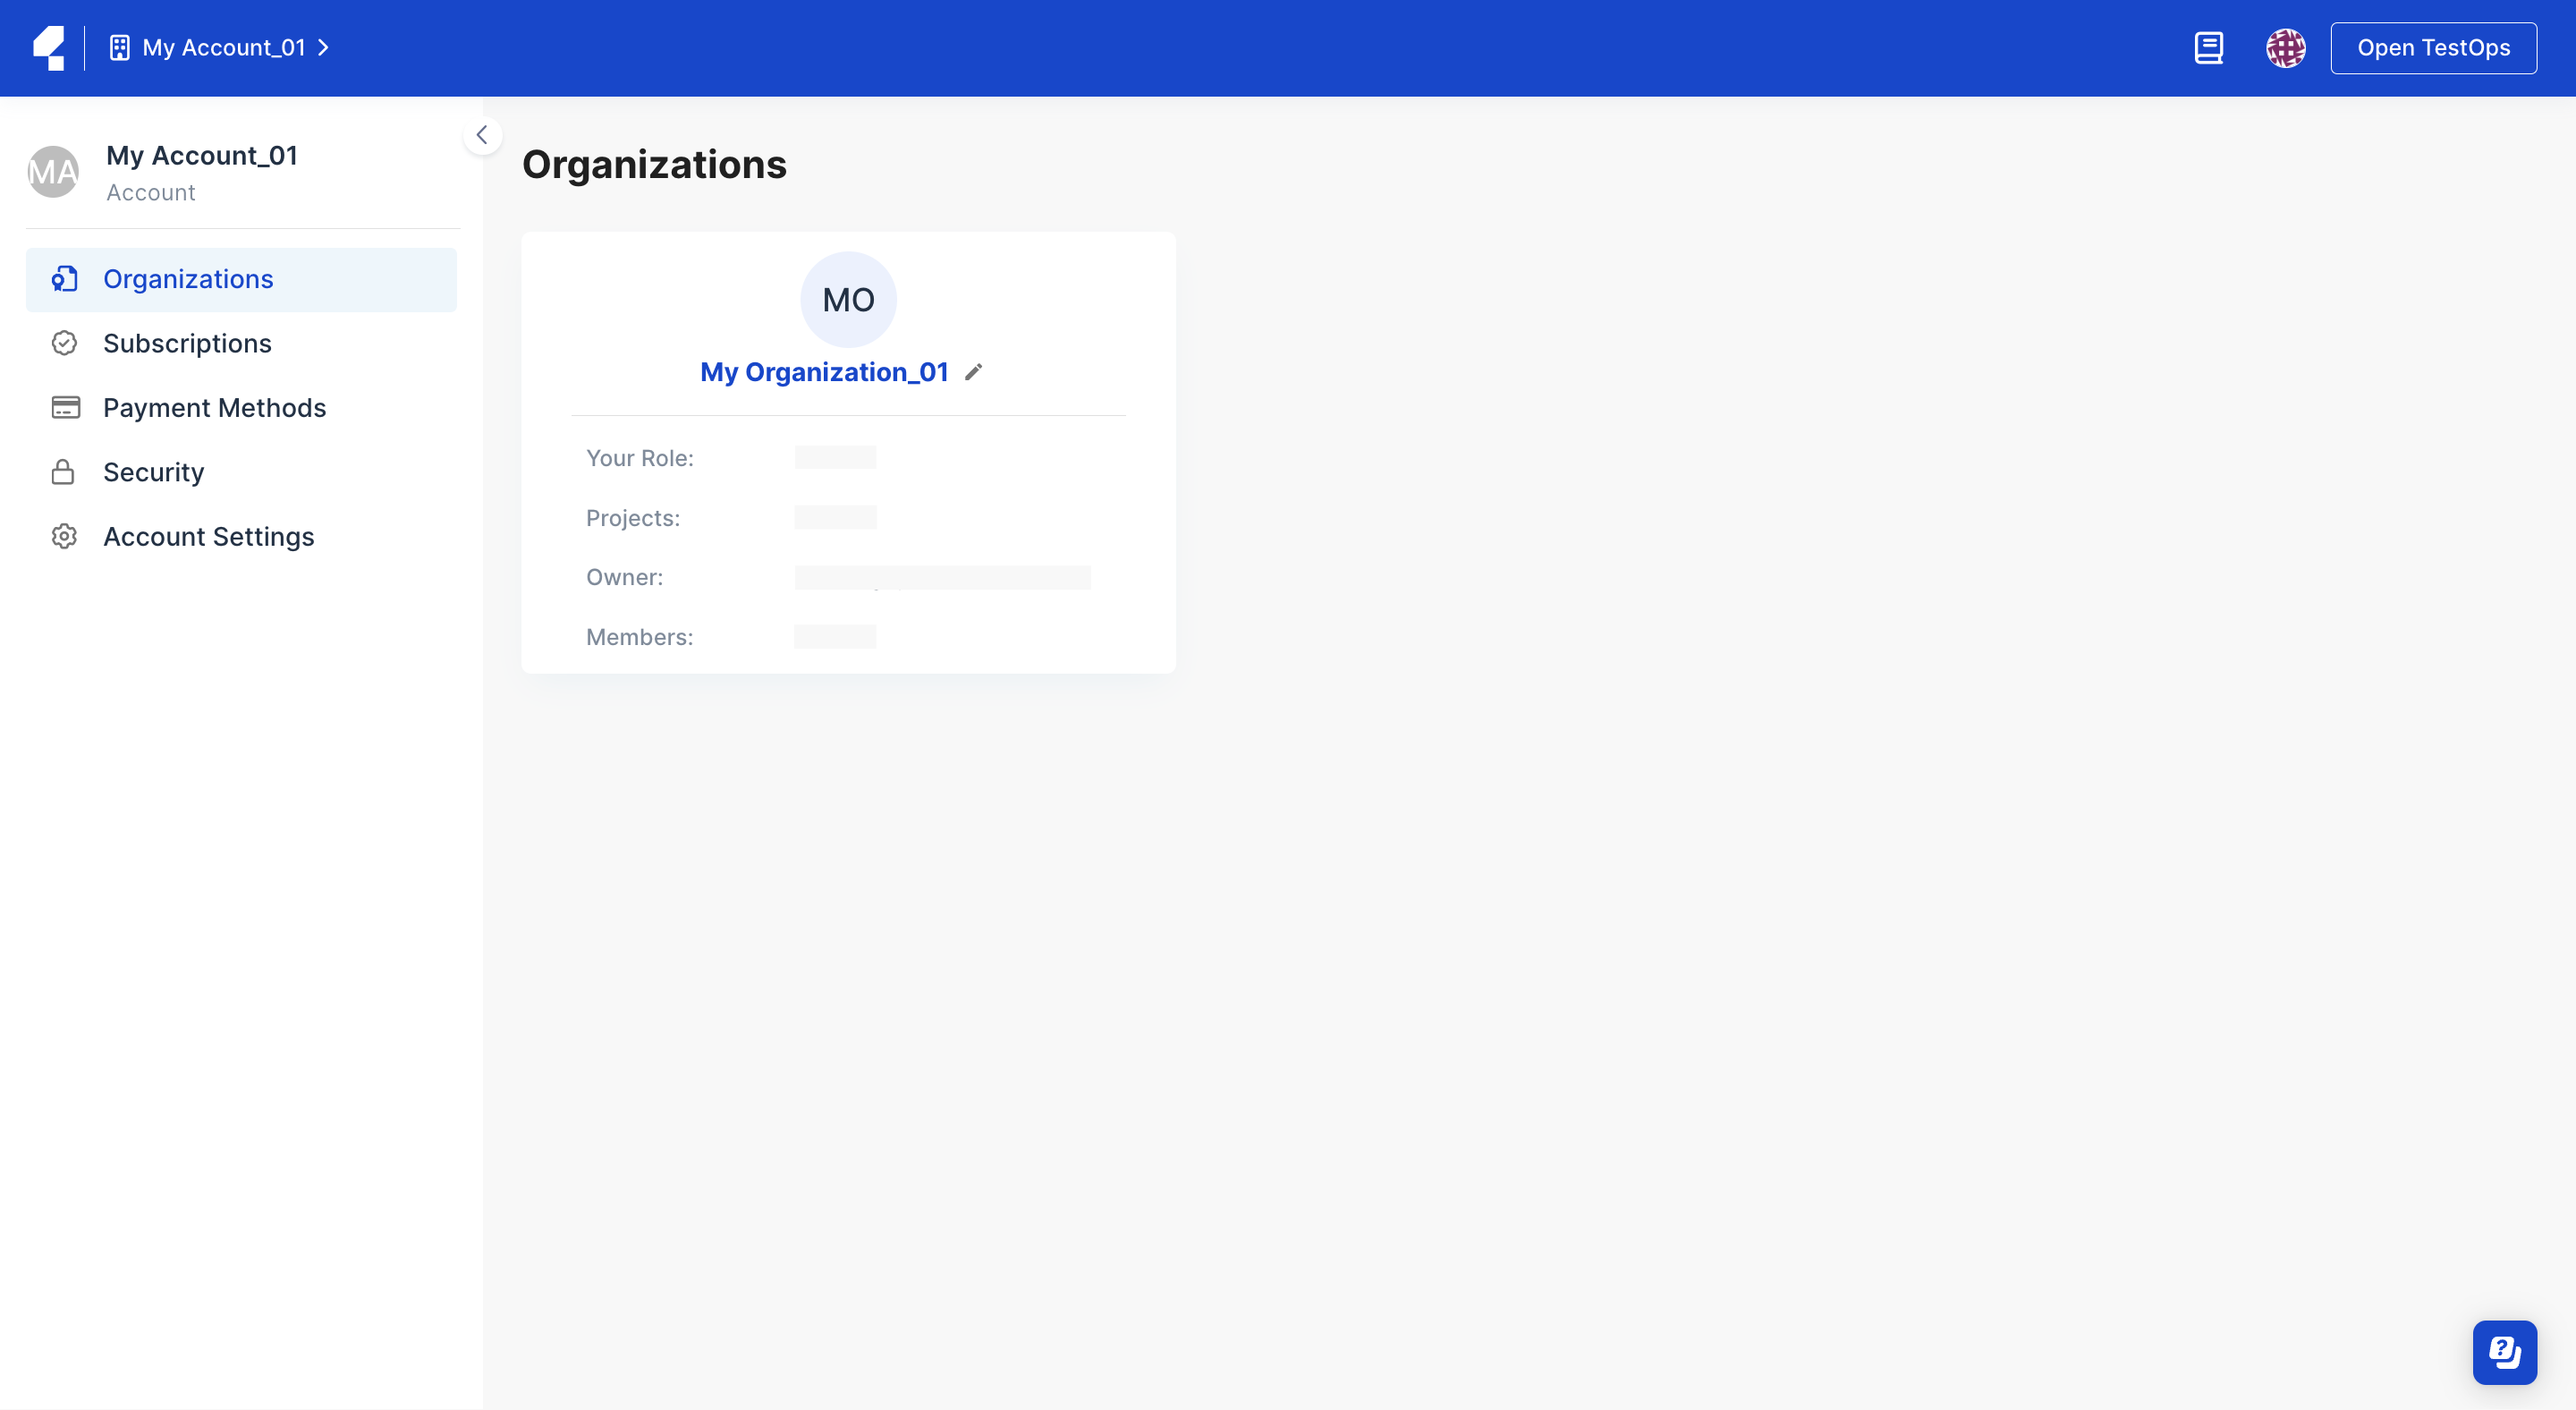
- Sign in to TestOps Admin and select your desired Account.
- In your Account admin page, select your Organization.
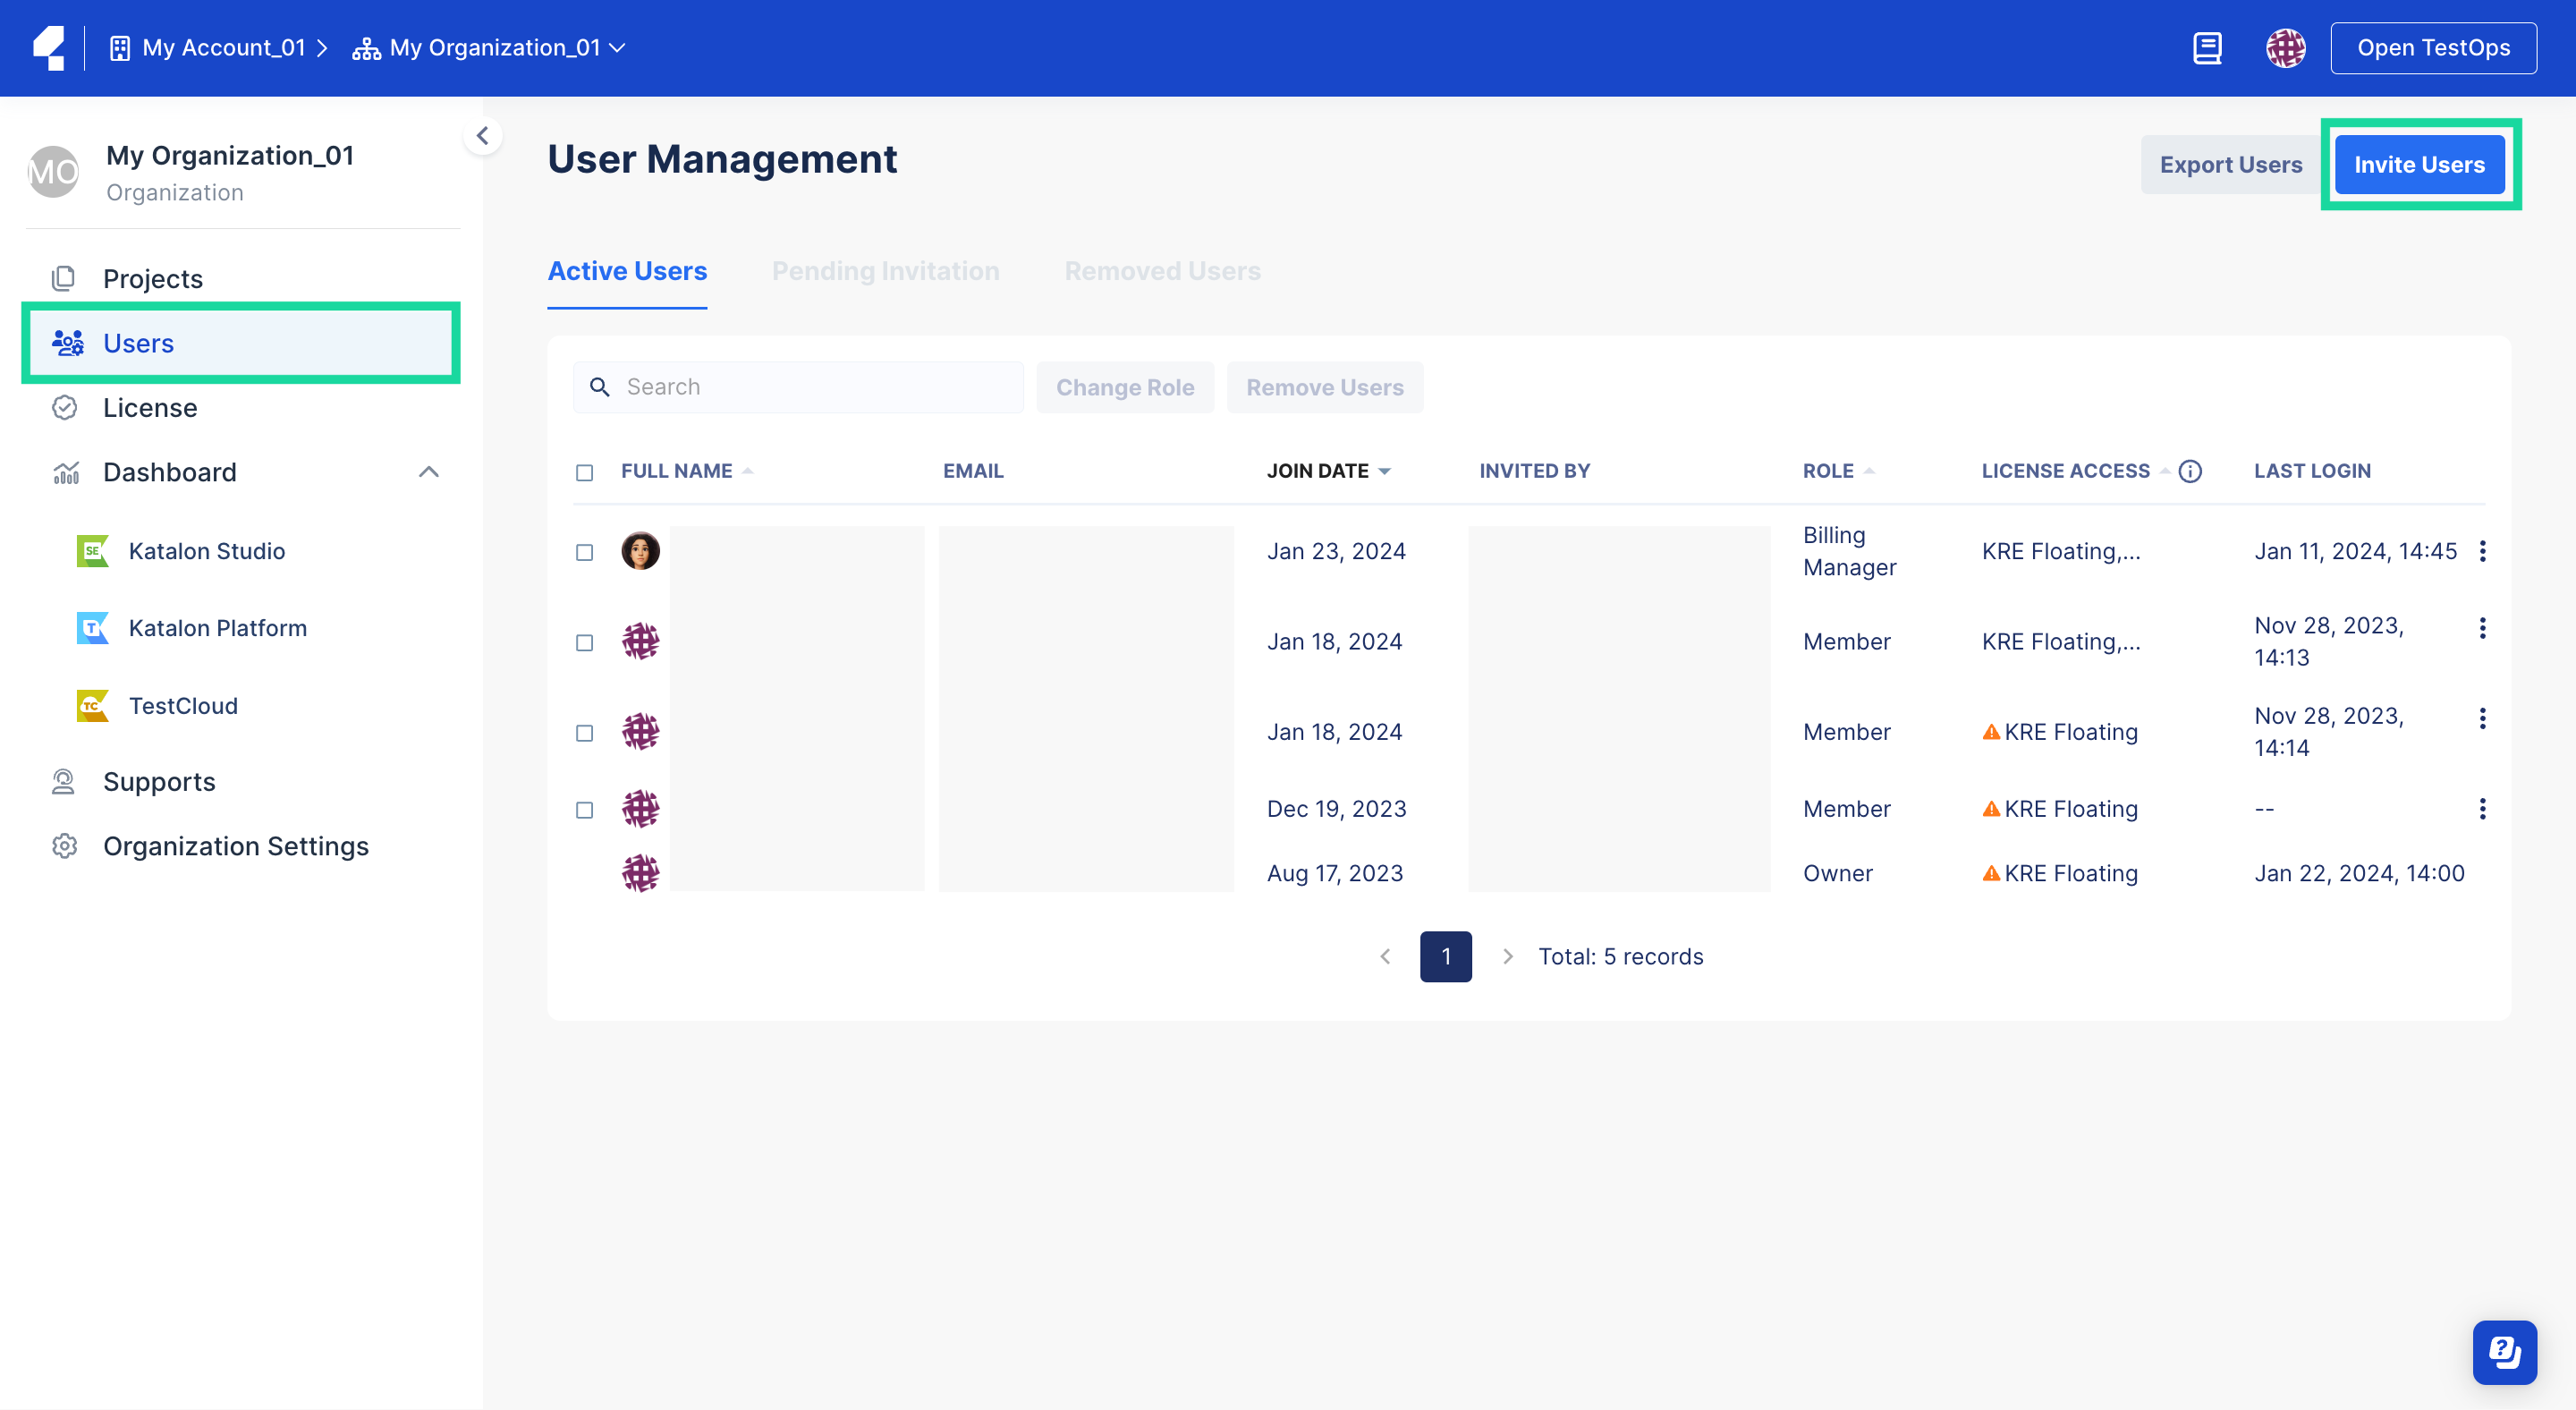
- Select Users to open the User Management page. Click the Invite Users button at the top right corner.
-
Before you perform this step, we highly suggest that you plan which group of users you want to assign specific licenses and teams to.
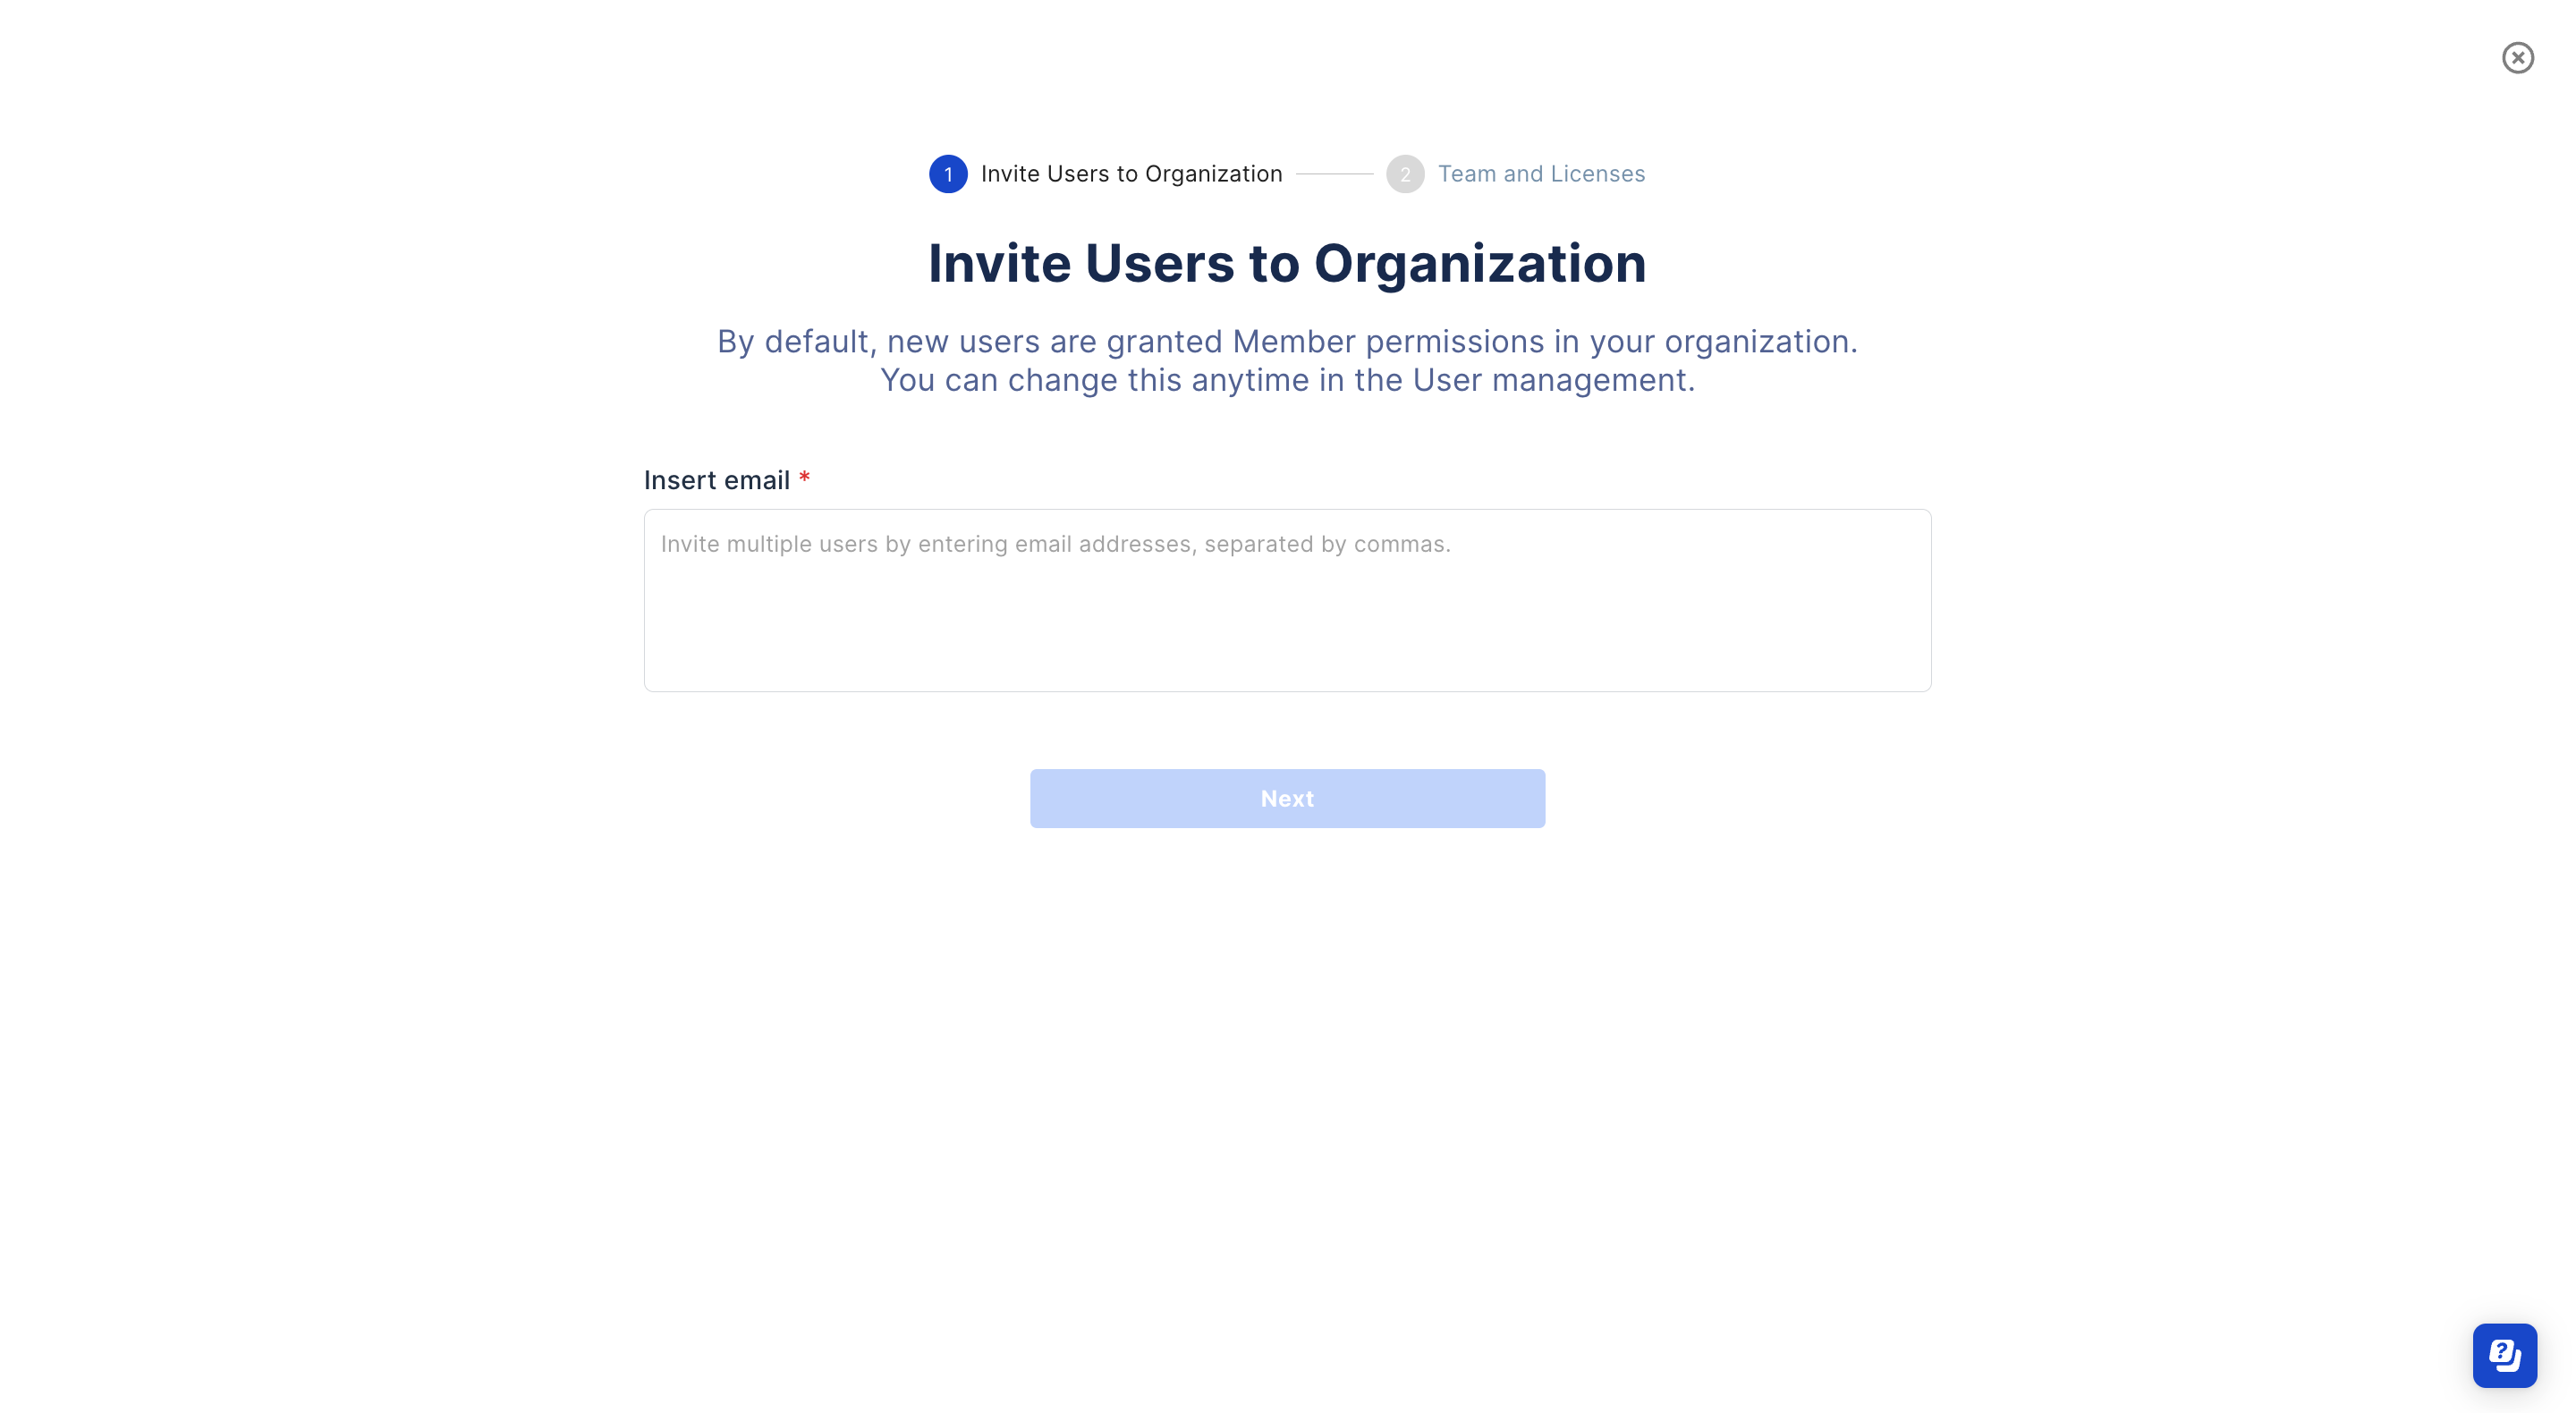
On the Invite Users to Organization window, enter your user's email address. Then, click Next. You can enter multiple email addresses to invite multiple users at once (separate by commas).
-
On the Team and Licenses window, assign teams and licenses to your users.
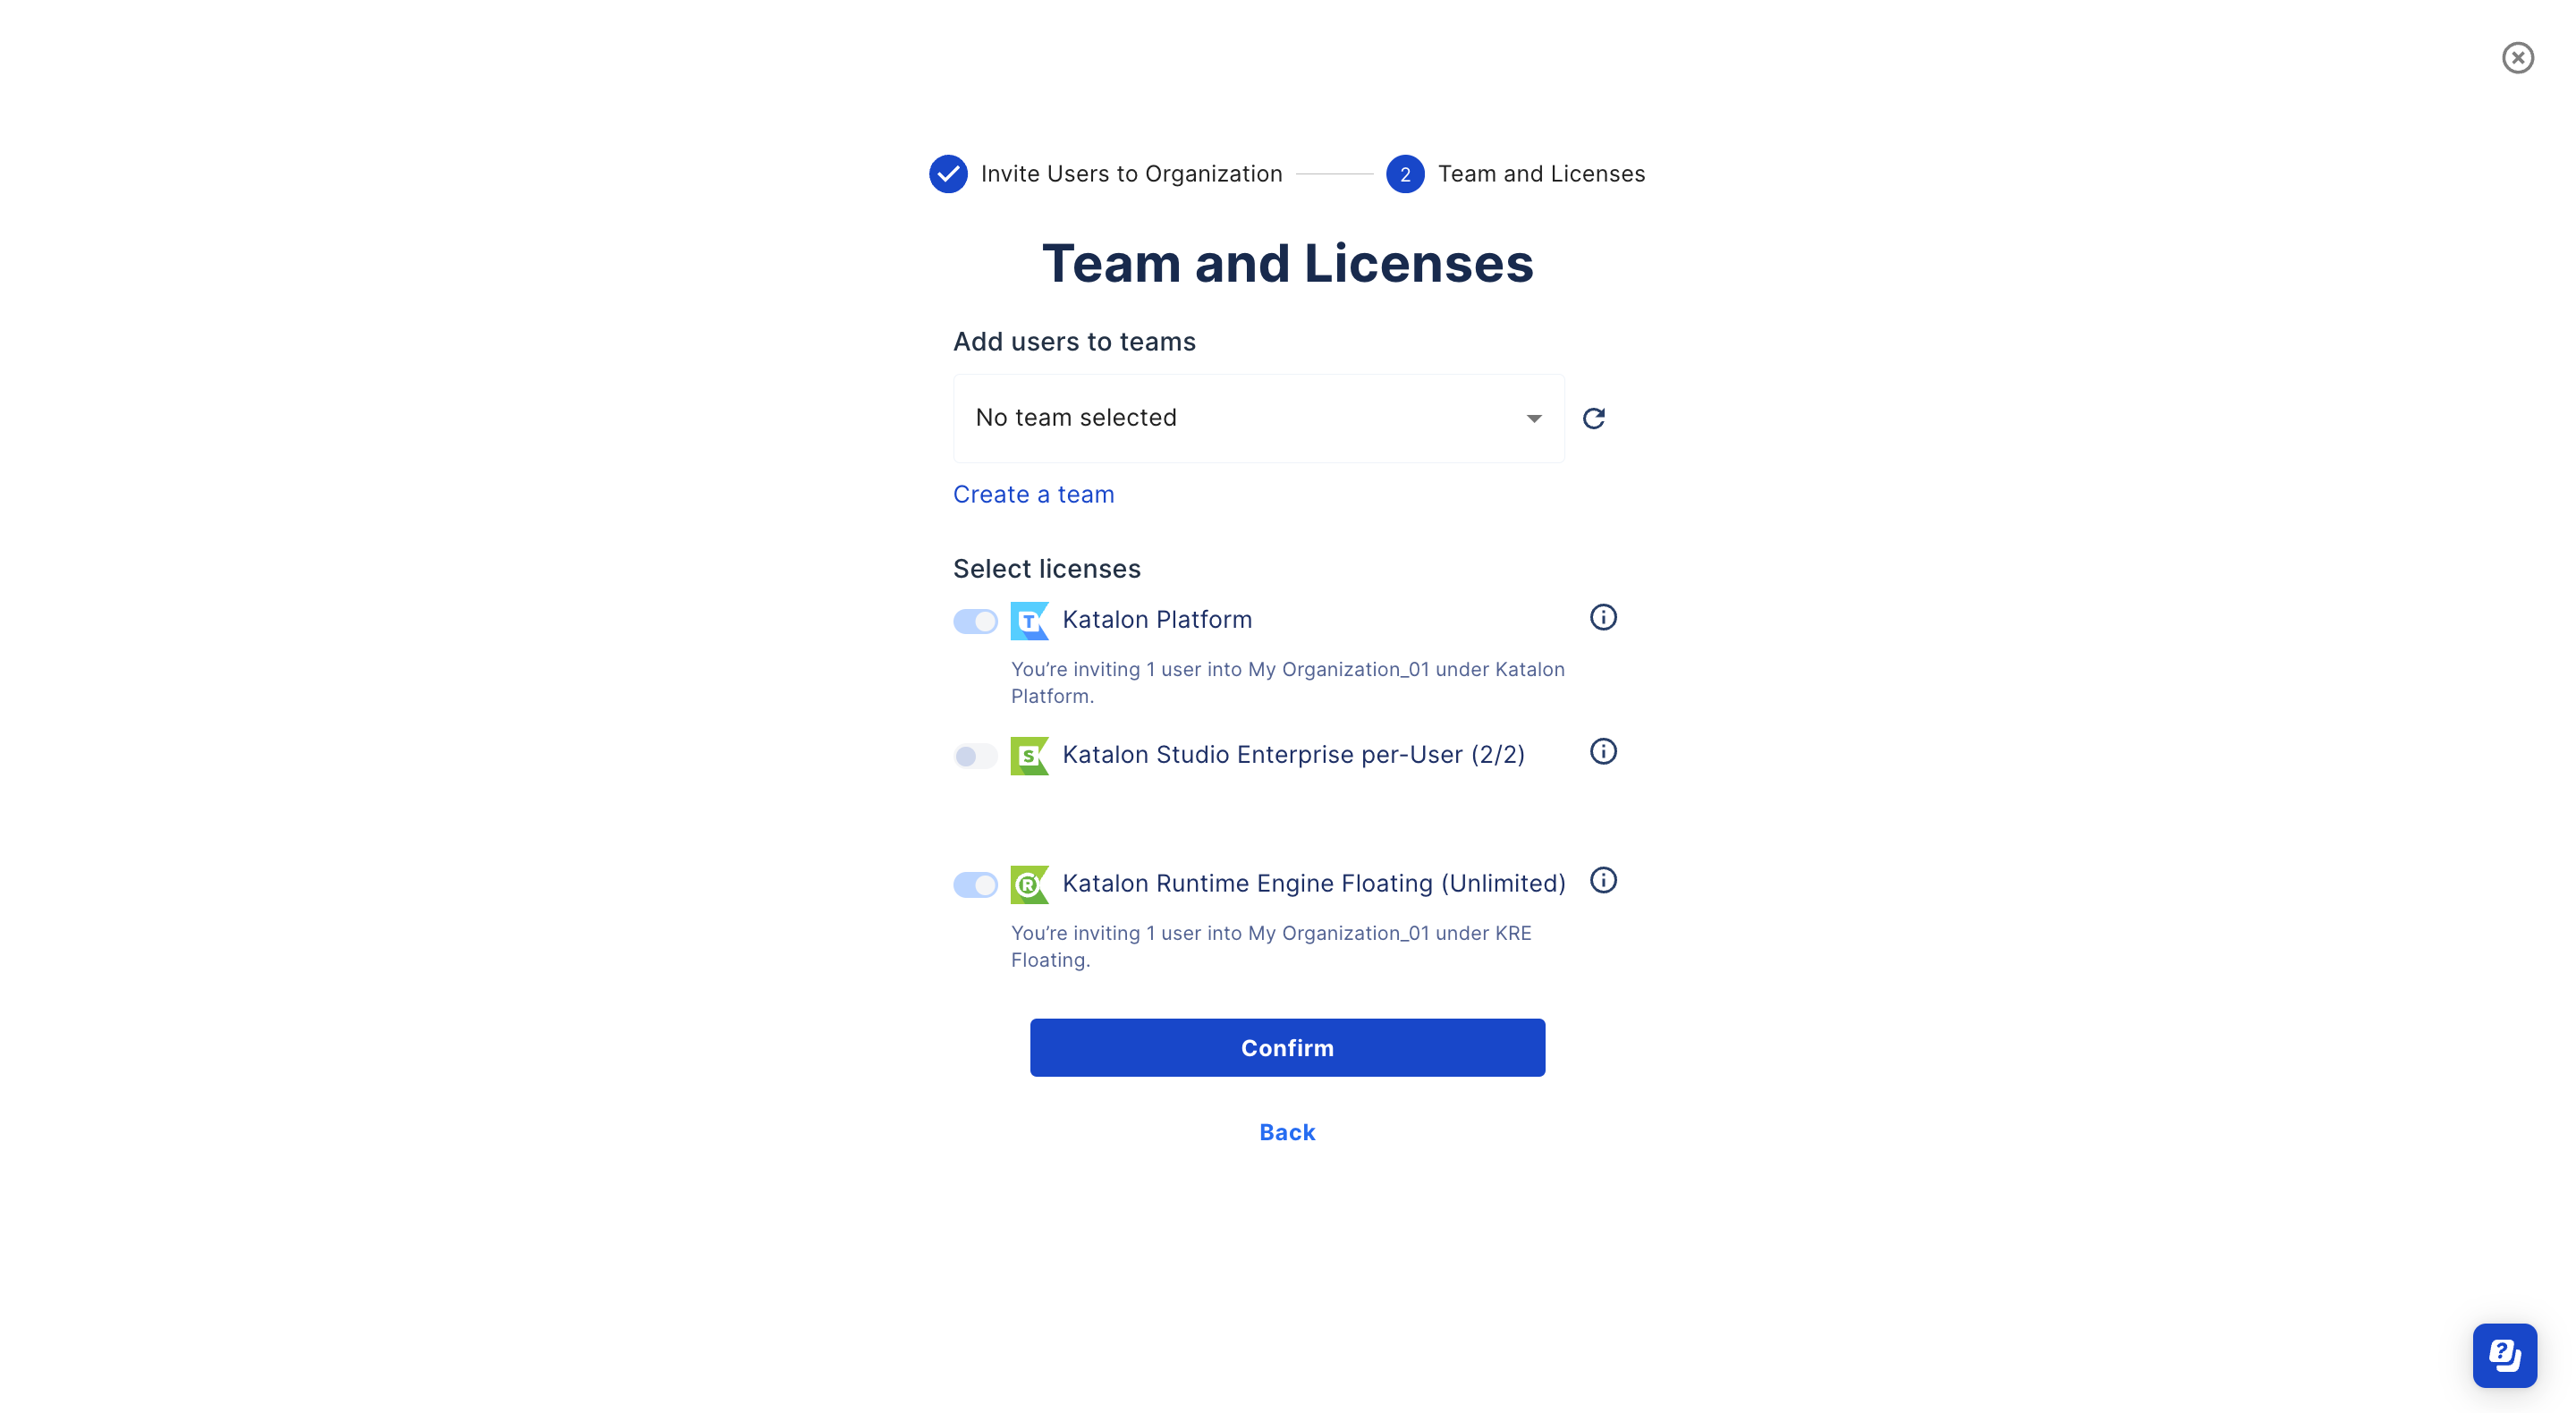
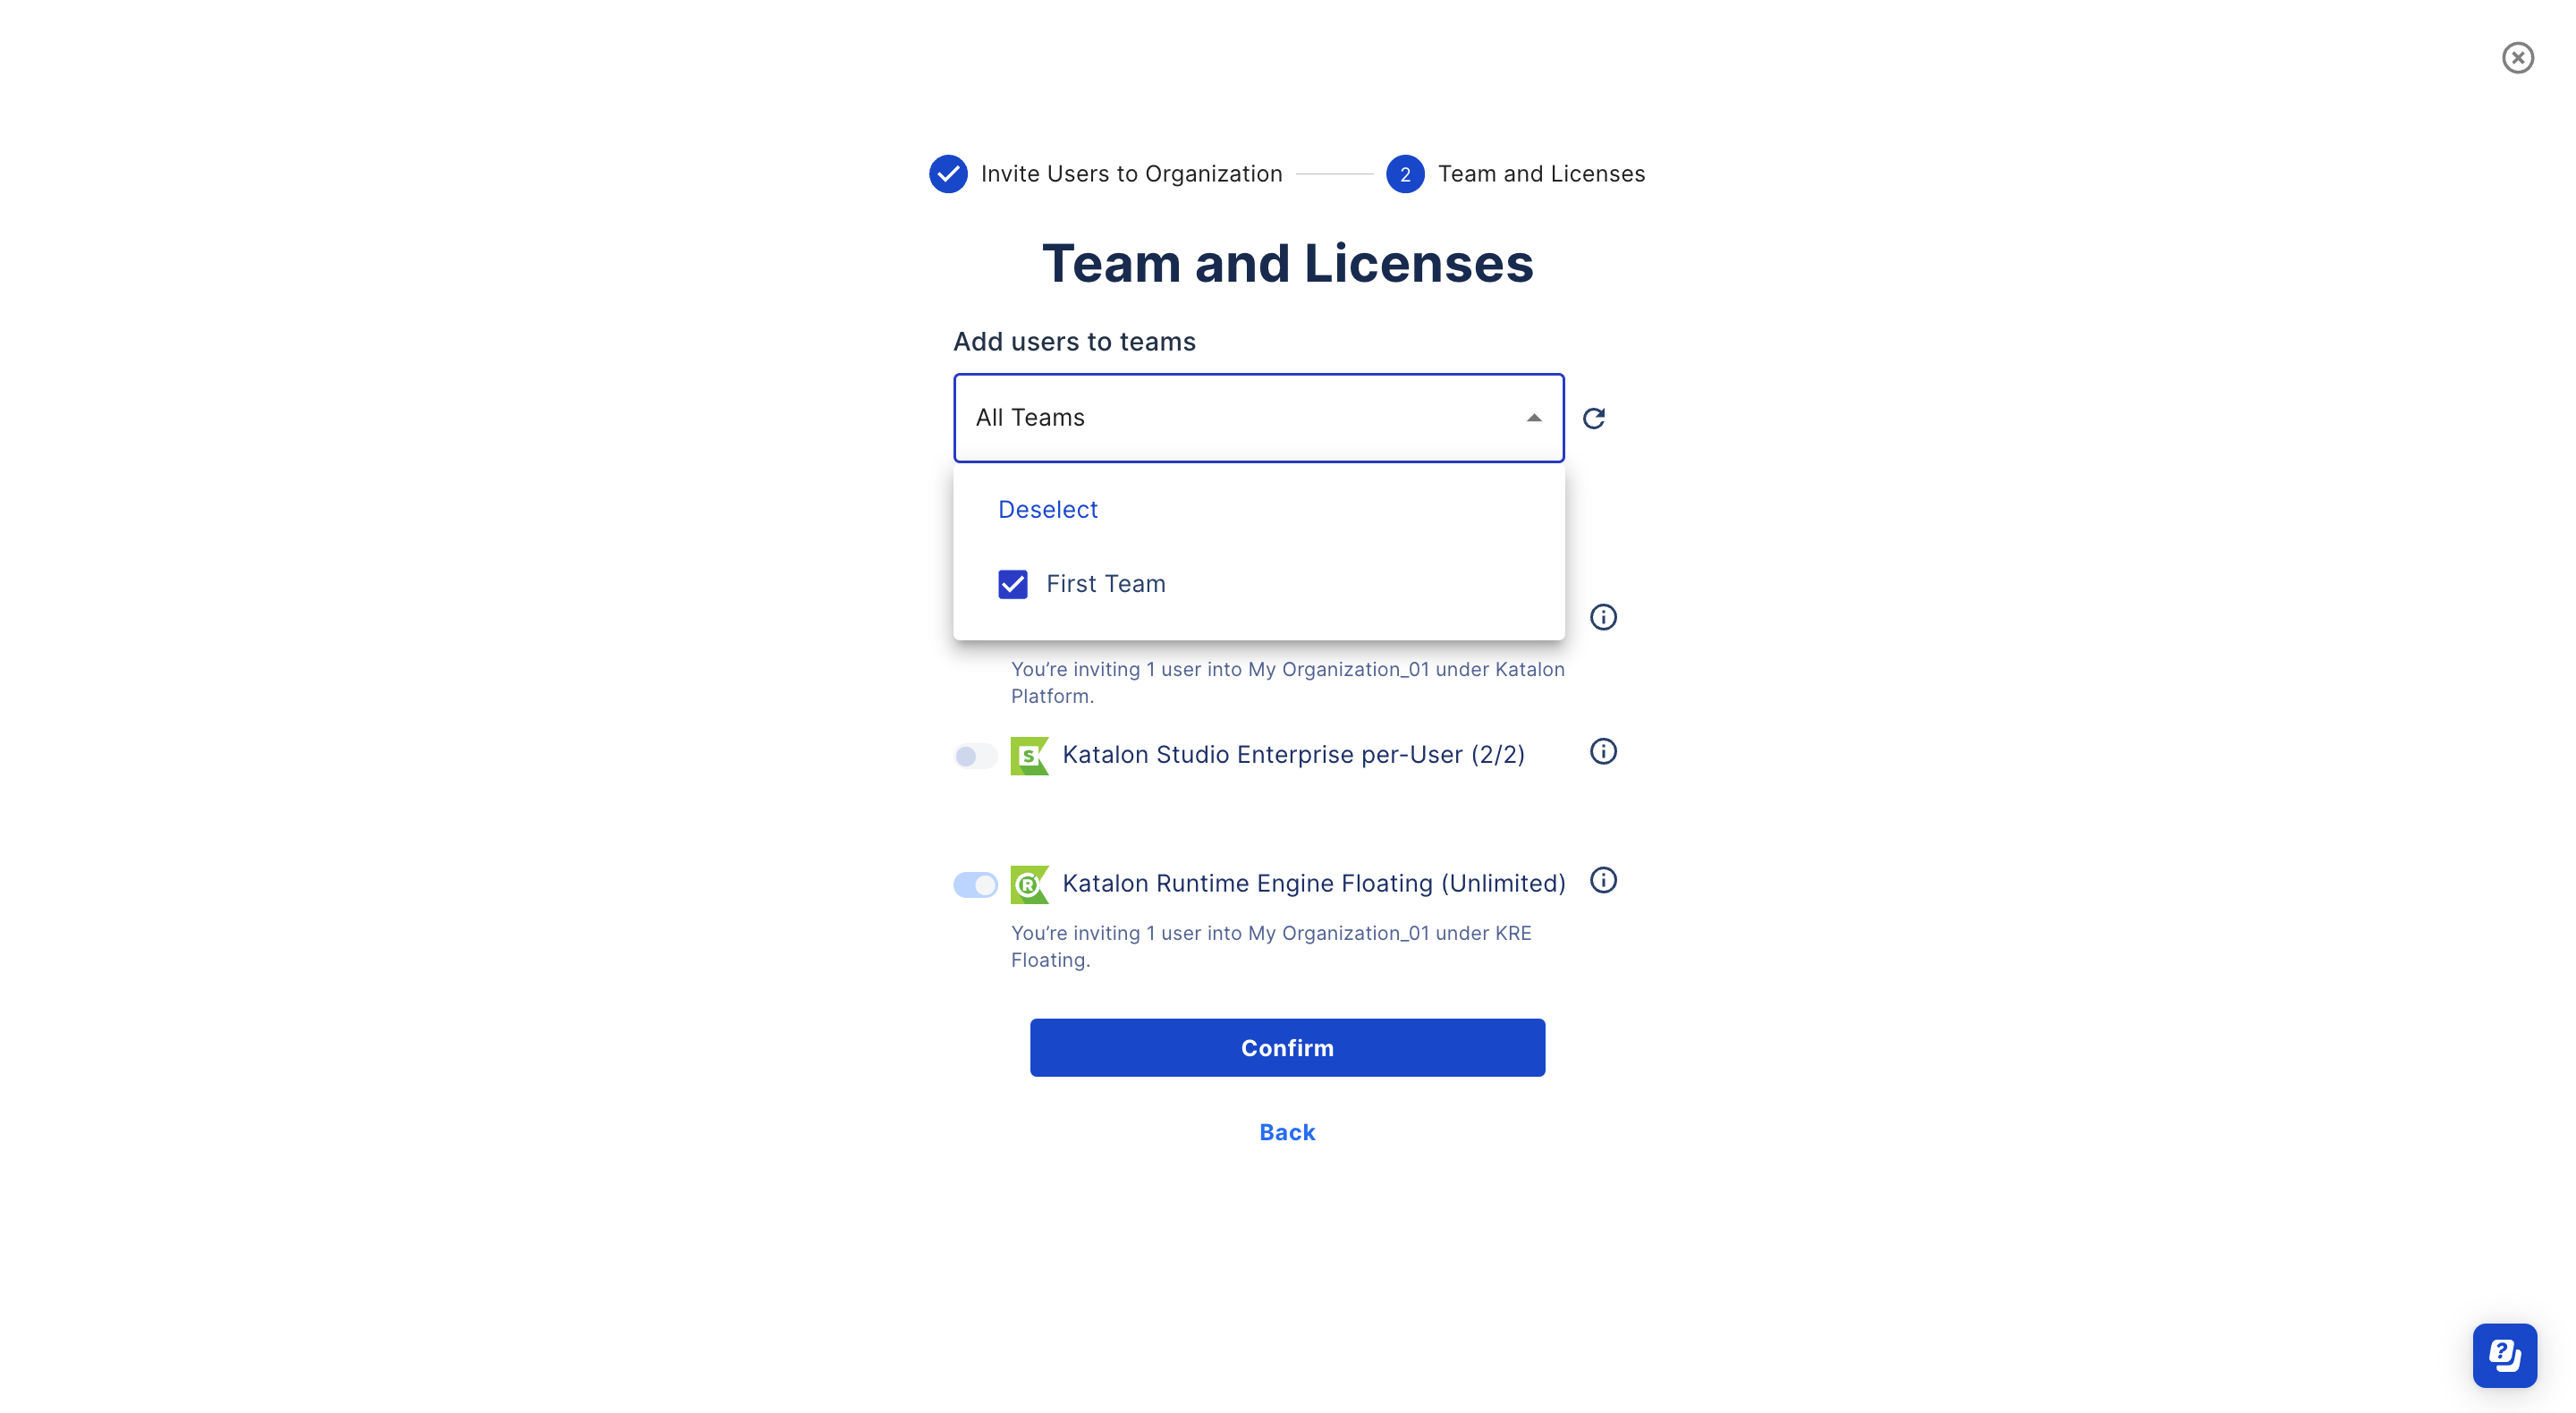
a. In Add users to teams section, select one or multiple teams you wish to assign to your users.In case your Organization have no team, you can create a new team by clicking Create a team. Refer to the following topic for the next steps: Create a Team.
b. In Select licenses section, select the type of licenses you wish to award to your users. You can change these settings later in the License Management section.
-
When you're done, click Confirm.
Result
-
If the email domain of the invited users is not a public one (e.g.,
@gmail.com) and matches the email domain of either the Account/Organization Owner or the inviter, the invited users will promptly become active users of your Organization. -
In contrast, other users will receive an invitation email to join your organization. Once these users accept your invitation, they then become users of your Organization.
You can track their pending invitations in Pending Invitation section. You can also refer these users to view this topic for more information: Join a TestOps Organization.
Note: In case your invited users have not received the email, make sure that they check their spam inbox or ensure that the Katalon Platform email address is whitelisted.
Manage users
After inviting new users to your Organization successfully, the Owner or Admin can manage their users on the User Management page. The following guide shows you how to manage users and pending invitations.
You must be the Owner or Admin of your Organization.
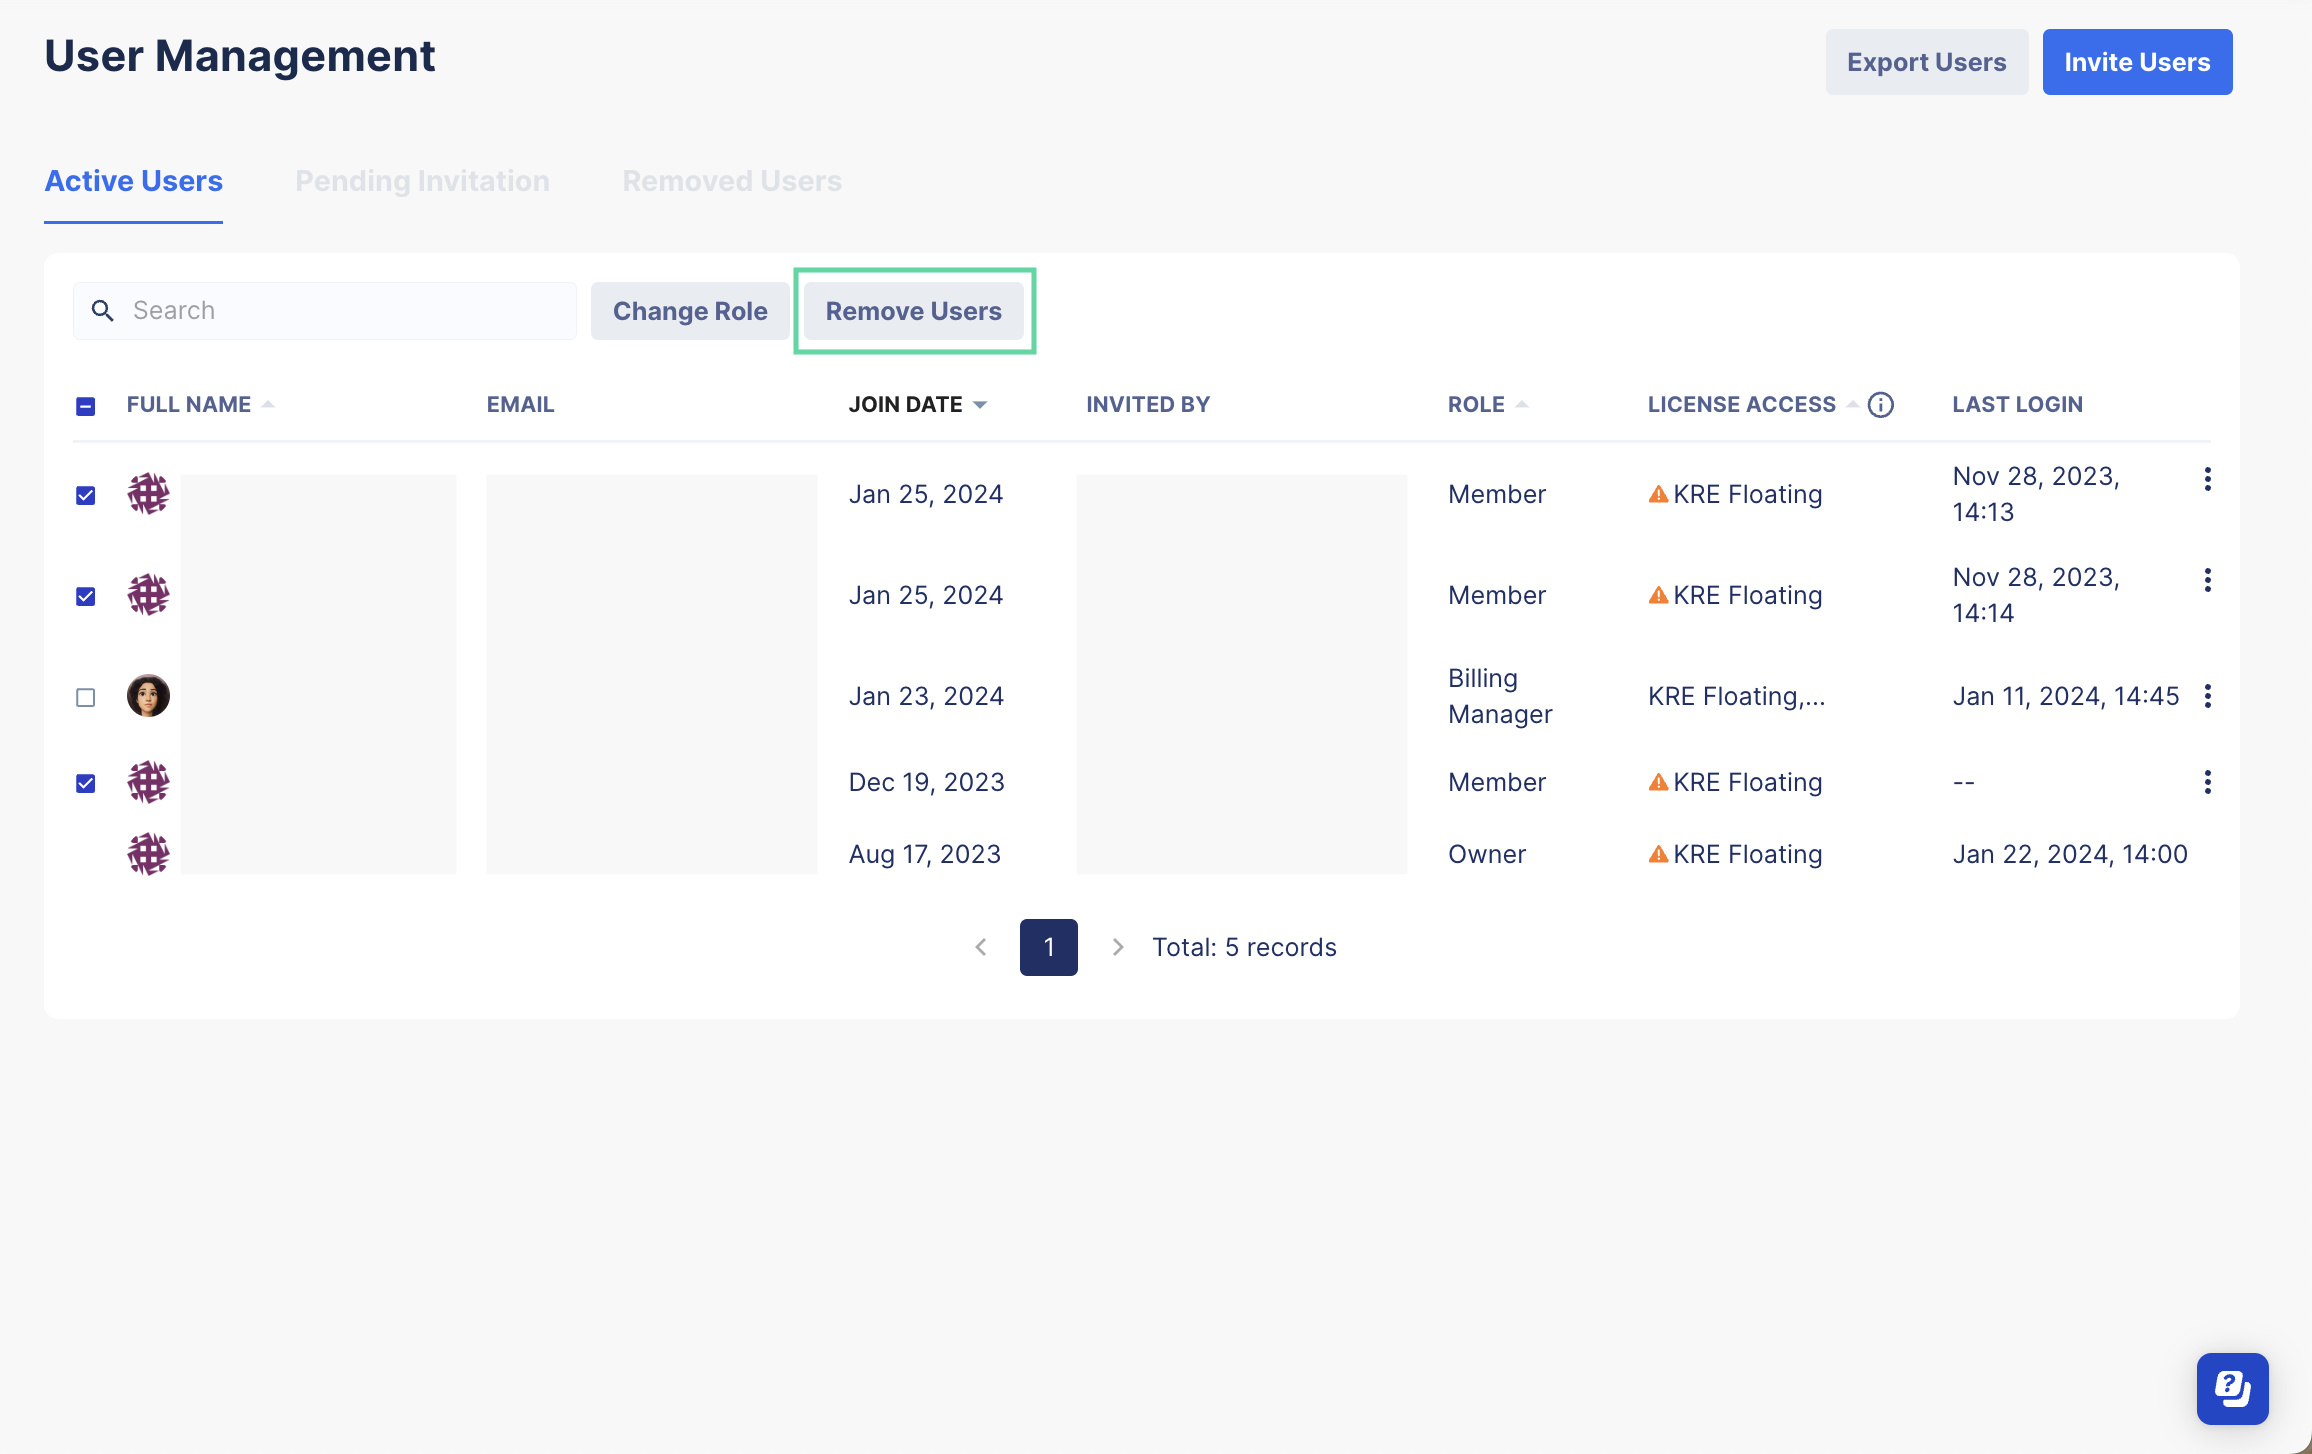
View the active users list
Go to the User Management page, the Active Users tab displays.
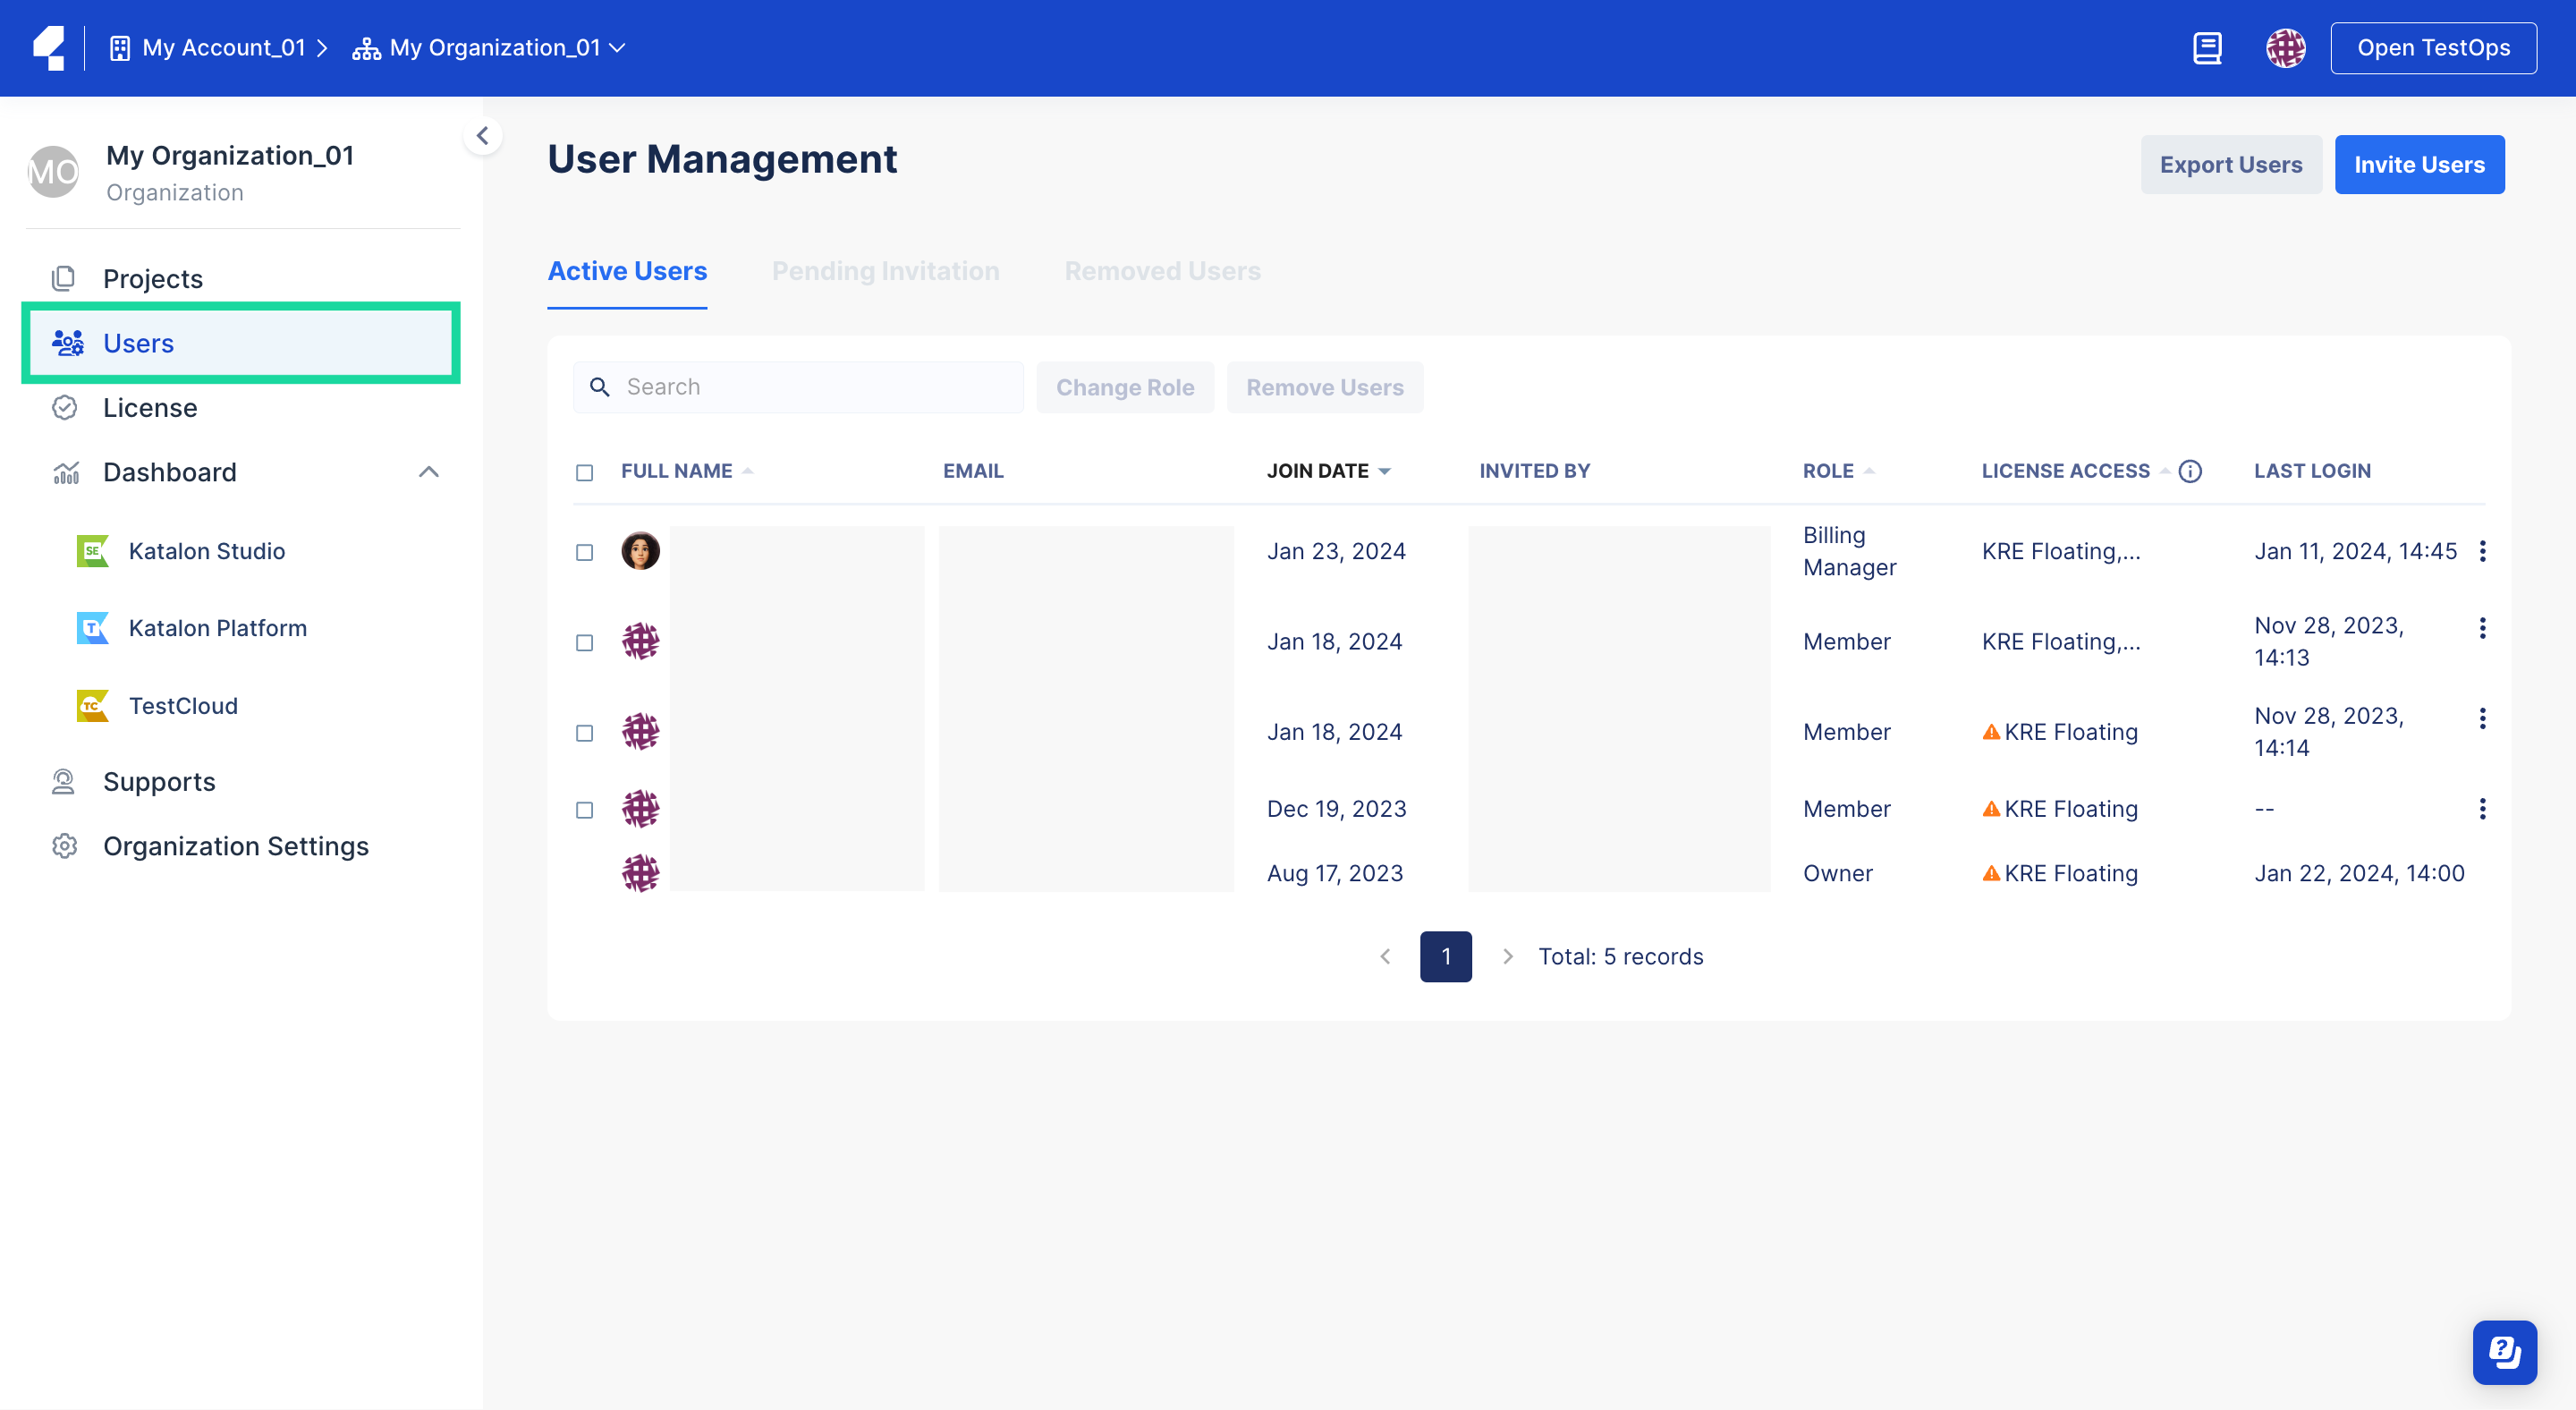
You then can view the list of all existing users.
Once your team members have accepted the invitations to join your Organization, you will see their full names, emails, roles, the dates they joined your organization, their license access, and their most recent access to the organization in the Active Users section.
You can update their permissions by changing their roles.
Change user role
In an organization, different roles have different permissions. Learn how to change roles and permissions for a user.
Requirements
-
You must have invited users to join an organization first. To learn more about roles and permissions, see: Administrative Roles and Permissions.
-
The Owner has the highest level of permissions. This is the default role for the first member of any Organization.
Change the role of an existing user by following these steps:
-
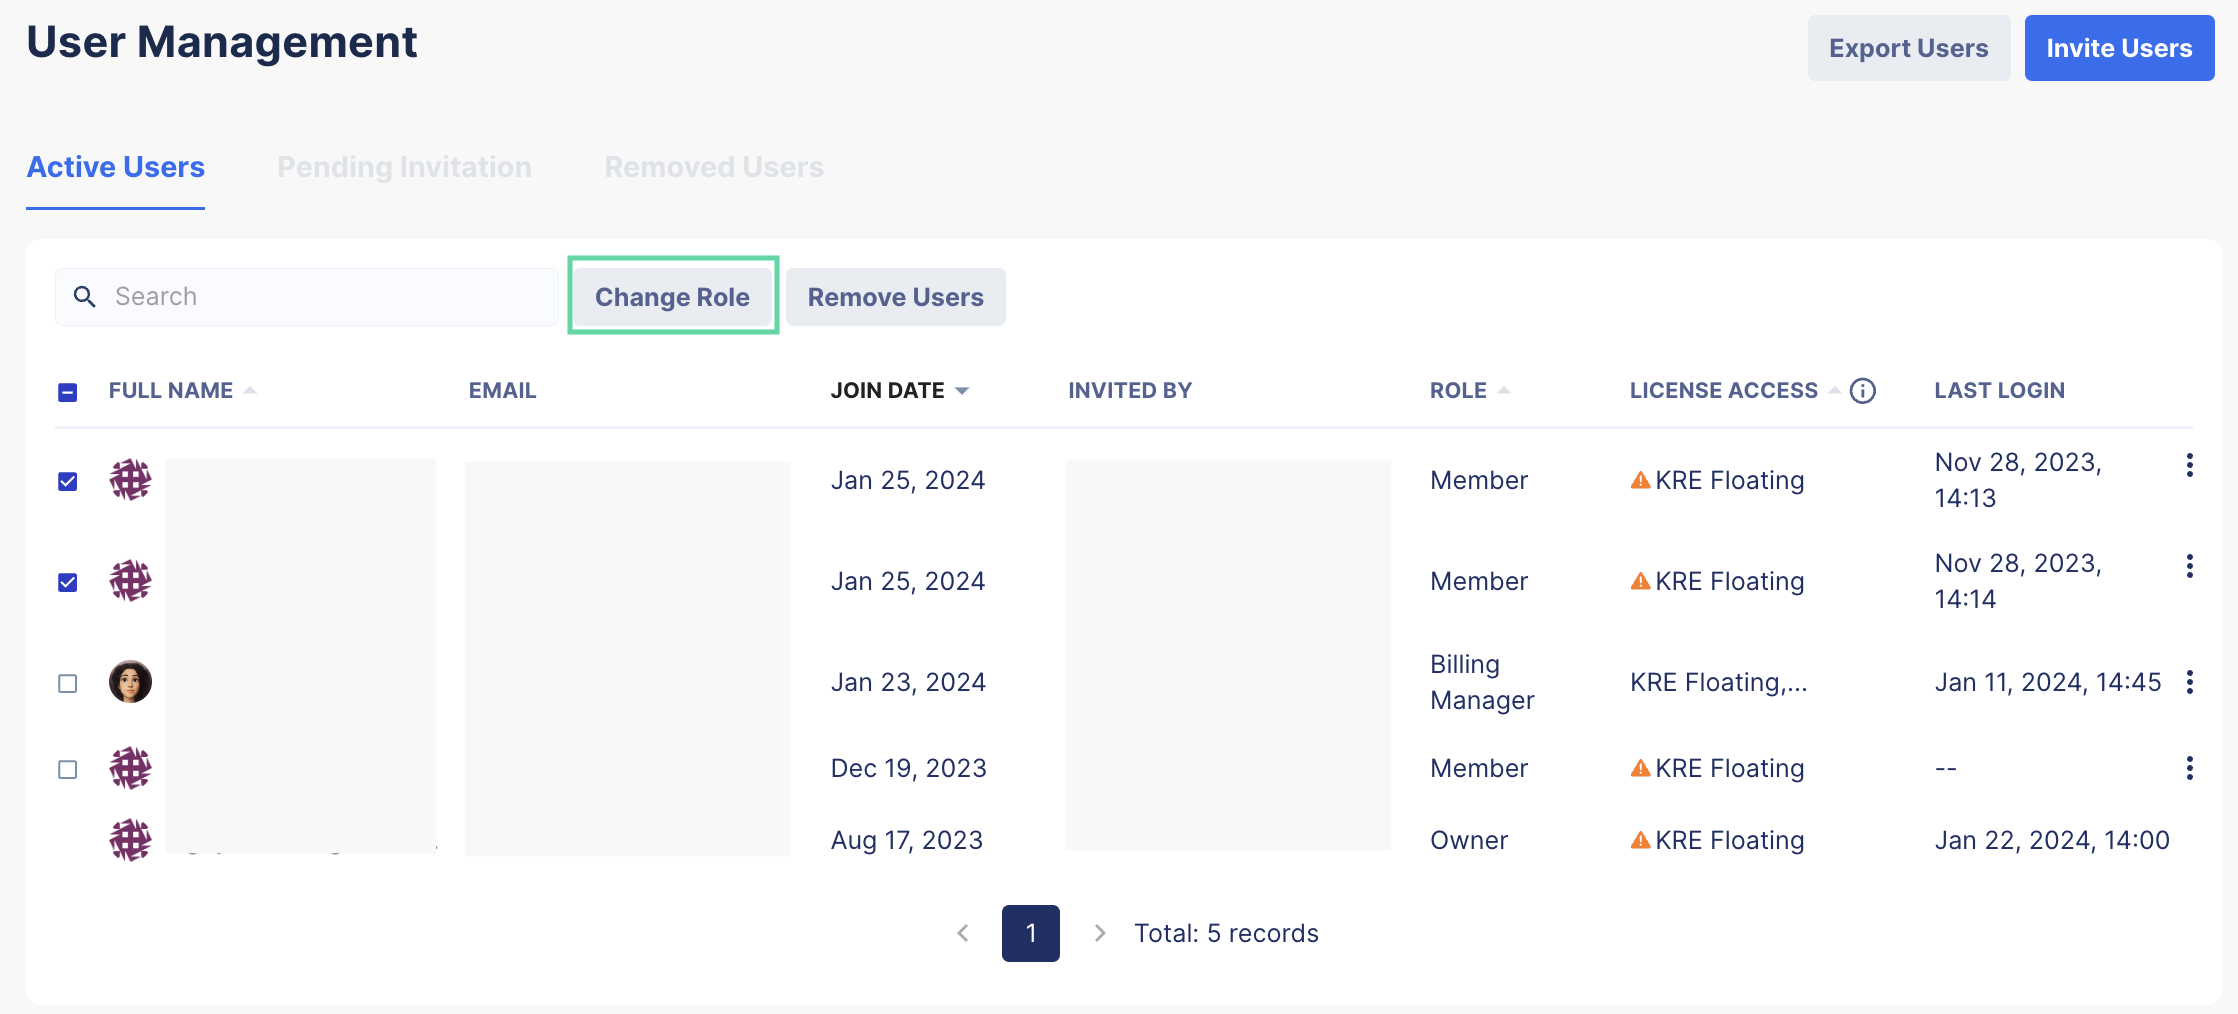
Go to the User Management page.
-
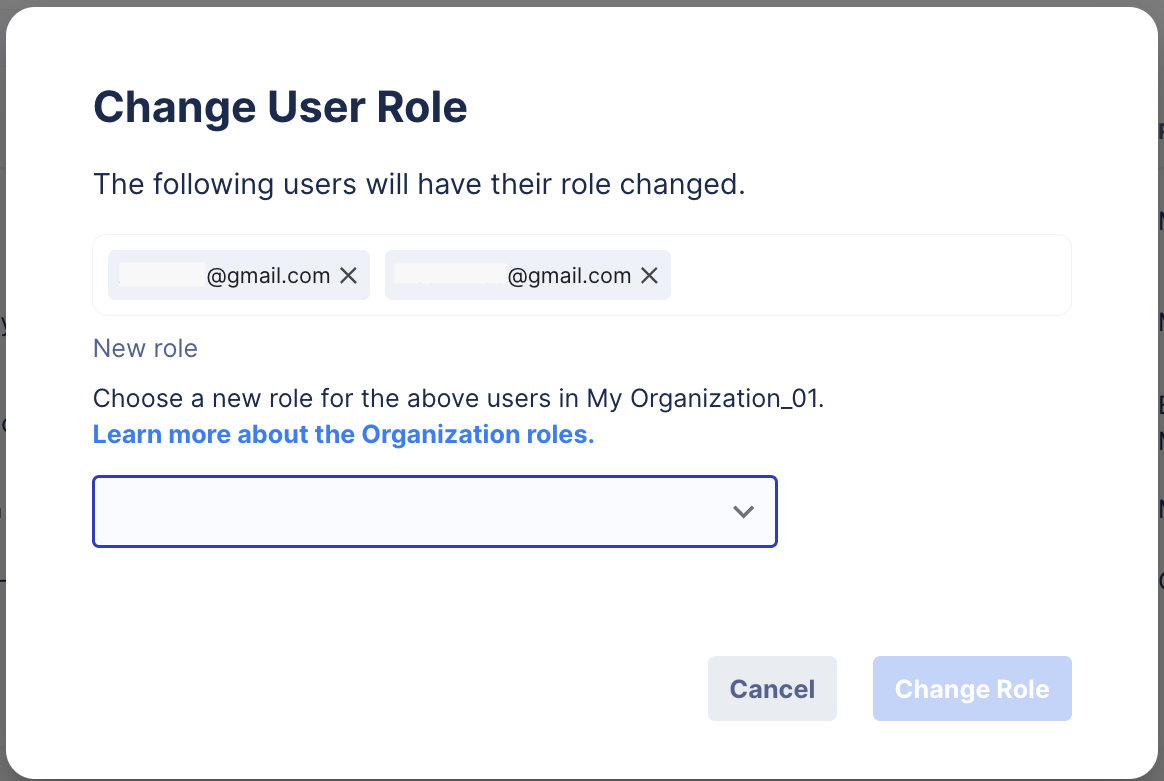
Select the checkbox next to the user's name then click on the Change Role button.
You can select multiple checkboxes if you want to update the same role for multiple users.
-
The Change User Role dialog pops up. Double-check the email addresses then select a new role in the dropdown list.
-
Click Change Role to confirm your action.
Result
You have now changed you users' roles.
Remove existing users
- When you remove a user from your Organization, that user can no longer log in to your Organization.
- After being removed, users' assigned licenses are revoked and their associated machine IDs are removed from the Registered Machine list.
- The data that was used by removed users is retained and remains accessible within your Organization.
- In case removed users are the Owner of any Projects, this role will be transferred to the Organization Owner.
- Removed users can be invited back any time, but they will have to go through the invitation process again.
To remove existing users, do as follows:
-
Go to the User Management page.
-
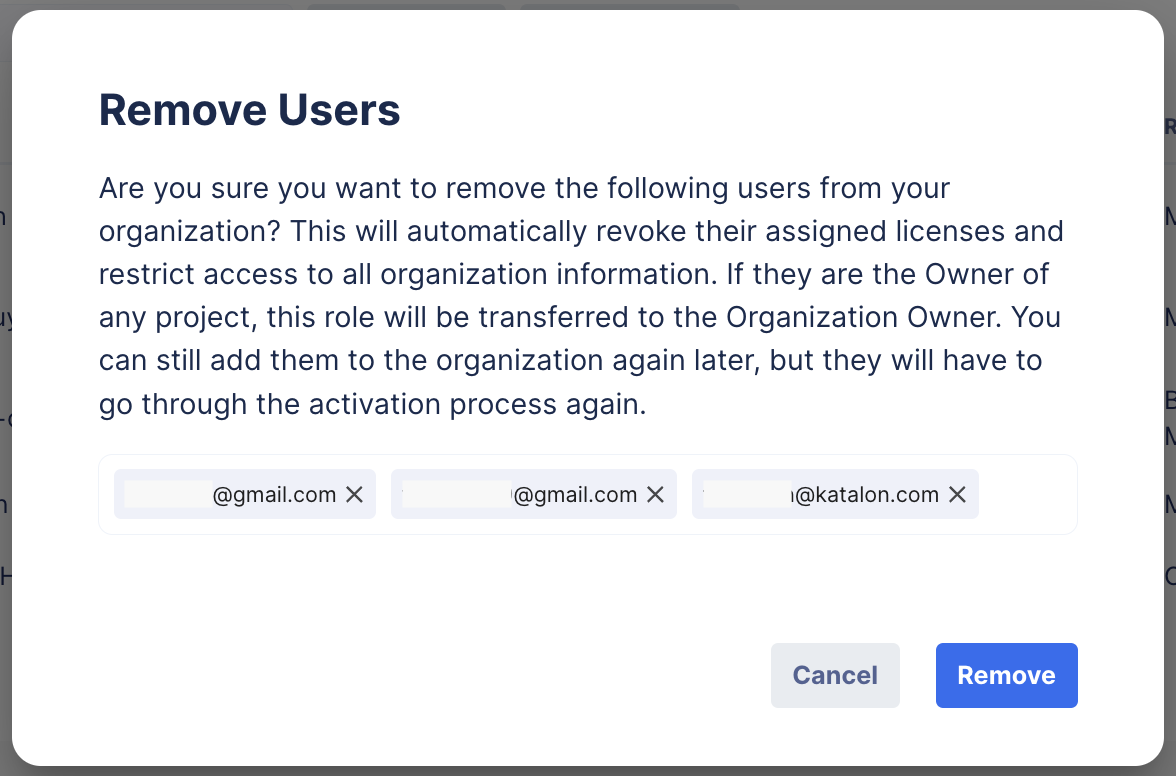
Select the checkbox next to the user's full name that you want, then click the Remove Users button.
You can remove multiple users by selecting multiple checkboxes.
-
The Remove Users dialog pops up. Double-check the email addresses and click Remove to confirm your action.
Result
You have removed the users.
Export user list
To export your user list, do as follows:
- Go to the User Management page then click Export Users at the top right corner.
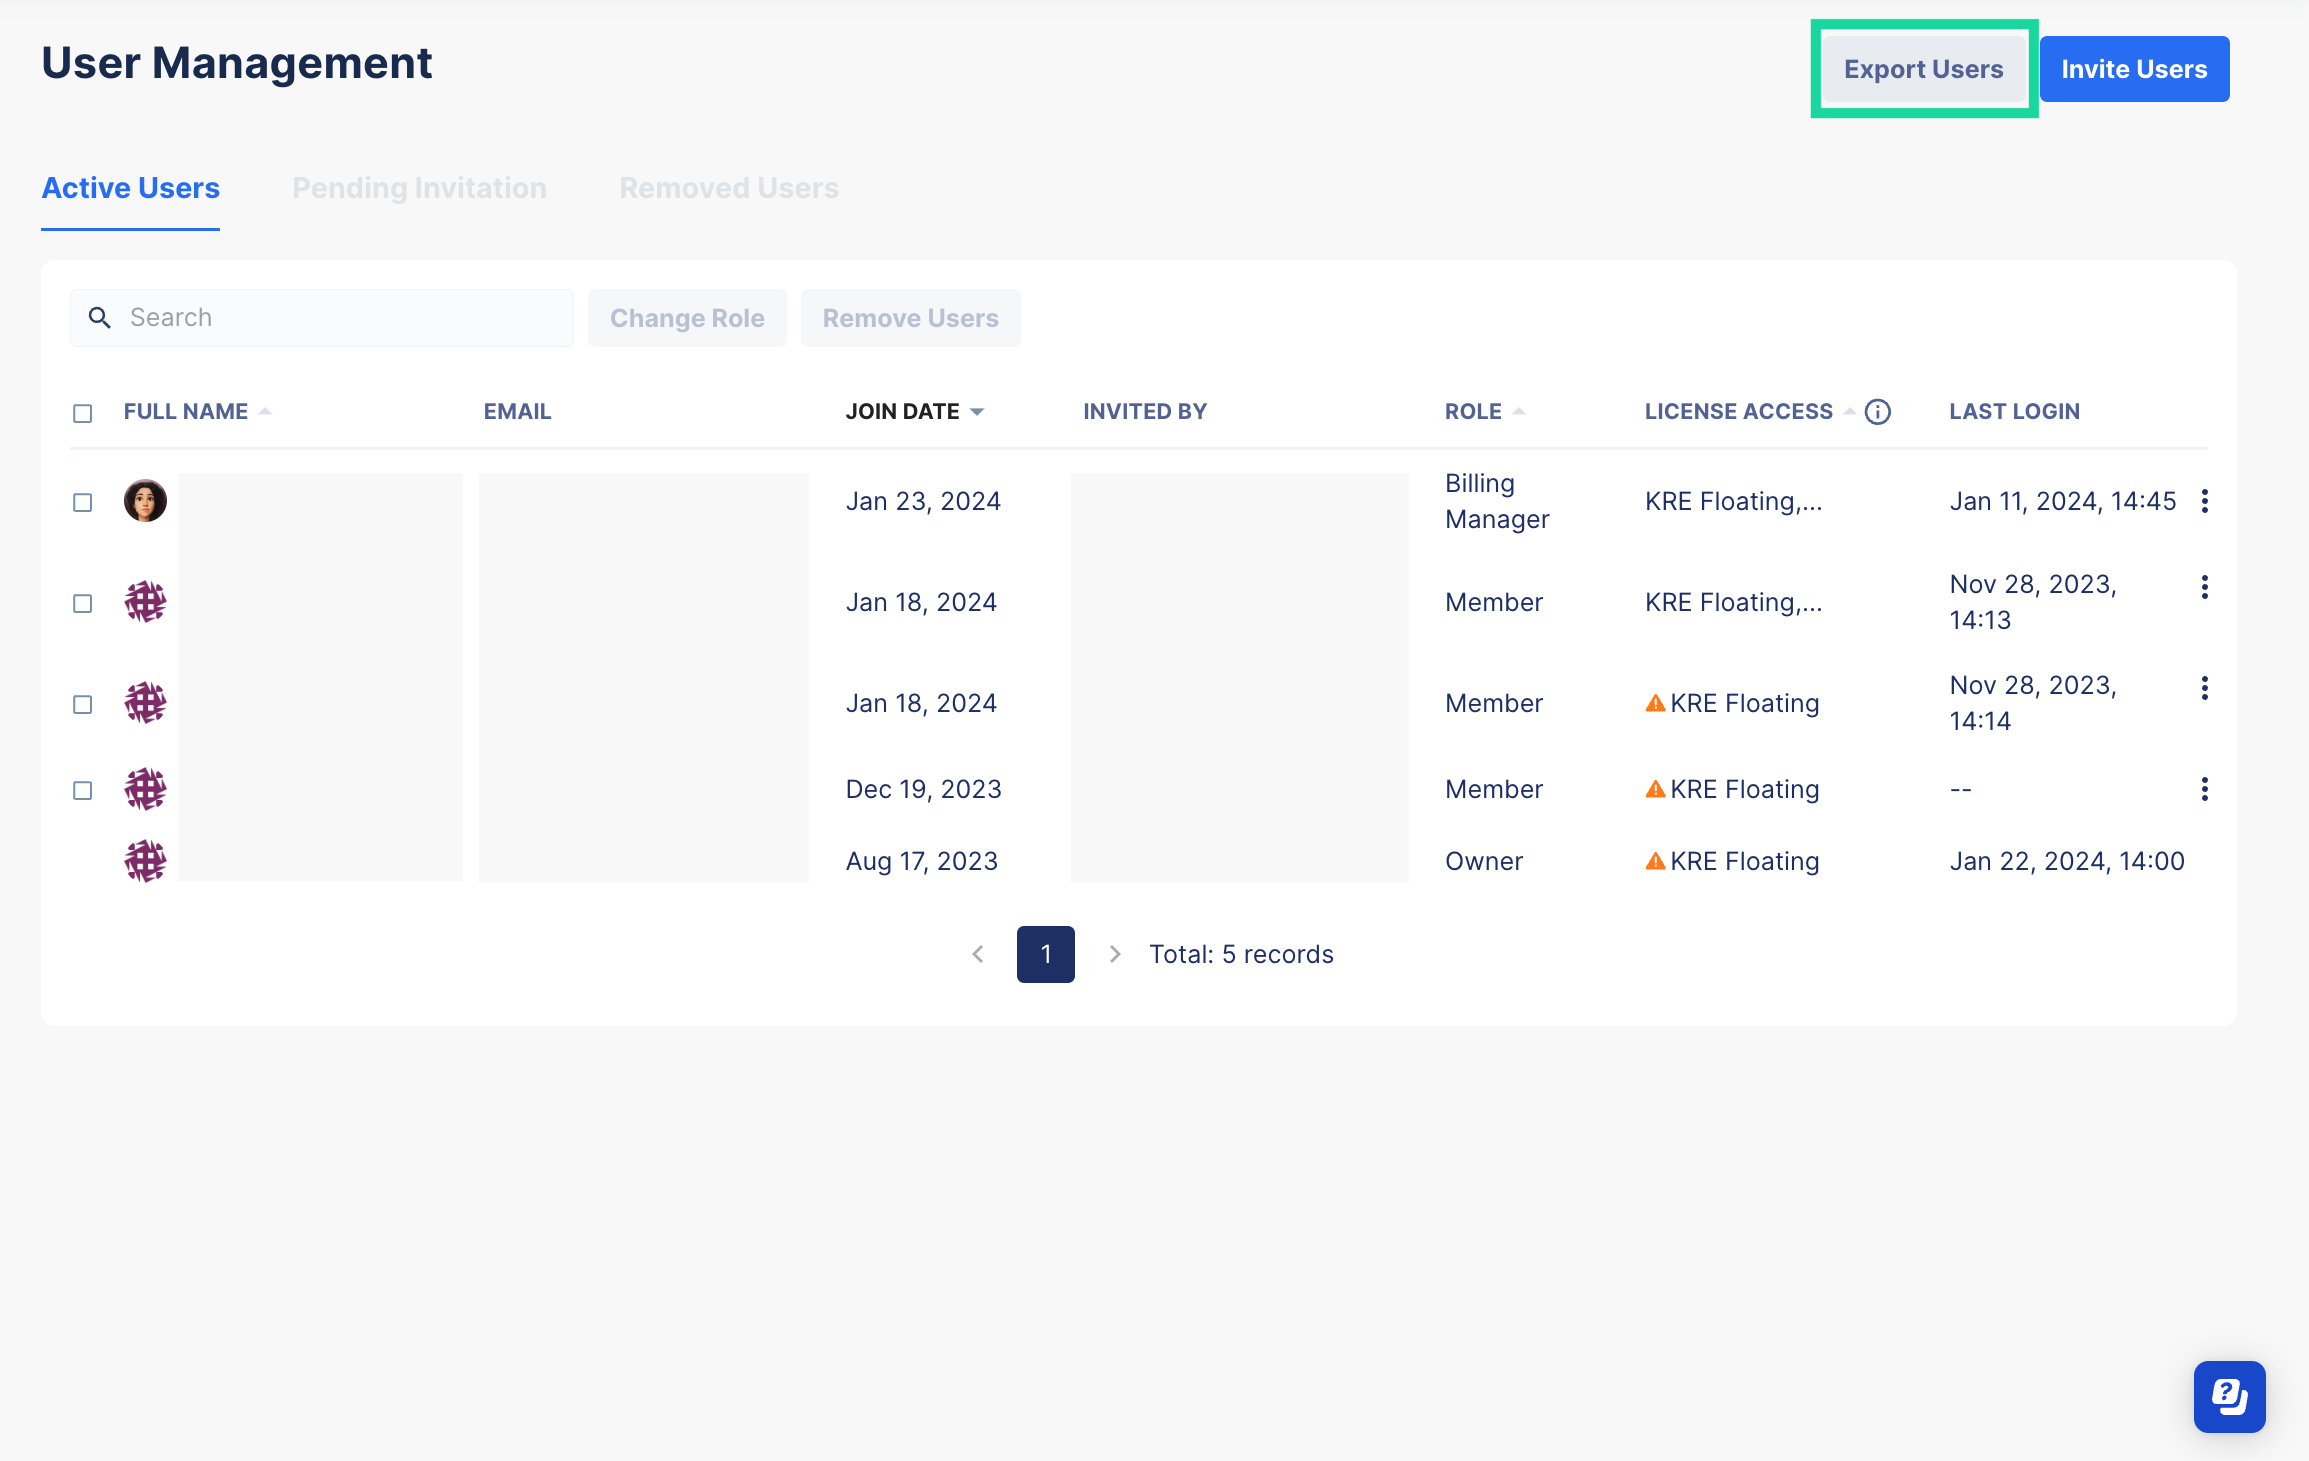
- The user list is exported in .csv format. The exported file contains Active Users list and Removed Users list.
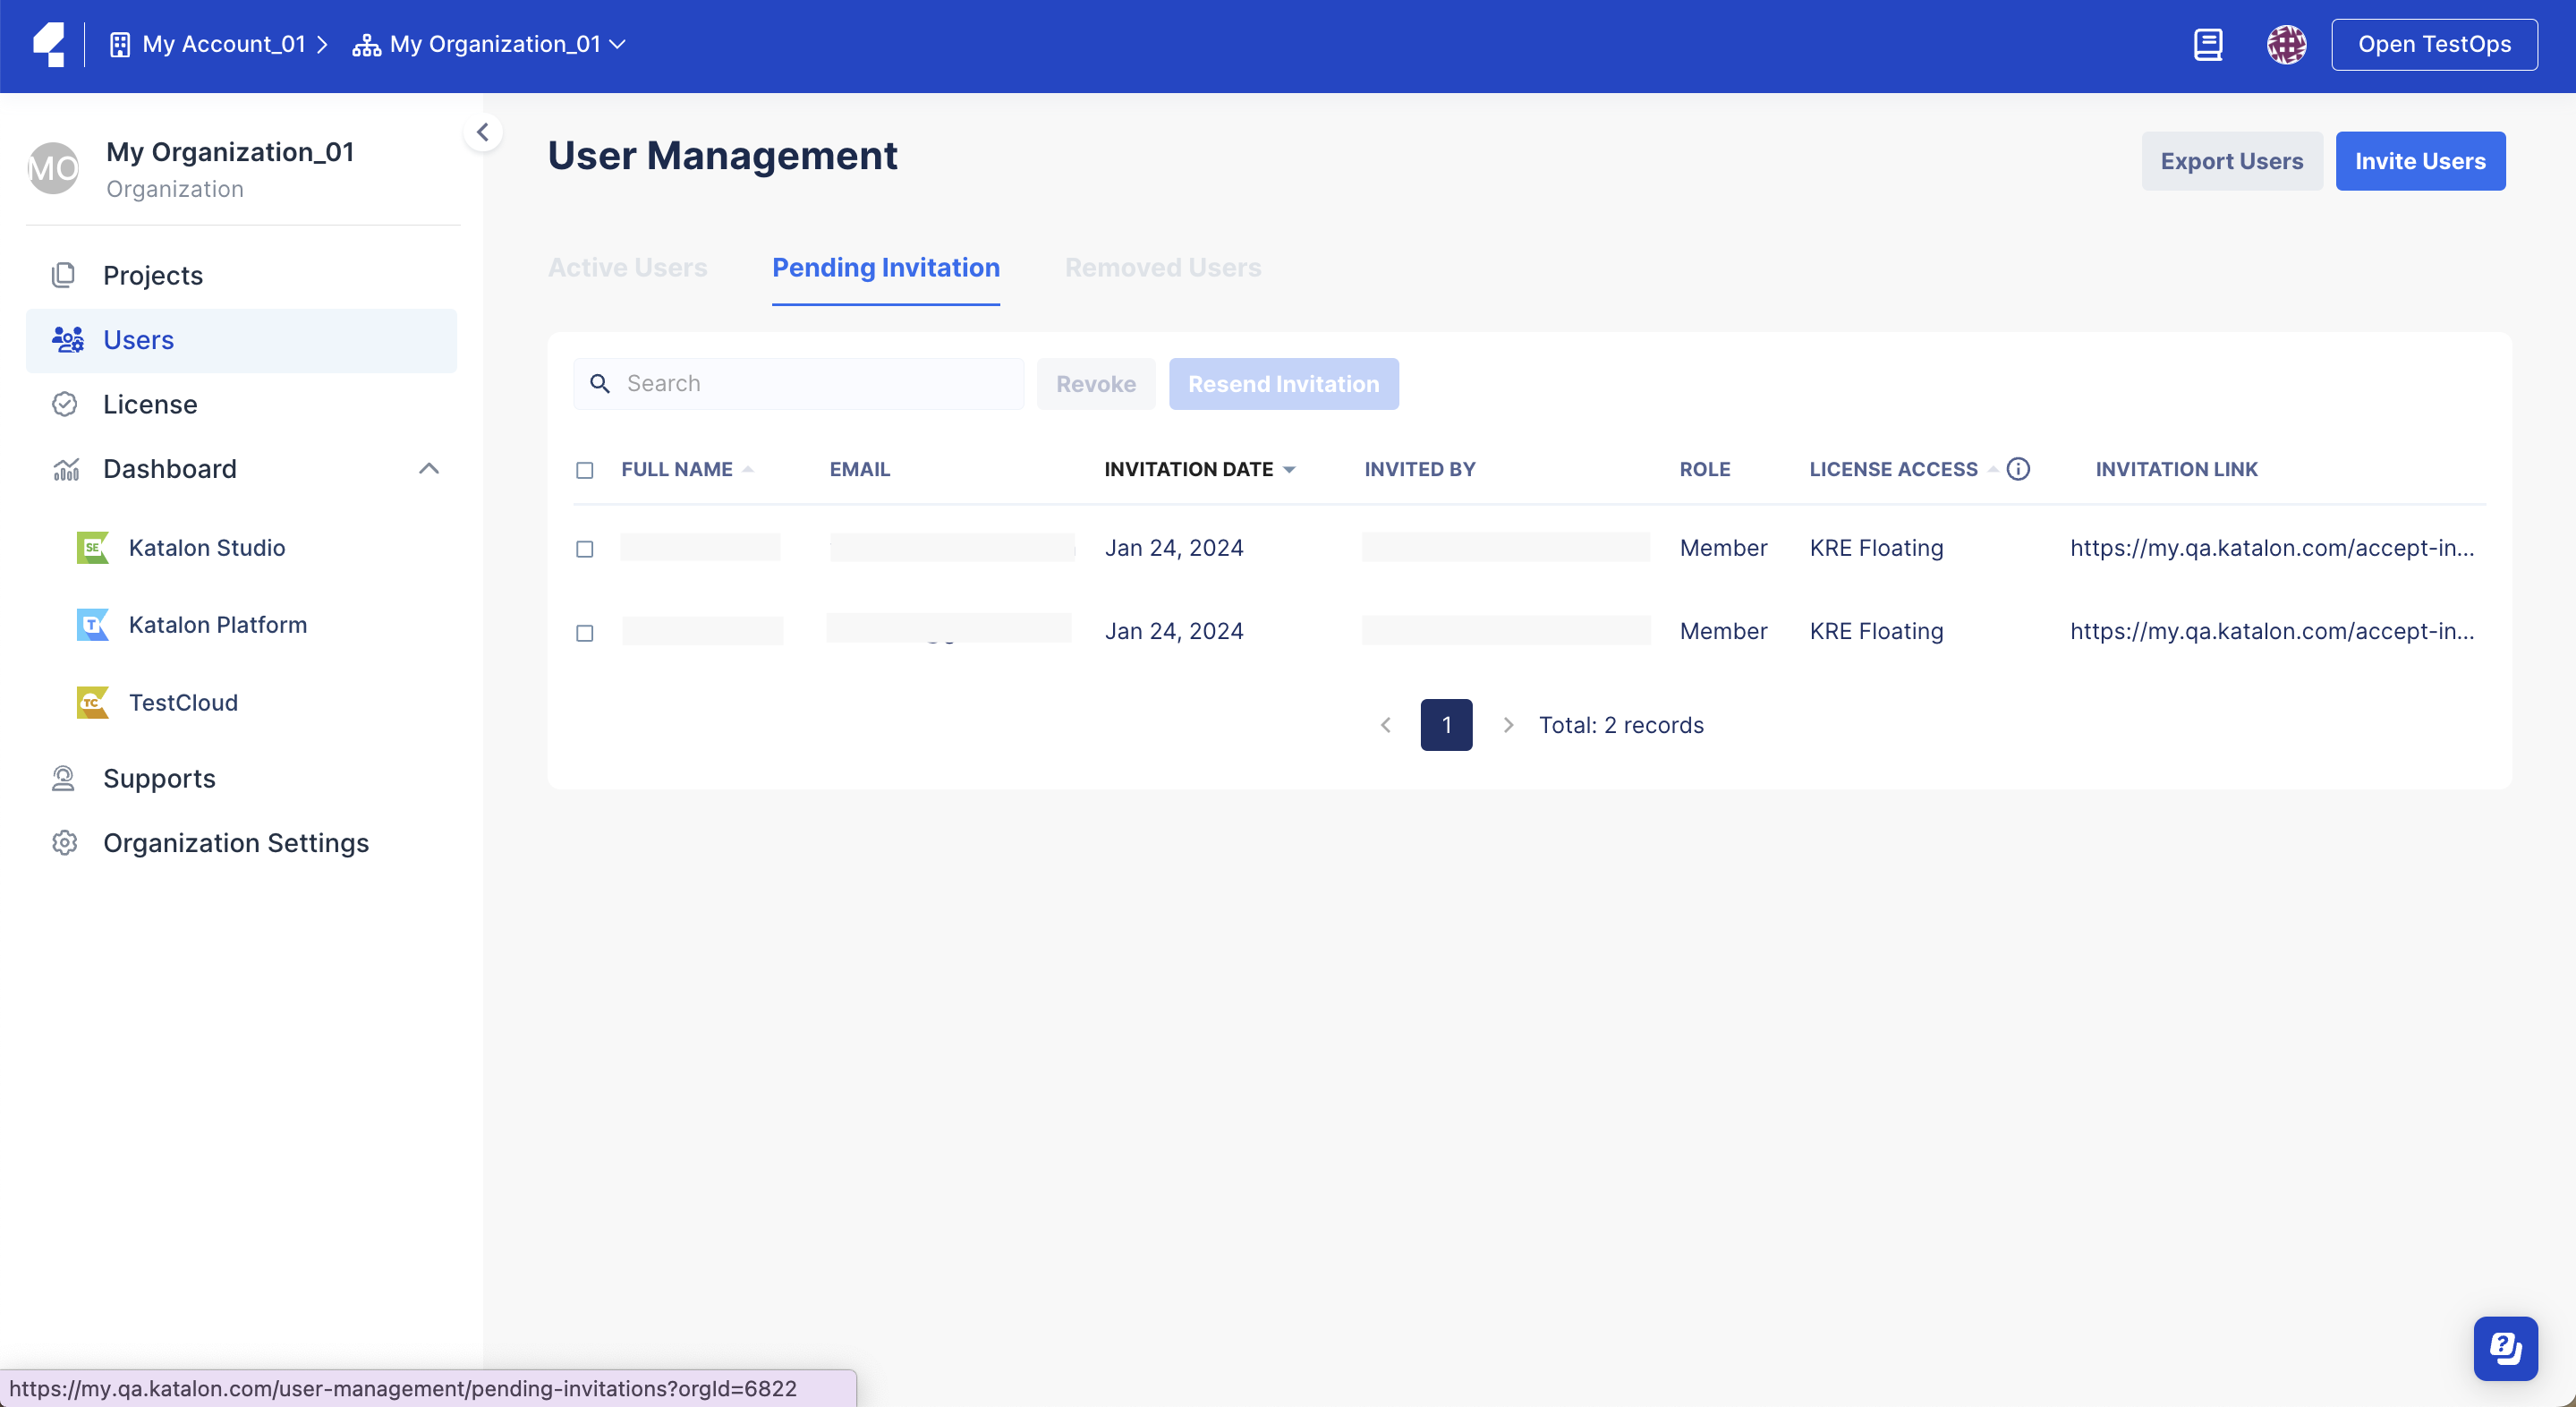
View pending invitations
If the email domain of the invited users is a public one (e.g., @gmail.com) or does not match the email domain of either the Account/Organization Owner or the inviter, the invited users will receive an invitation email to join an Organization. The pending invitations will be recorded for tracking.
Go to the User Management page and switch to the Pending Invitation tab. You can check all pending invitations here.
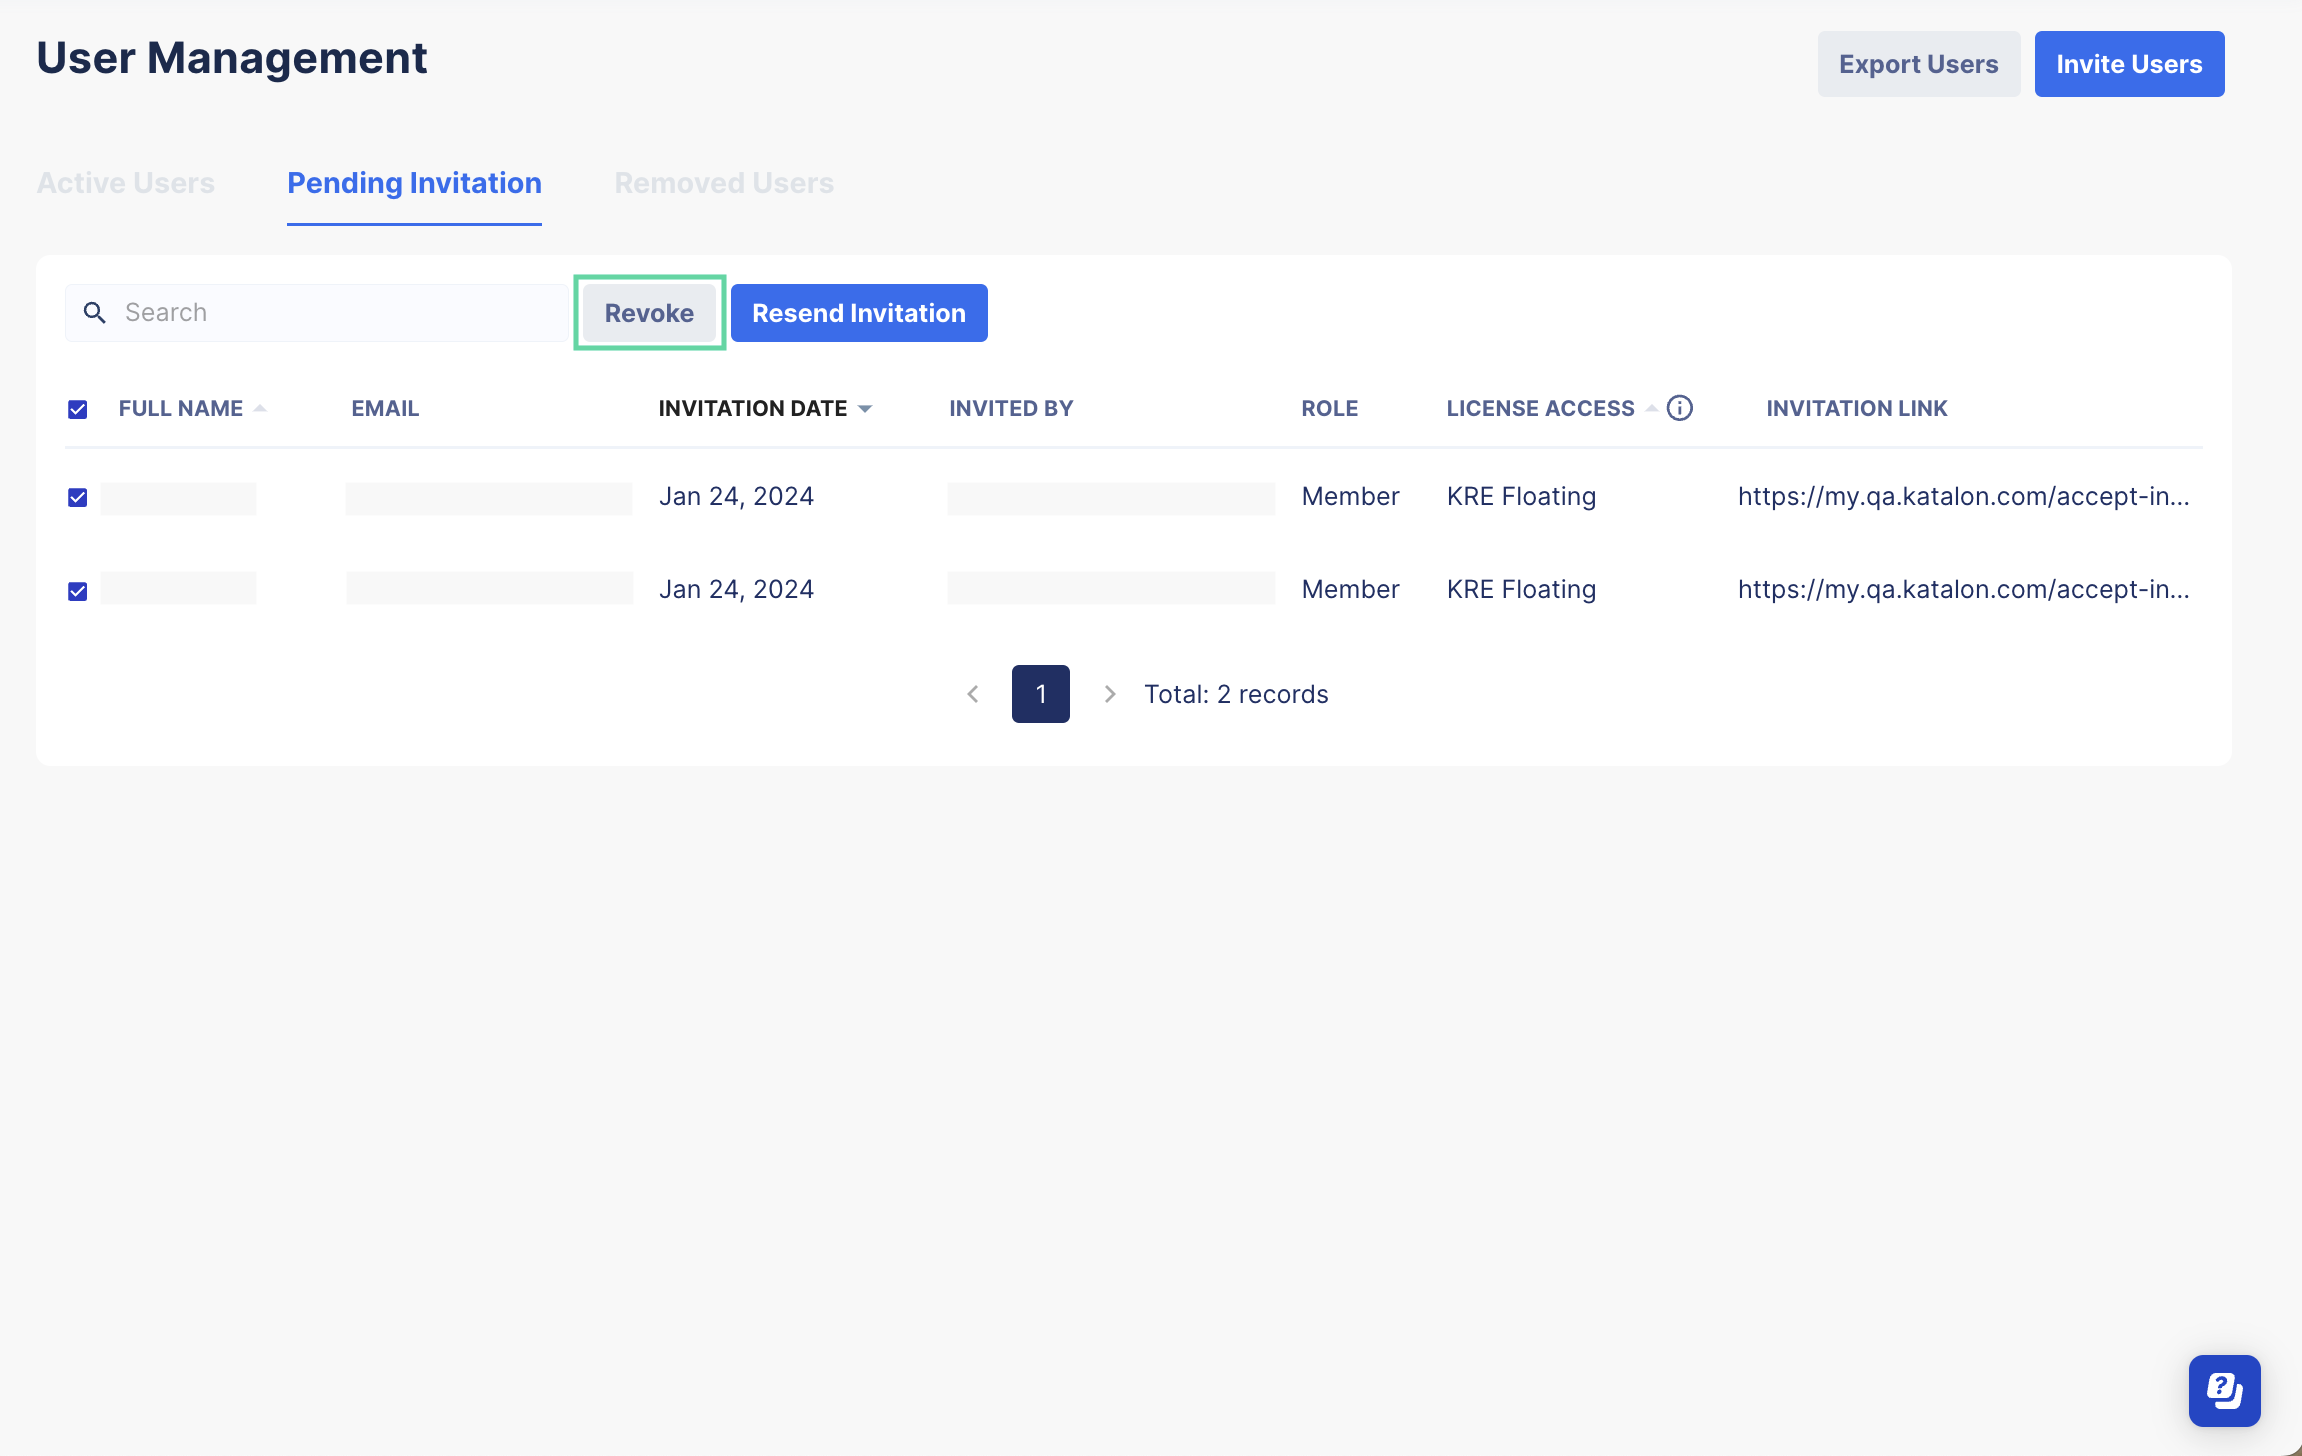
Revoke invitations
Follow these steps to revoke pending invitations.
-
Click on the Pending Invitation tab on the User Management page.
-
Select the checkbox next to the user's full name that you want, then click the Revoke button. You can revoke multiple invitations by selecting multiple checkboxes.
-
The Revoke Invitation dialog pops up. Double-check the email addresses, then click Revoke.

Result
You have revoked the invitations. The invitation links your team members have received now become invalid.
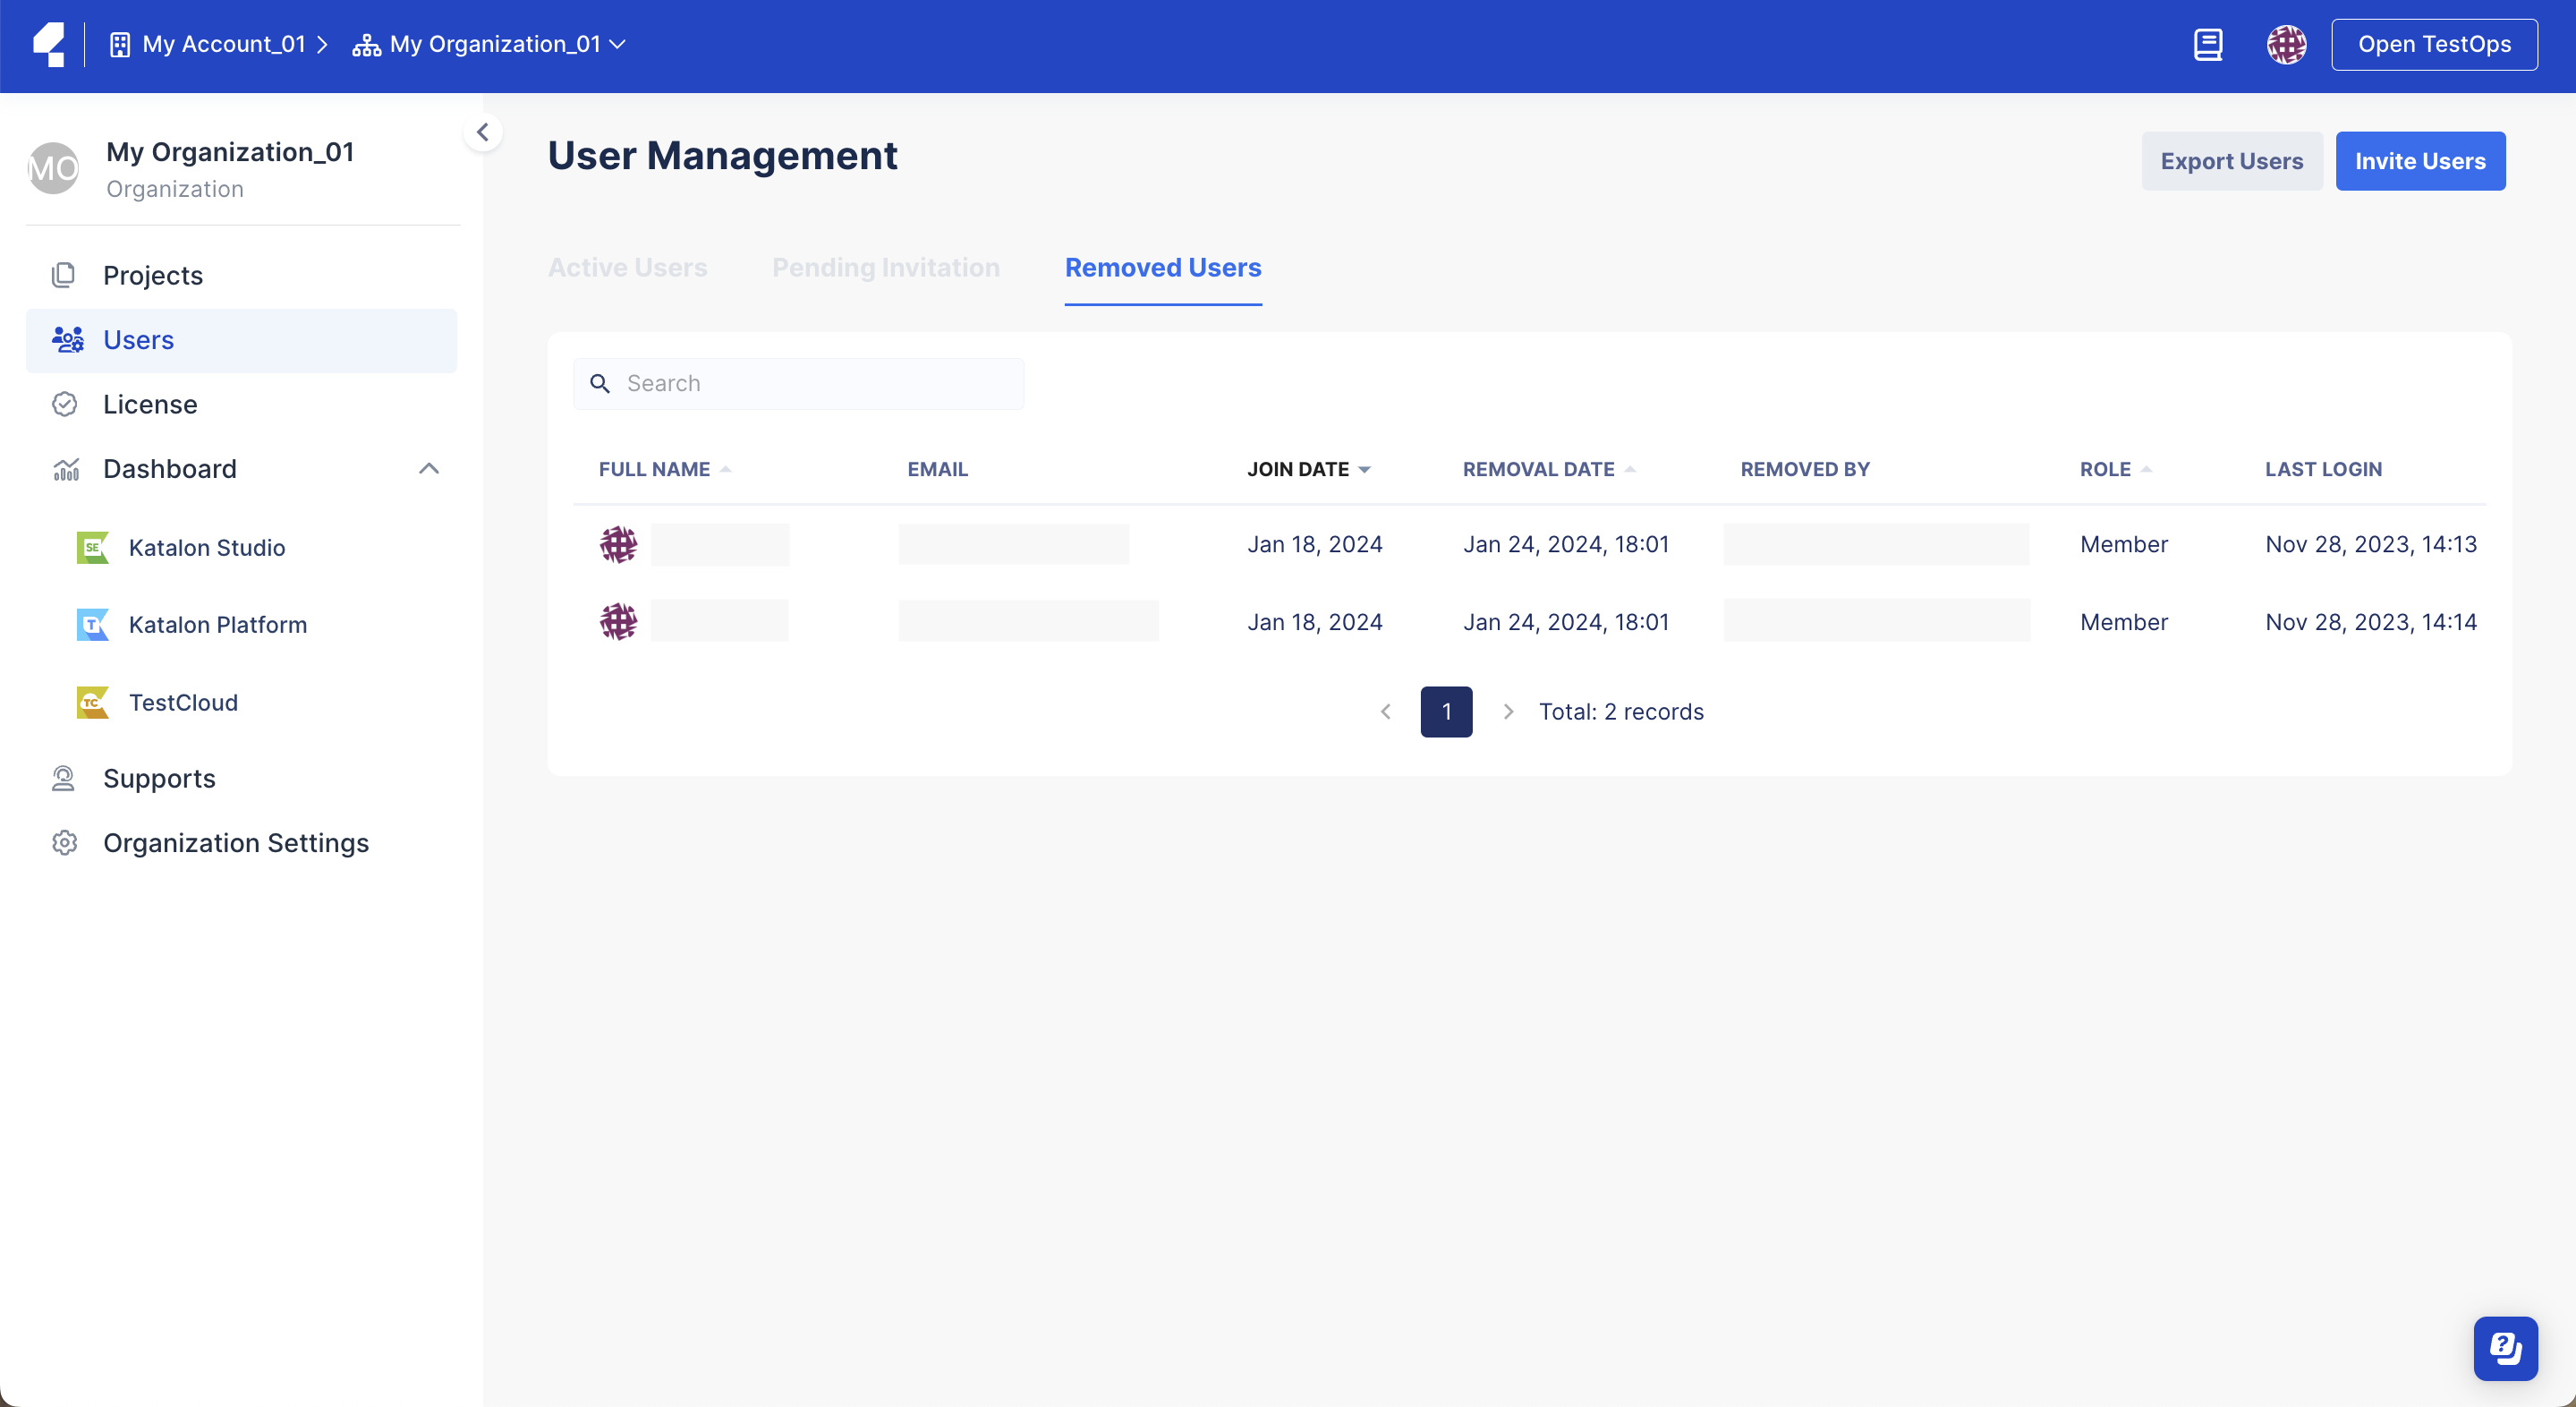
View the removed user list
Go to the User Management page and click on the Removed Users tab. By default, the list is sorted by JOIN DATE.
You can view a full list of users you have removed from your Organization.