Set up your Projects (Legacy)
This document covers TestOps Legacy version only.
A Project is created to organize and manage the members involved in the same Projects. Only members can view and access their projects.
Requirement
You must be the Owner or Admin of your Project or Organization. Refer to the following topic for further information about roles and permissions: Administrative Roles and Permissions.
Create a Project
To create a Project, follow these steps:
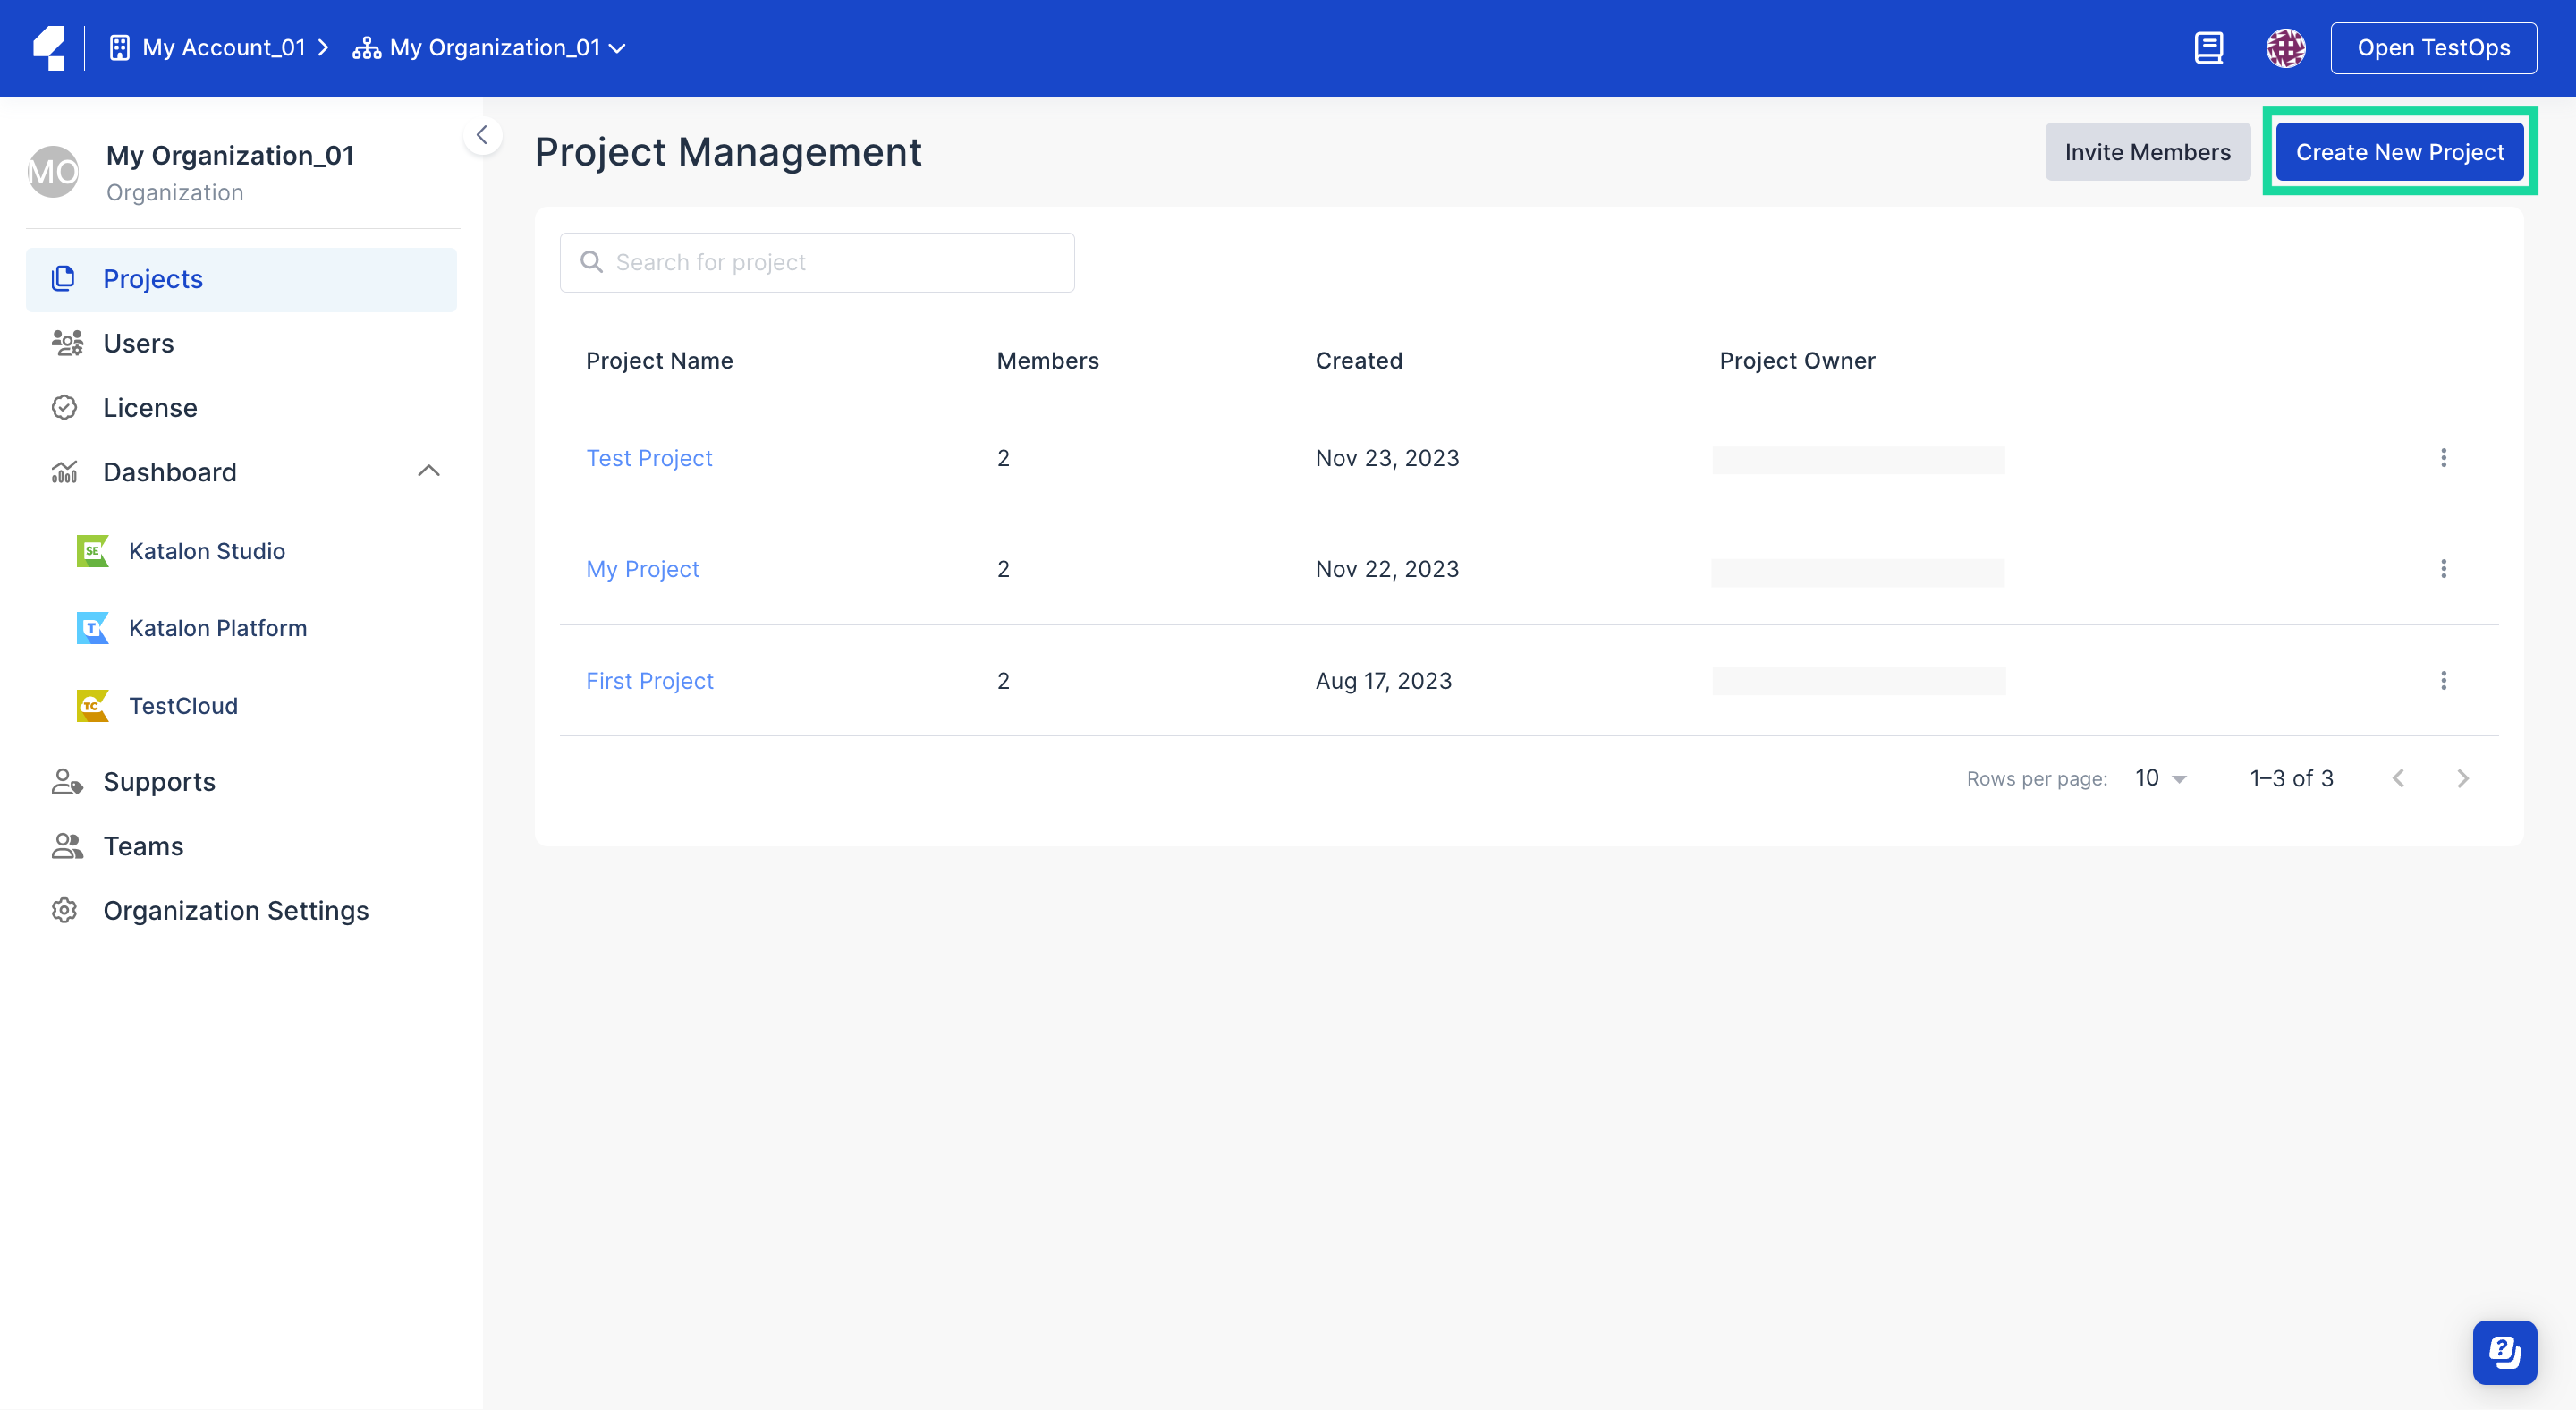
- On the Account admin page, select your Organization.
 You are redirected to the Project Management page of that Organization.
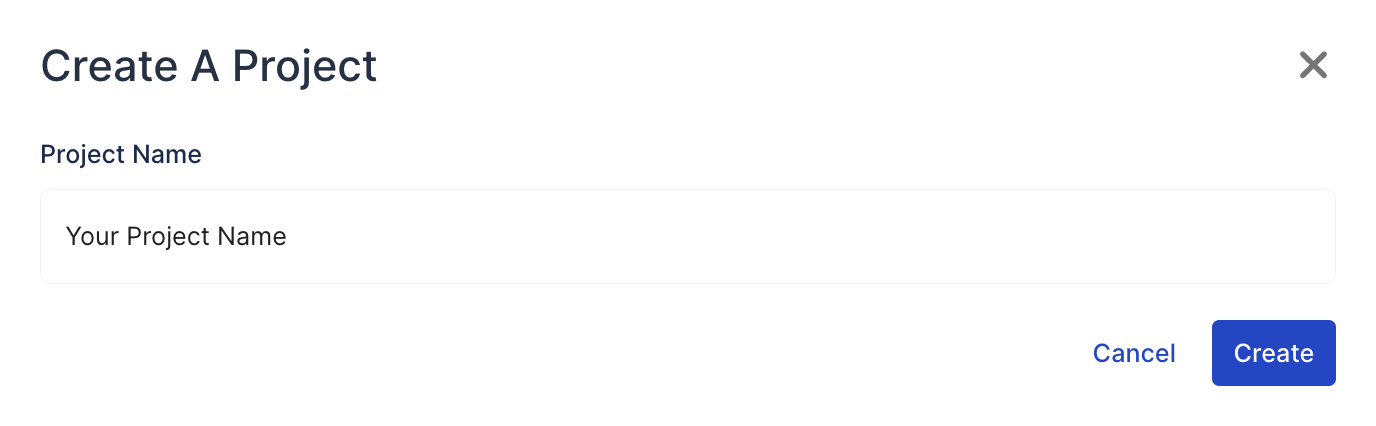
 - Select Create New Project in the upper right corner.
The Create A Project dialog pops up.
Add users to a Project
You can invite new users to your Project and they will automatically be added to your Organization right after.
To add users to your project, follow these steps:
- Select Invite Members in the upper right corner.
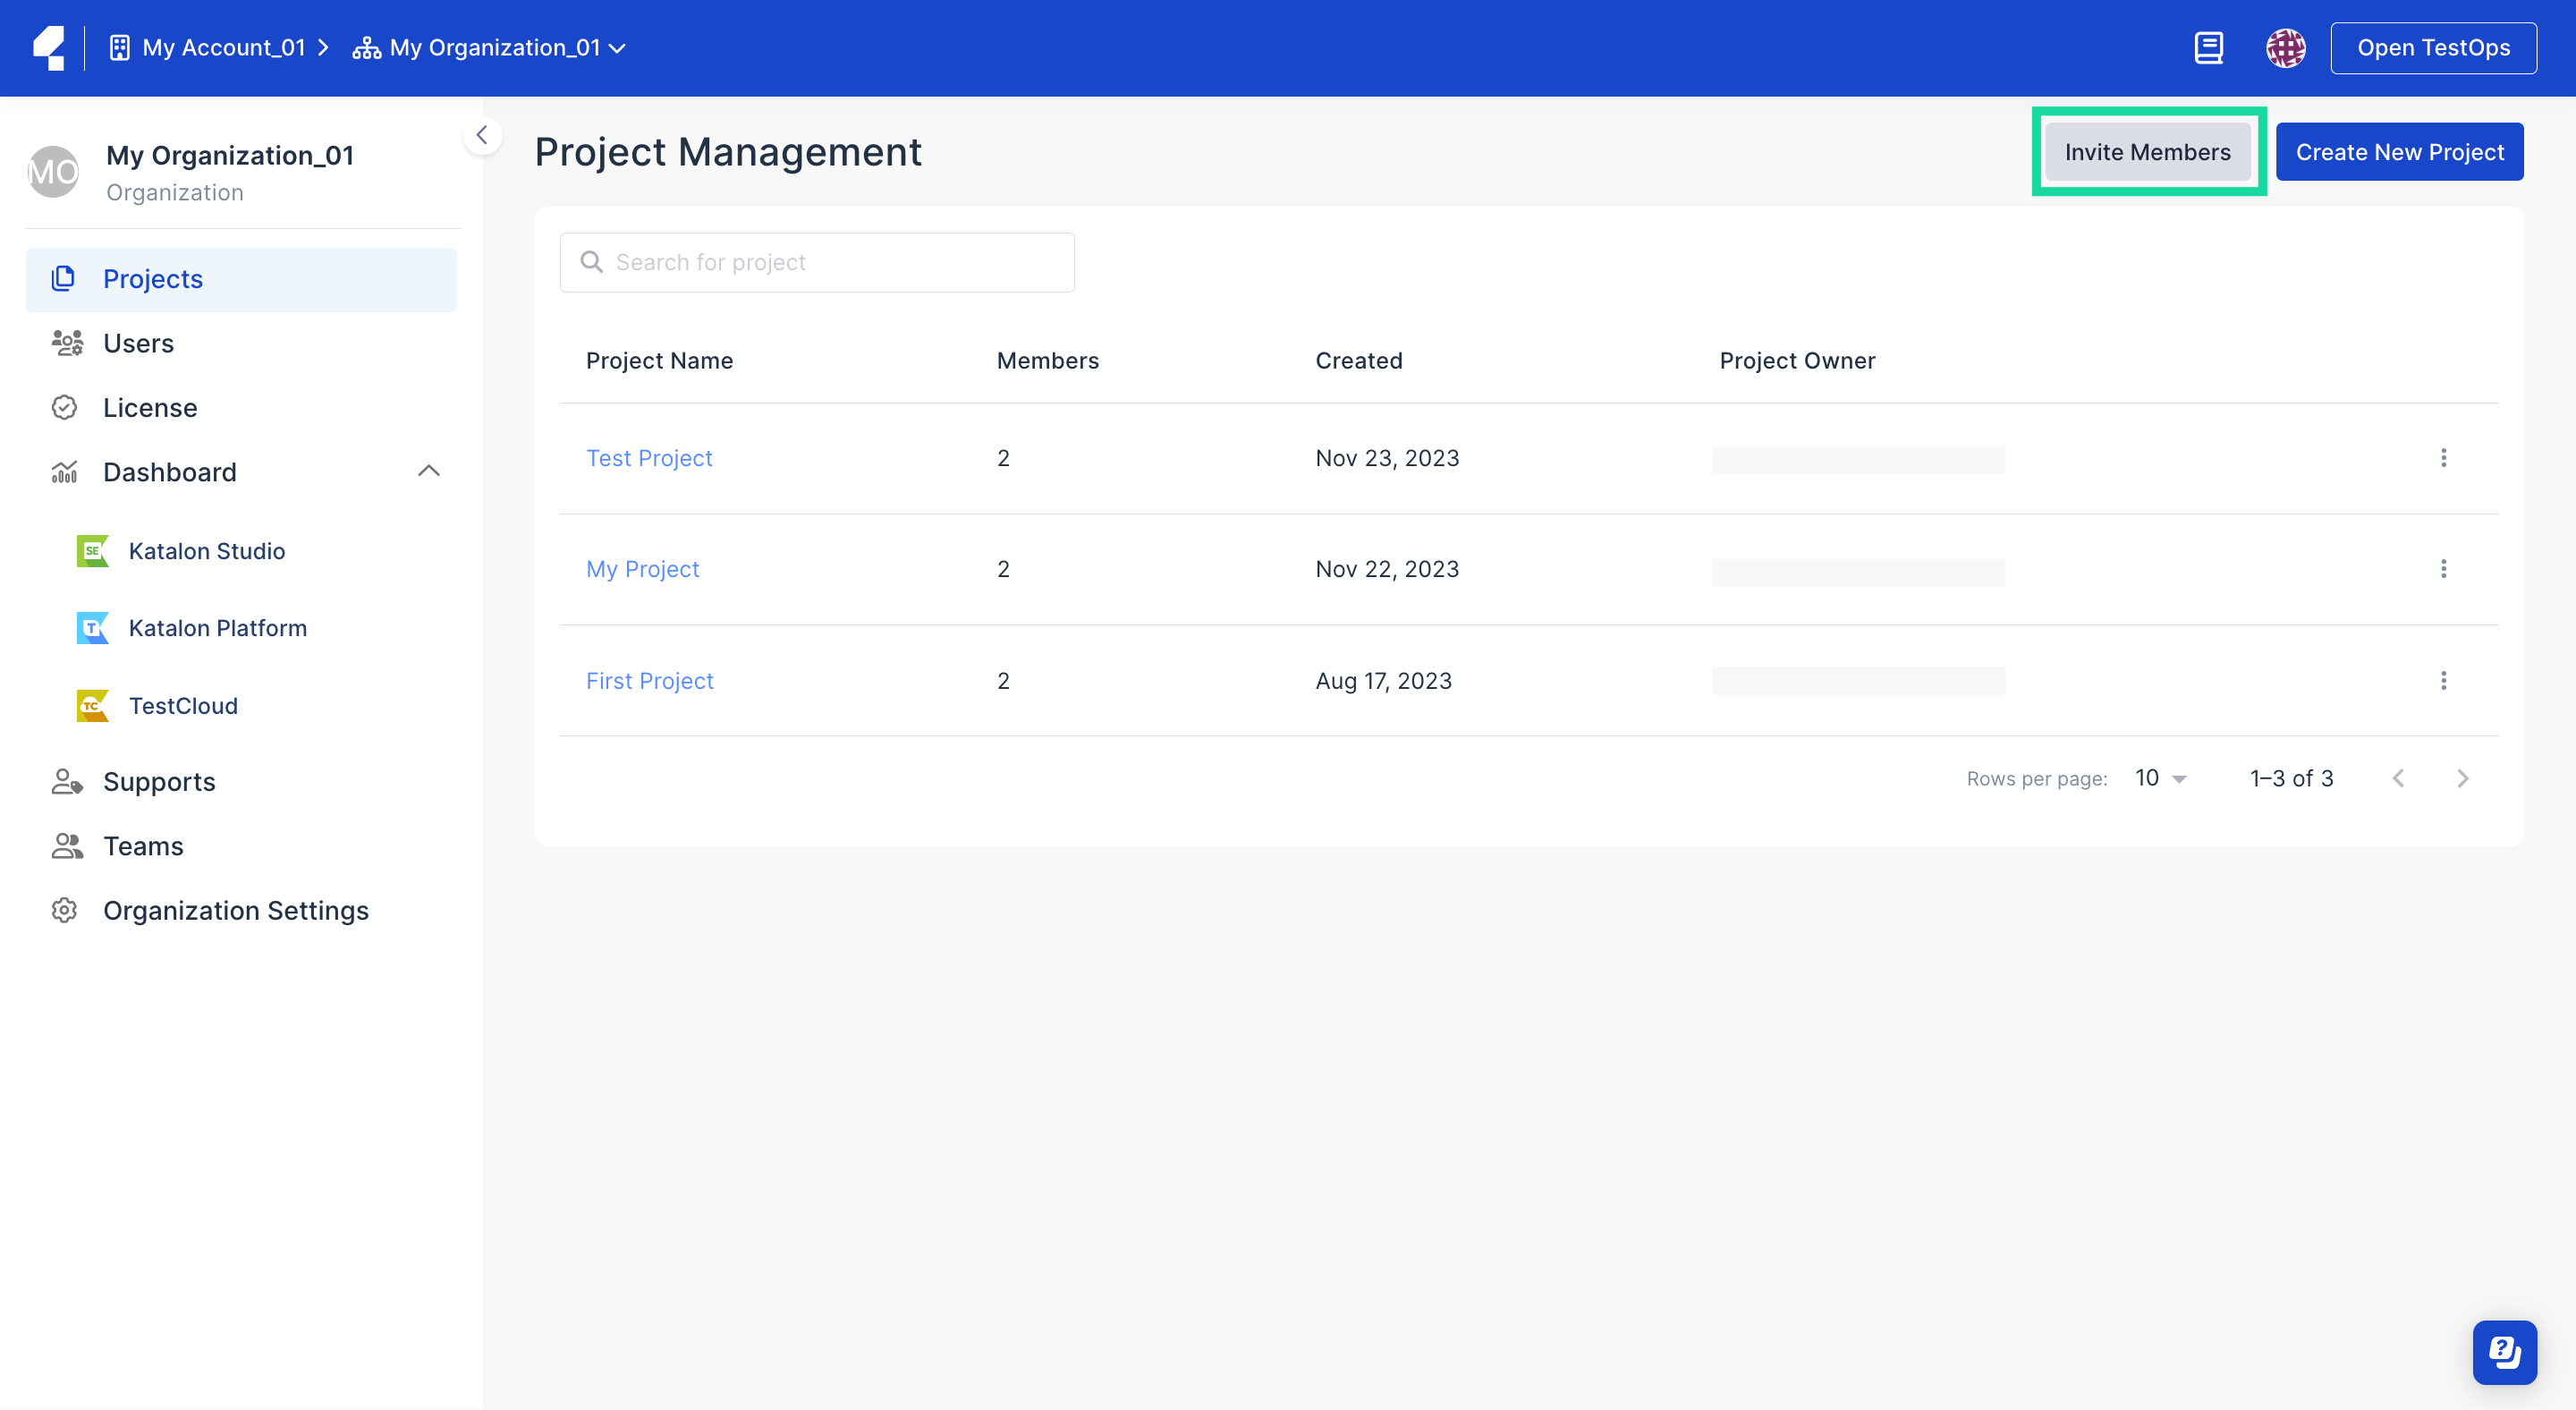
- The Invite Members dialog appears.
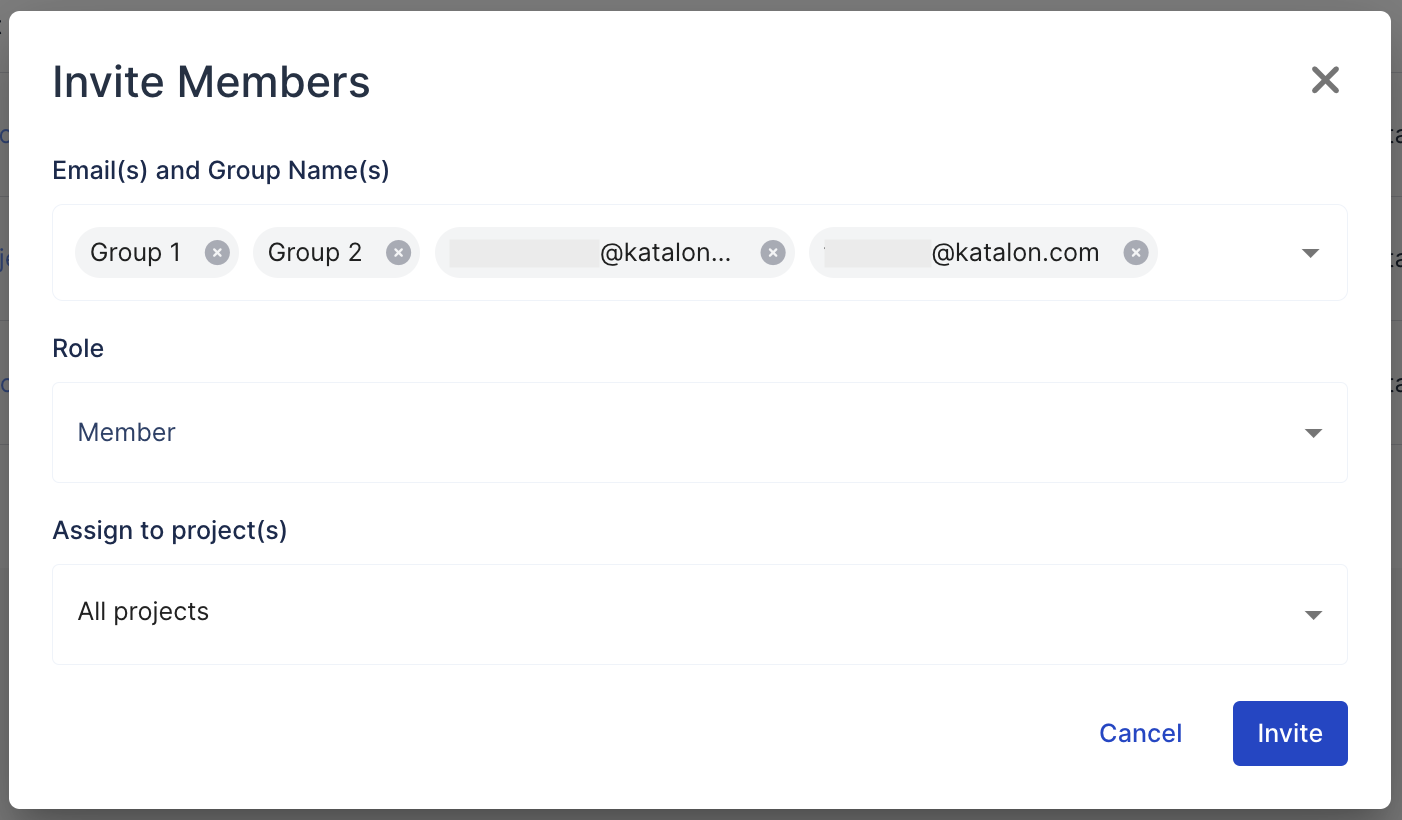
- Enter your users' email or group name that you want to invite, then assign a role and project(s) to users.
Remove existing users
- By clicking Remove, you immediately terminate the current session that the user is working on with their online licenses in Katalon Studio. Perform this step with caution.
- Removing a Licensed User working with an offline license does not revoke the license.
To remove existing users from your Project, do as follows:
- On the Project Management page, select your desired Project.
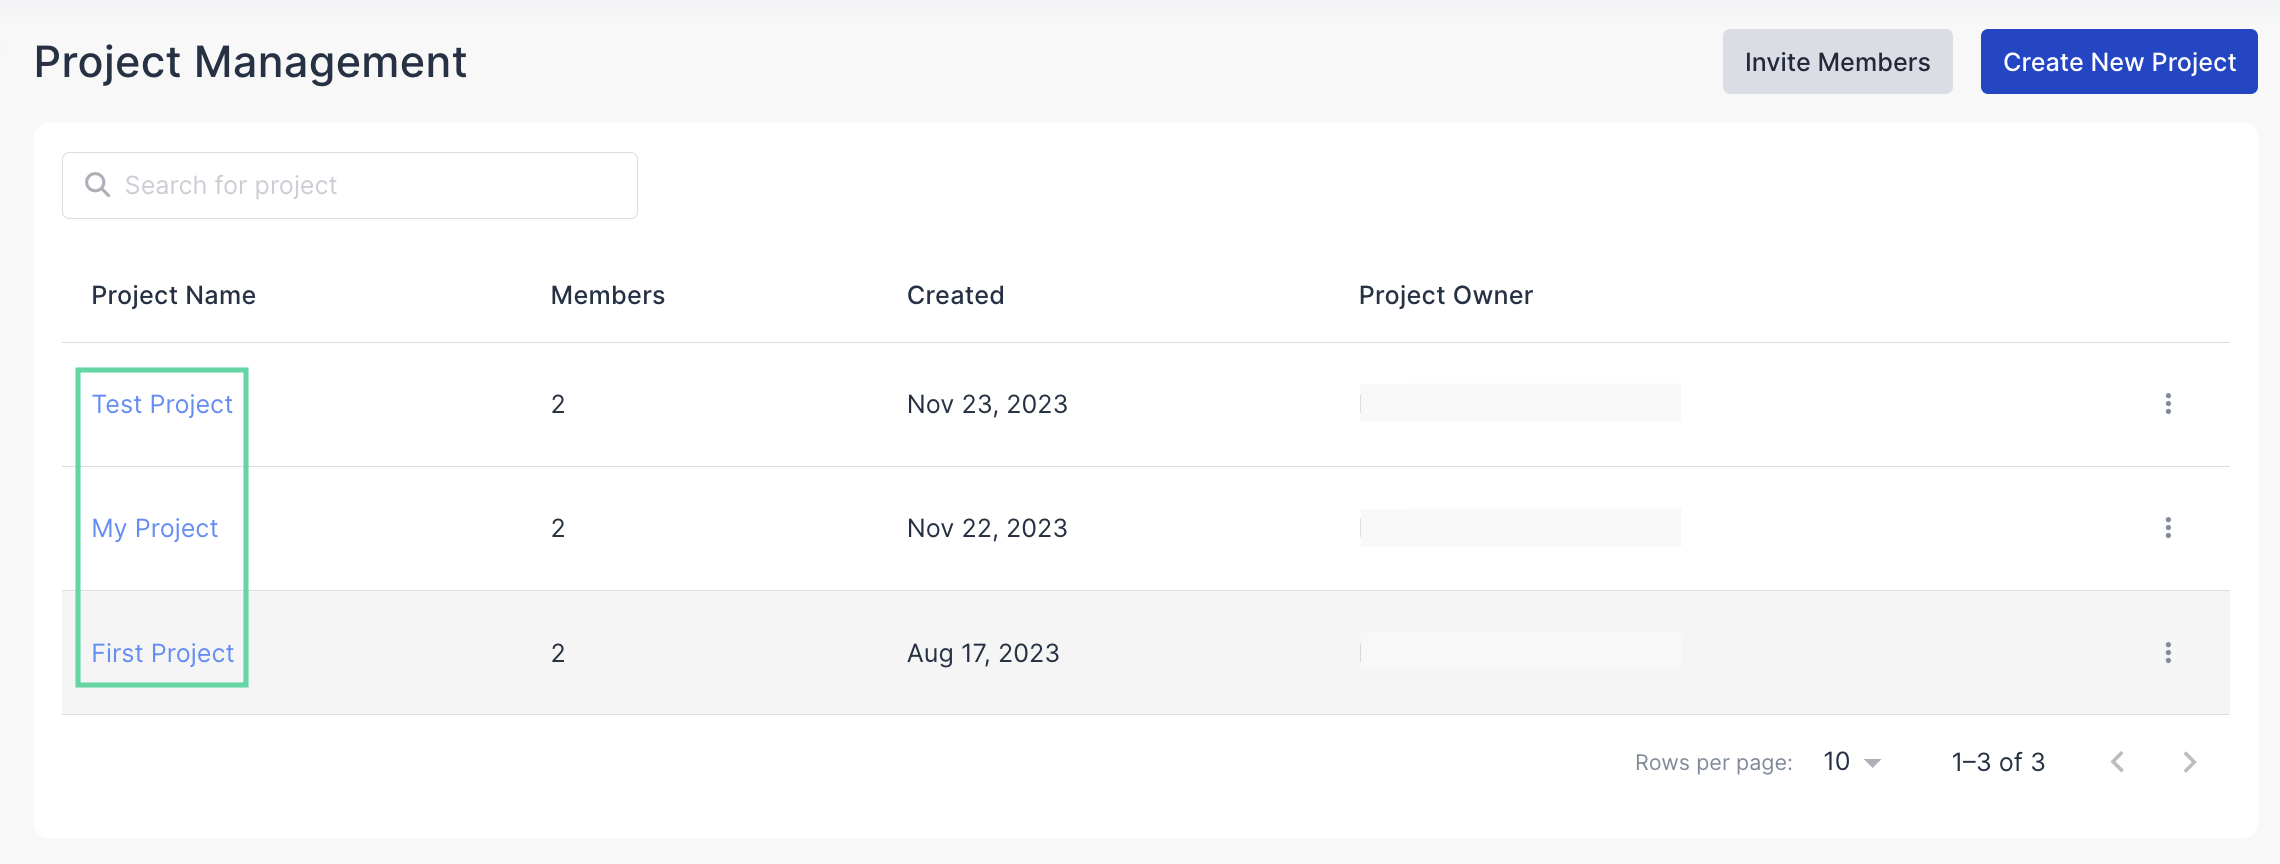
You are redirected to the Project Details page.
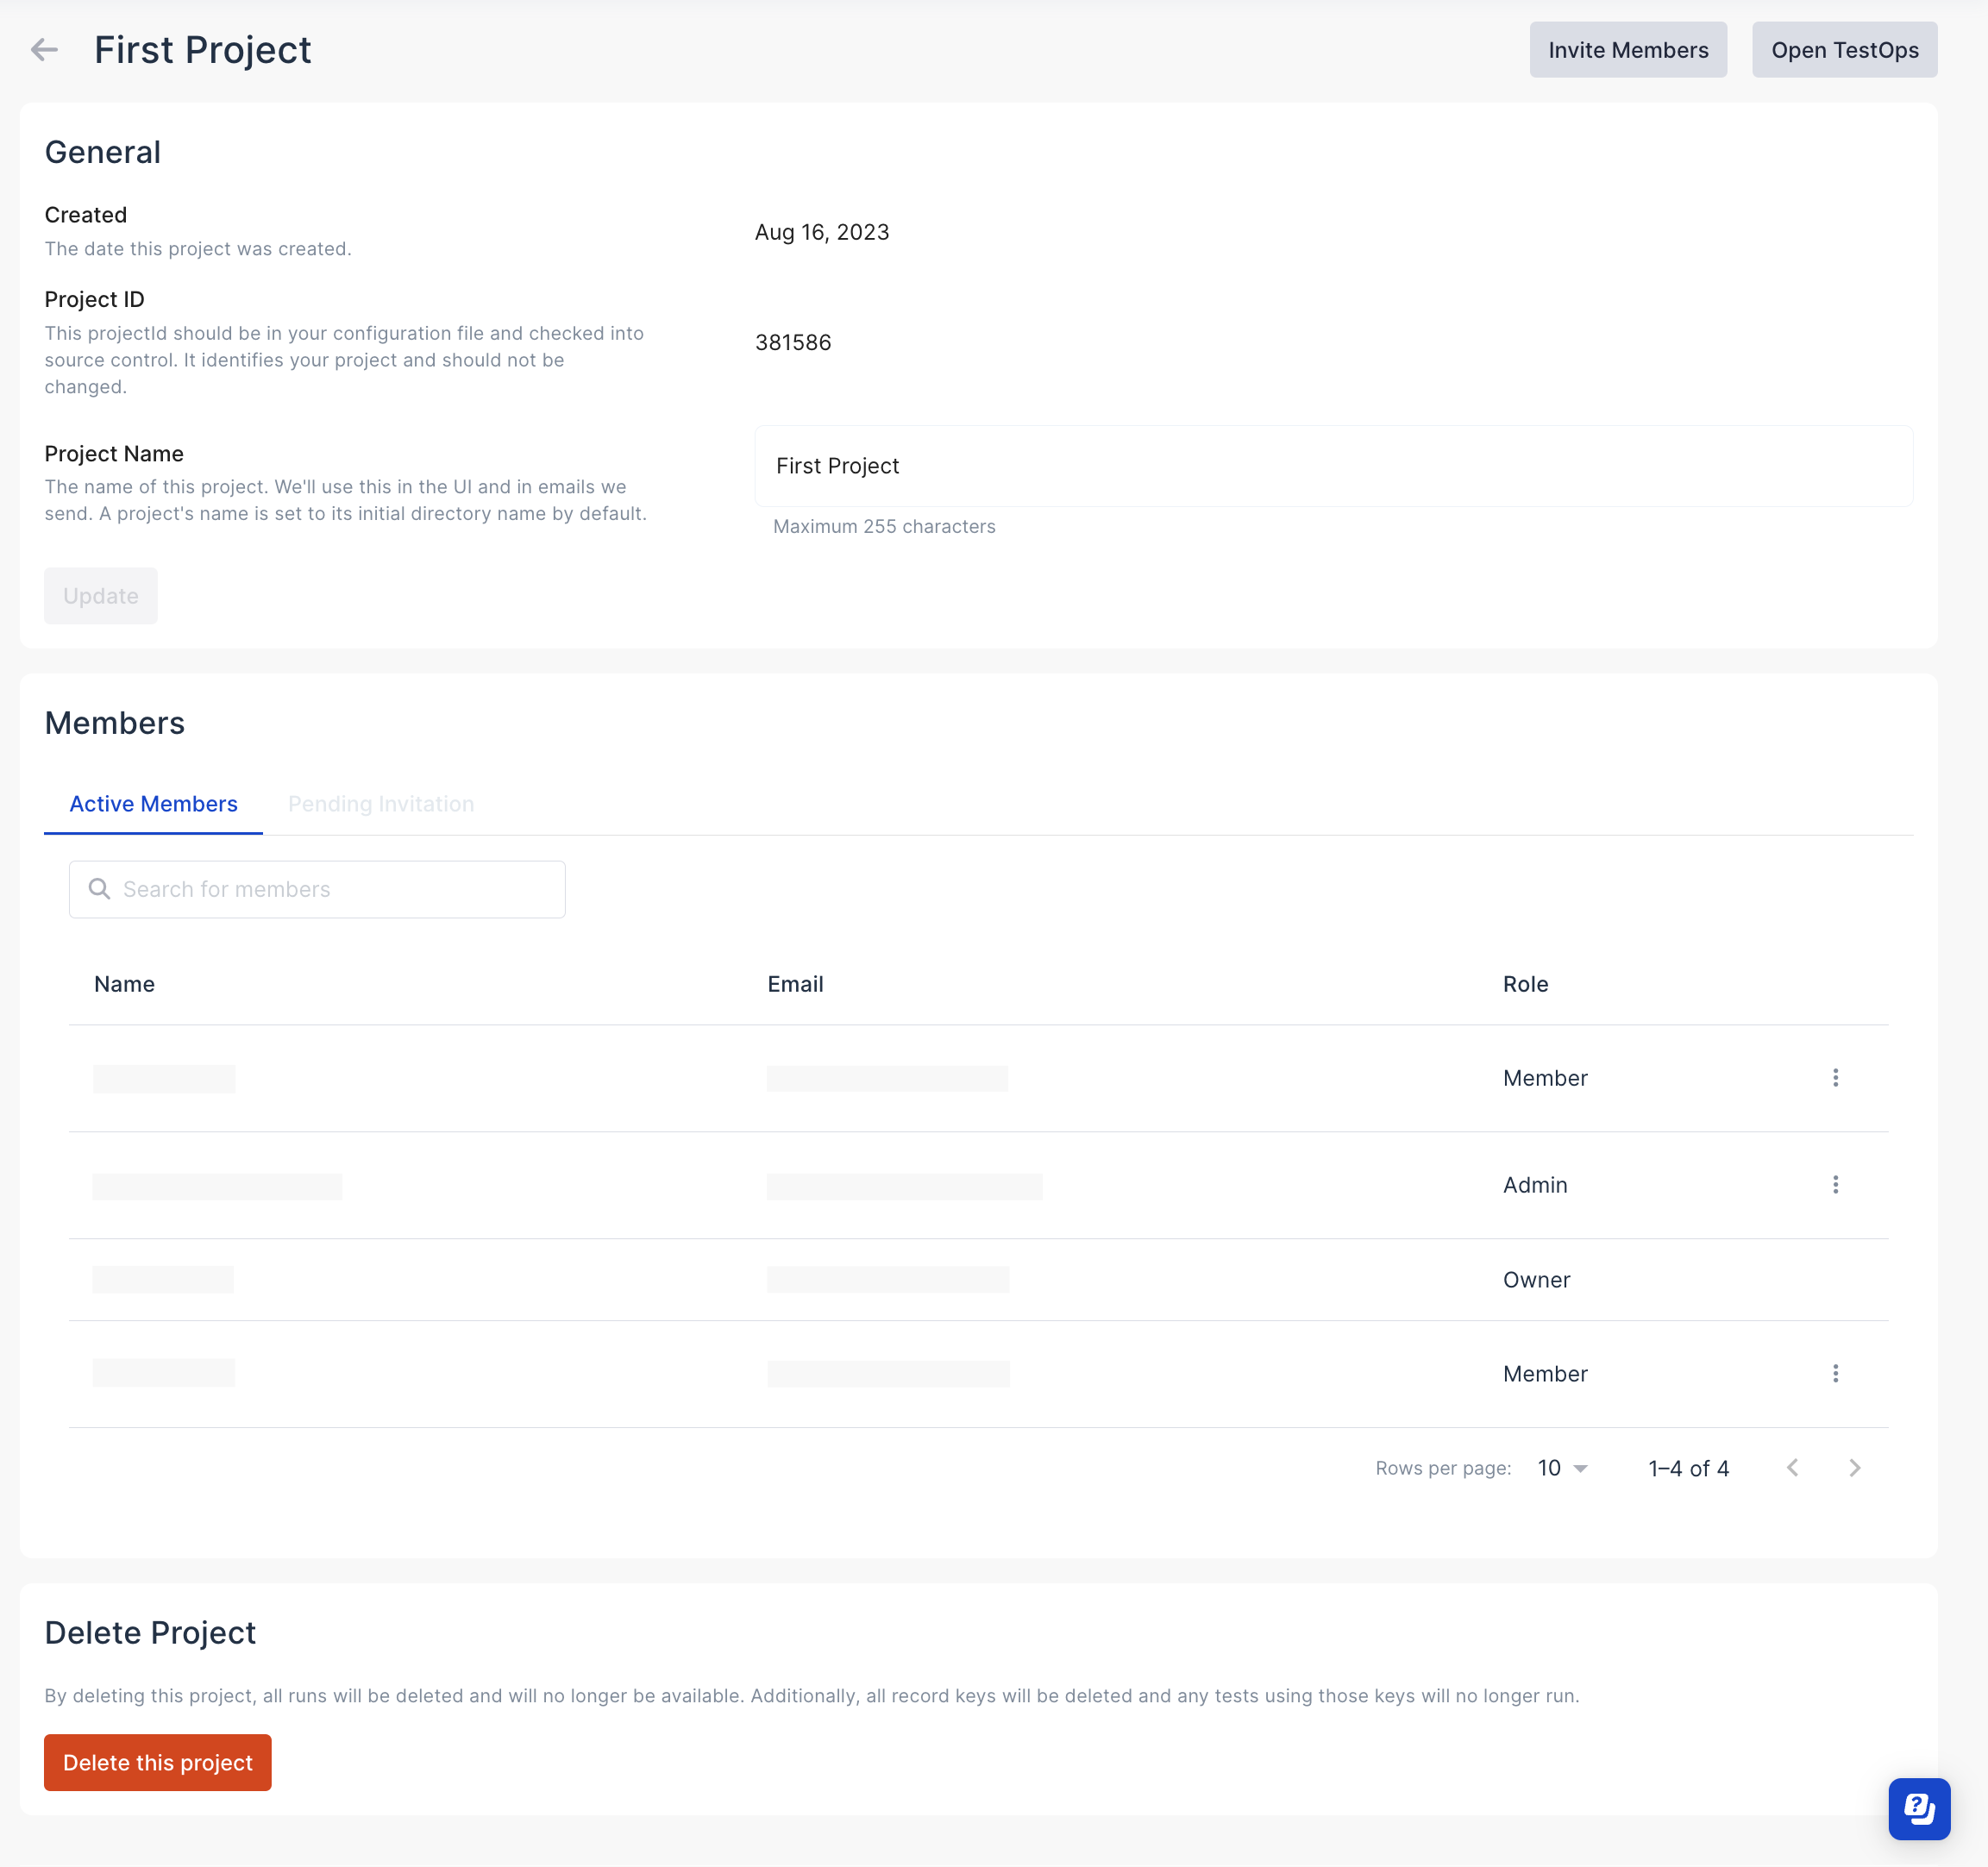
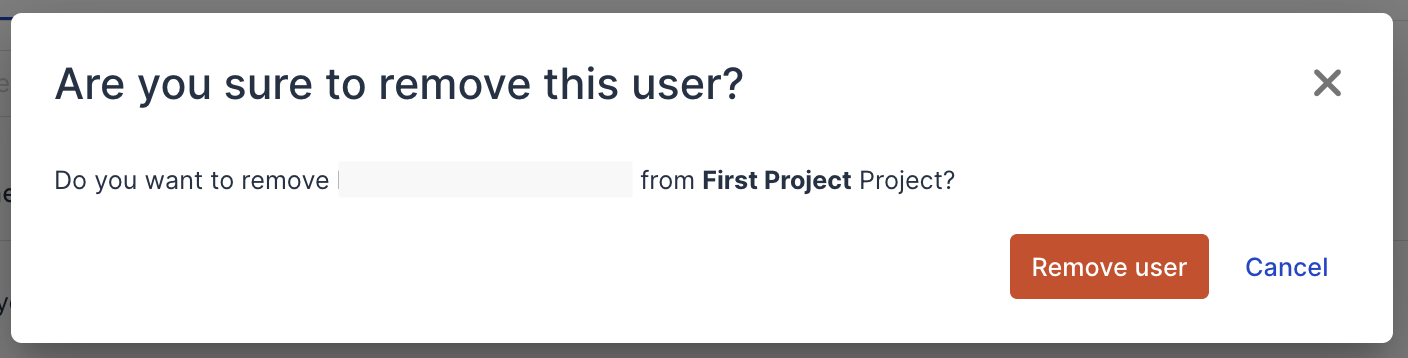
- In the Members section, navigate to the extension icon next to the user you wish to remove, then select Remove user.
- Click Remove user to confirm your action.
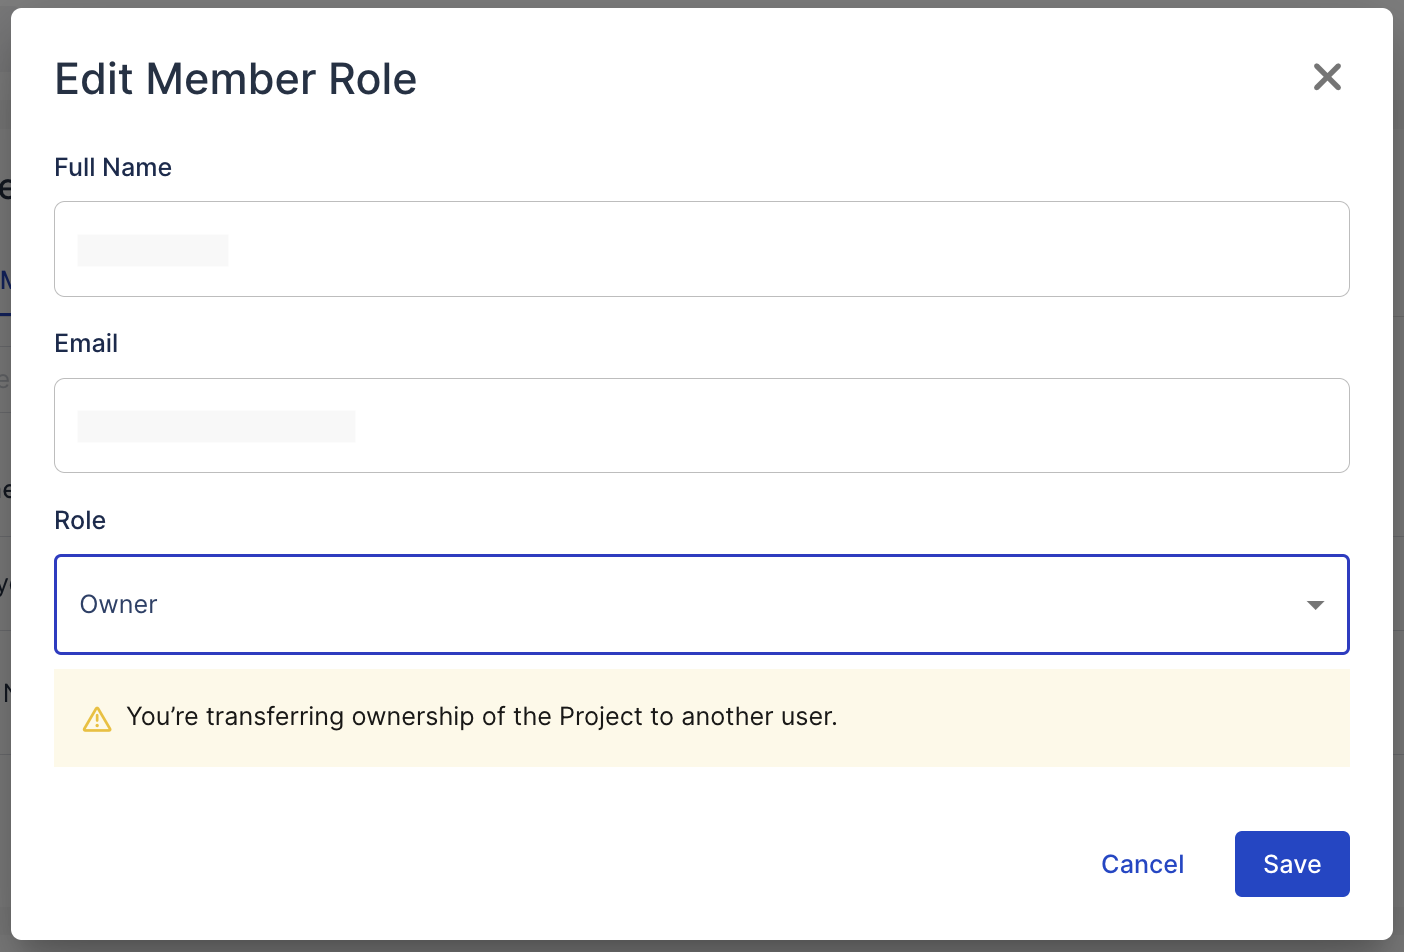
Transfer Project ownership
In a Project, an Owner or Admins can reassign their roles or lower roles to existing members.
Users can have different roles in different Projects.
Follow these steps to edit a user's role:
- On the Project Management page, select your desired Project.
You are redirected to the Project Details page.
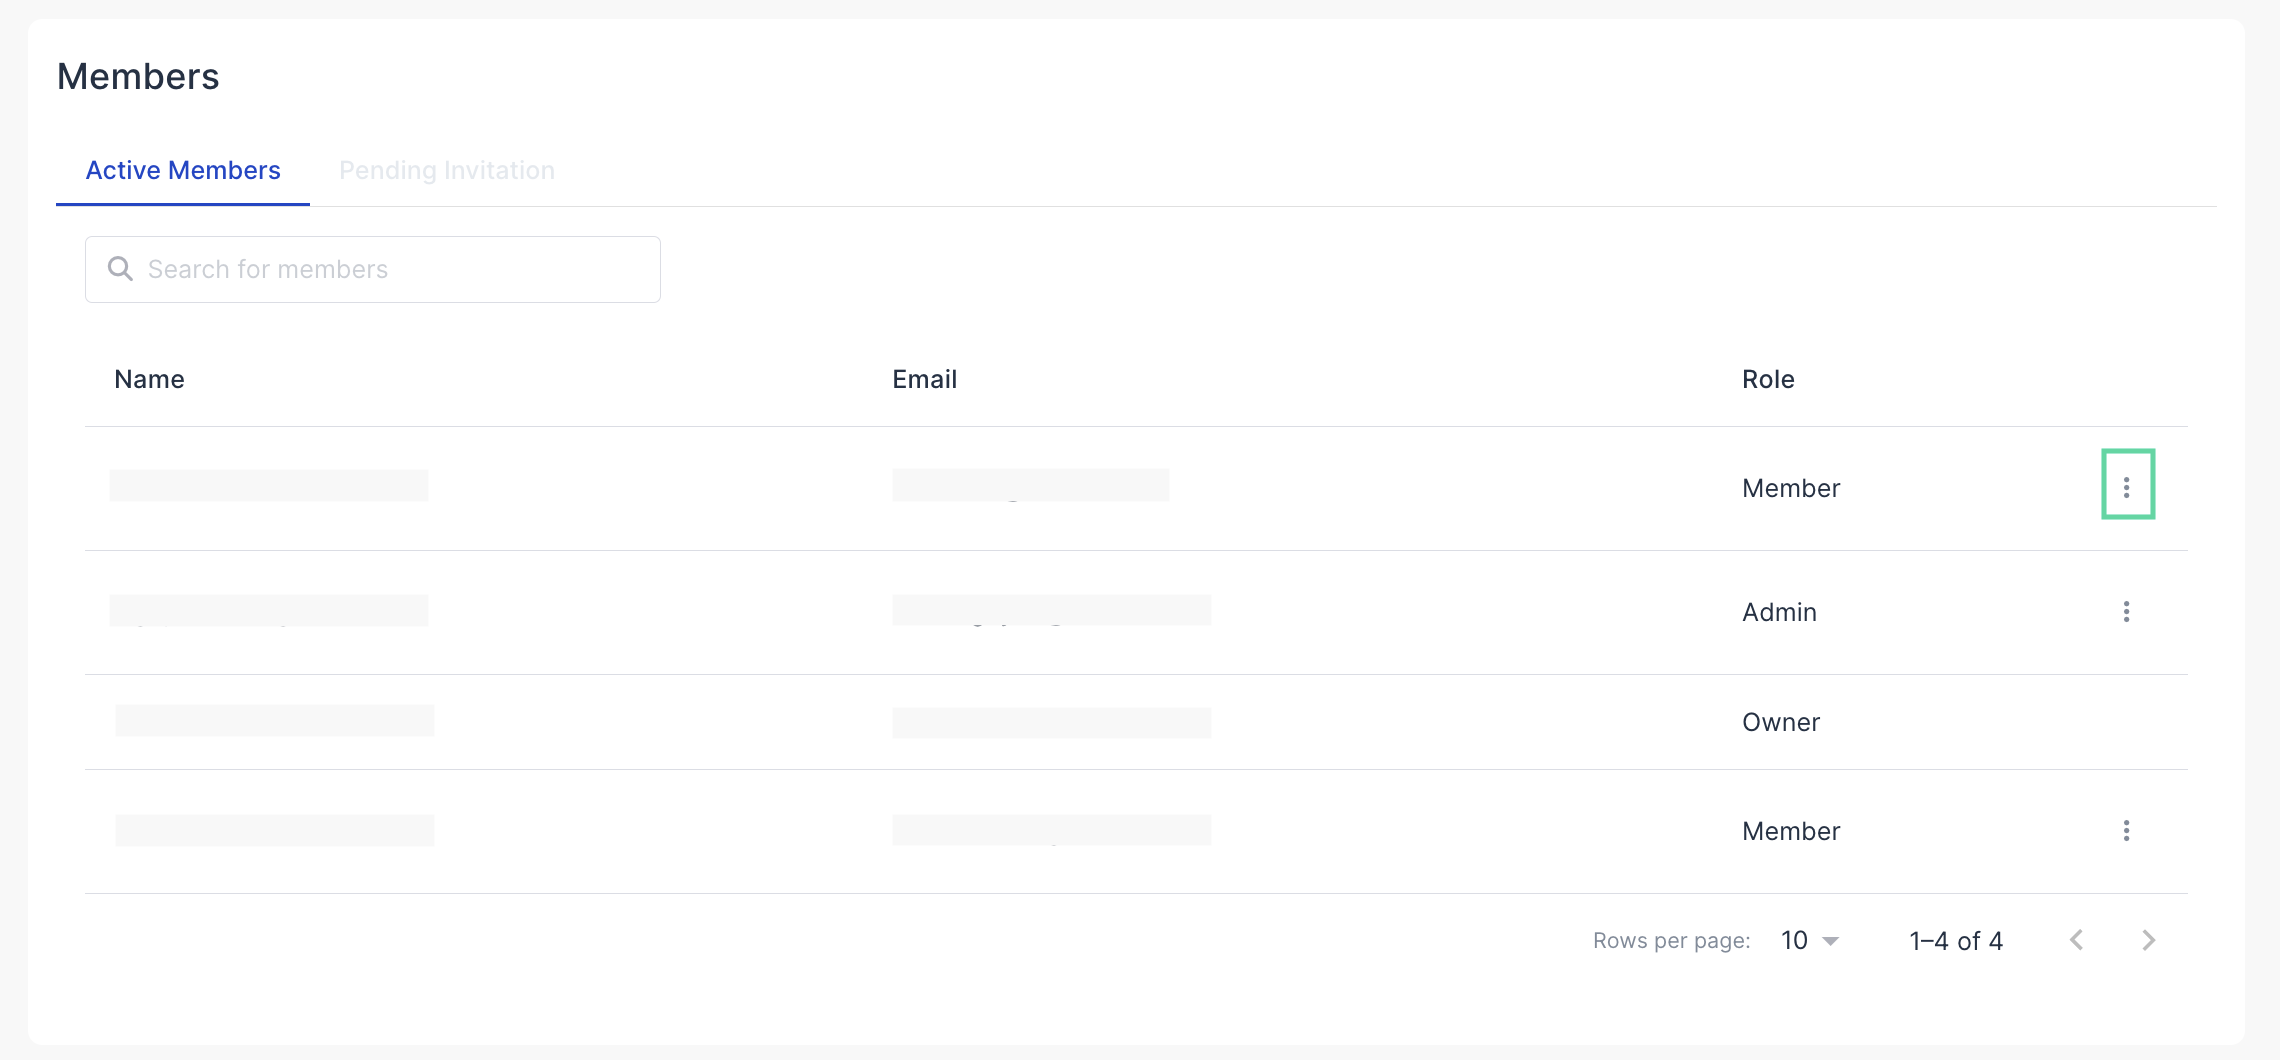
- In the Members section, navigate to the extension icon next to the user you wish to edit, then select Edit member role.
- The Edit Member Role dialog appears. Select the new role in the dropdown list.