Set desired capabilities in Windows desktop app testing
This document shows you how to configure desired capabilities for Windows Desktop Application testing in Katalon Studio with FlaUI.
- Starting from Katalon Studio 10.4.0, Windows Desktop app testing is officially available. We are using a new custom driver based on the FlaUI library, which supports spy, record, and execution of test cases—no separate installation required.
- For full details on feature availability and version support, see the Katalon Studio Release Notes: Version 10.x.
Set up Desired Capabilities in Katalon Studio 10.4.0
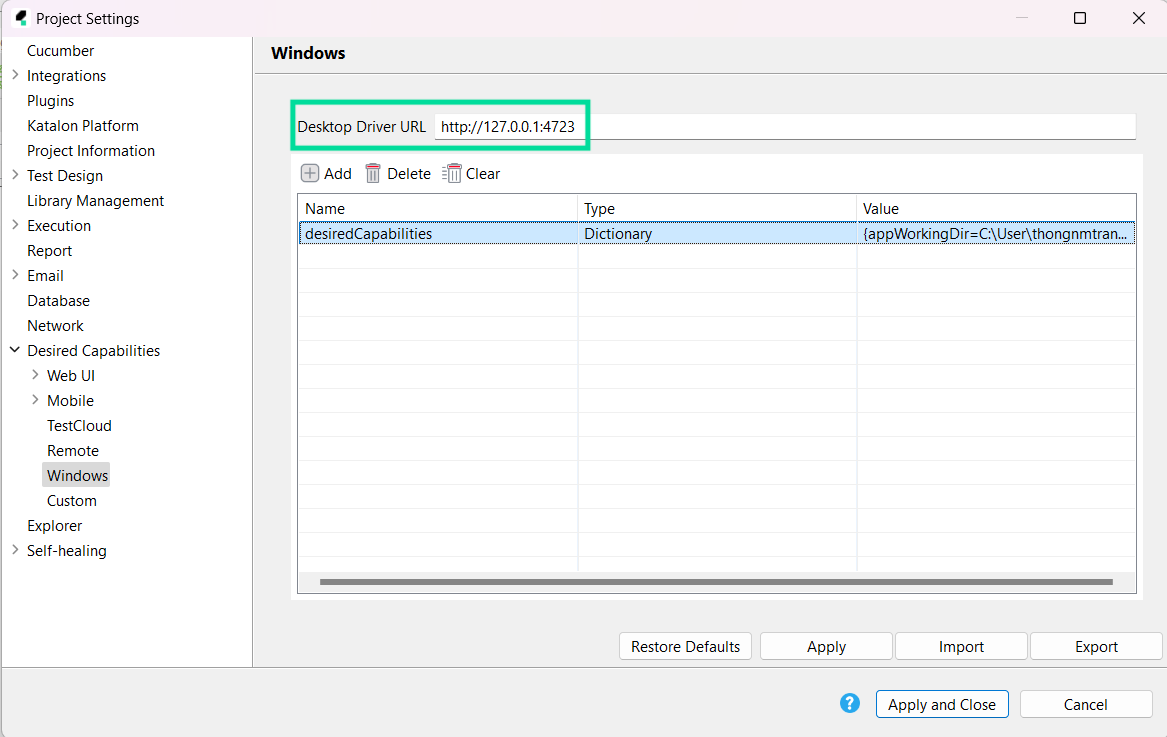
- Go to Project > Settings > Desired Capabilities > Windows to open the Windows desired capabilities settings.
Alternatively, start your Windows Recorder/Spy or Native Windows Recorder session. In the Configuration field, click Edit.
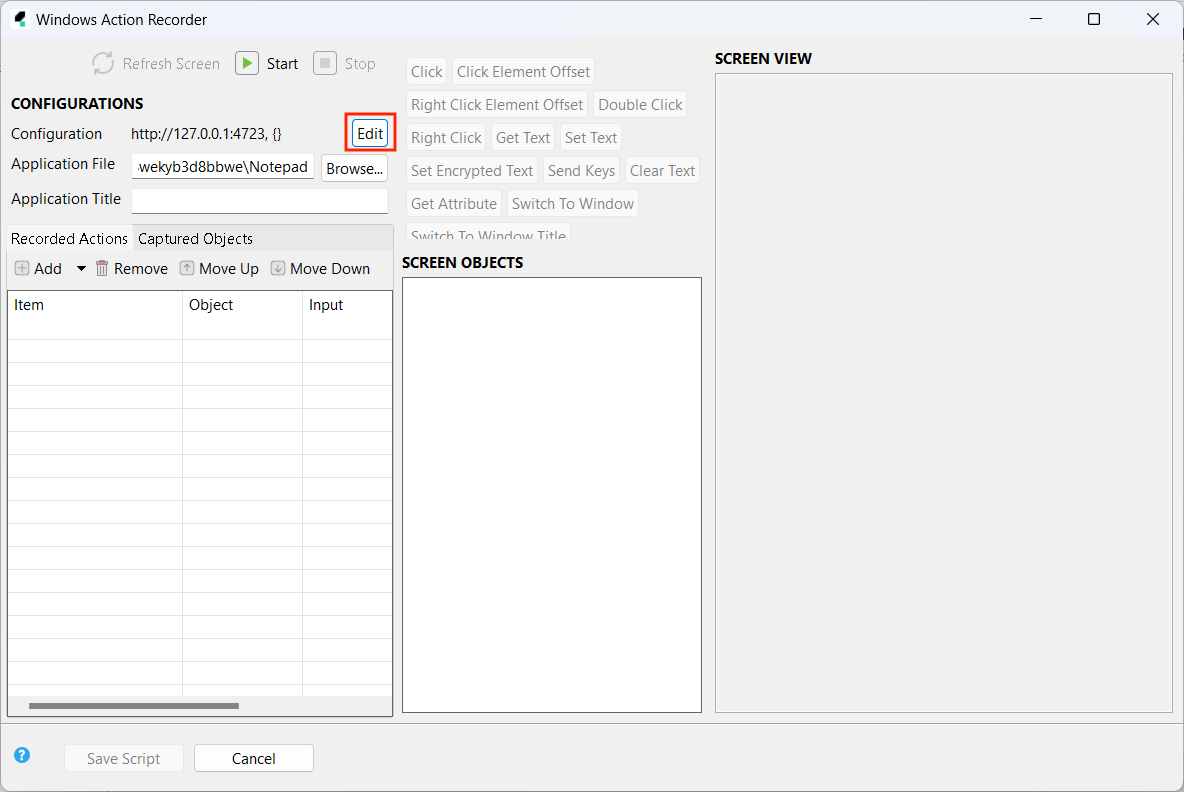
-
(Optional) Set a URL in Desktop Driver URL. if left blank, Window app tests will run on
localhost:4723. -
In the table below, click (+) Add to add desired capabilities.
- As FlaUI follows the W3C WebDriver specification, all non-standard desired capabilities must now include the
appium:namespace prefix. - Katalon 10.4.0 still supports
ms:waitForAppLaunch(default 50s, max 50s) when using SwitchToWindowTitle. Alternatively, you can use the built-in keywordWindows.delay(<numberOfSeconds>)to pause test execution and wait for the application to launch.
If you previously defined custom capabilities in Project Settings > Desired Capabilities > Windows, update them as follows:
| Legacy Capability | Updated Format |
|---|---|
appWorkingDir | appium:appWorkingDir |
appArguments | appium:appArguments |
You only need to update the desired capabilities once per project.
Use cases
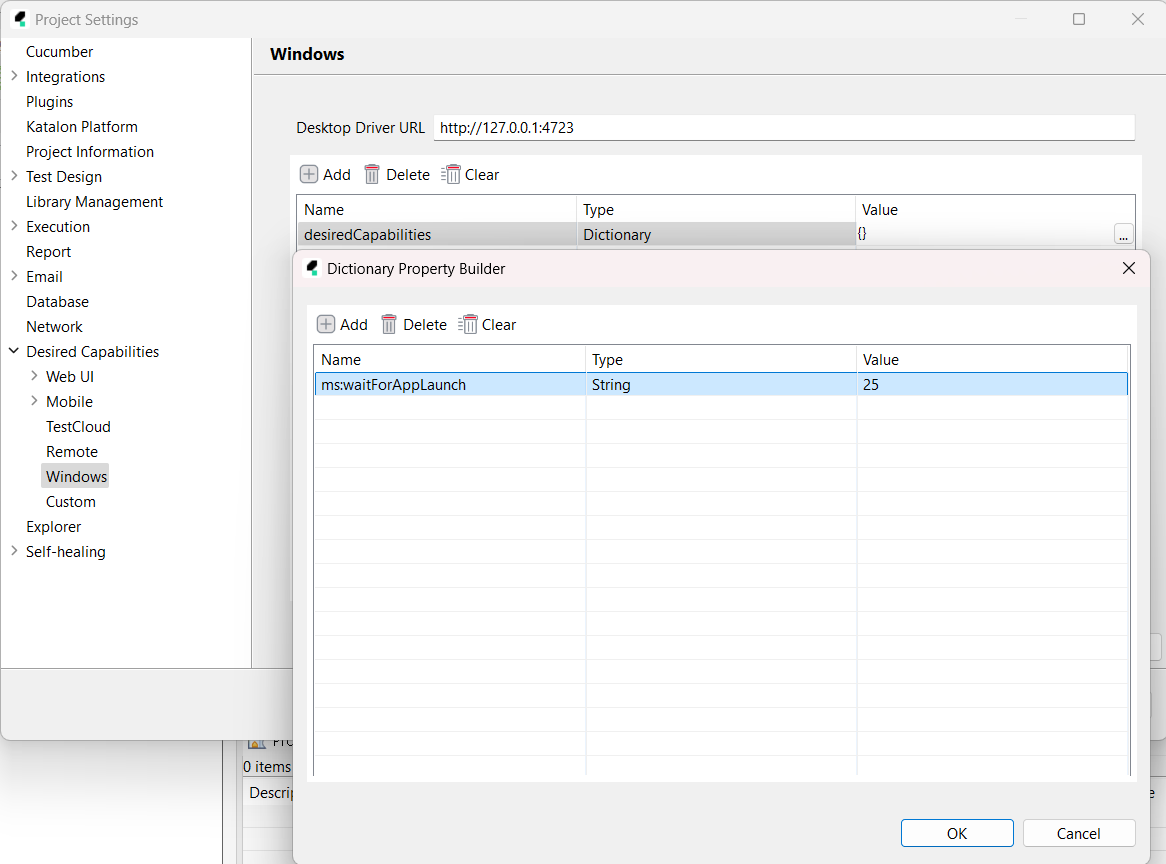
Example 1: Set delaying time for an app launch with ms:waitForAppLaunch
Go to the desired capabilities settings, click Add , then input the following value:
| Name | Type | Value |
|---|---|---|
| ms:waitForAppLaunch | string | 25(*) |
(*) This means delaying the app launch for 25 seconds. If unset, the value fallbacks to the maximum value you could put (50 seconds).
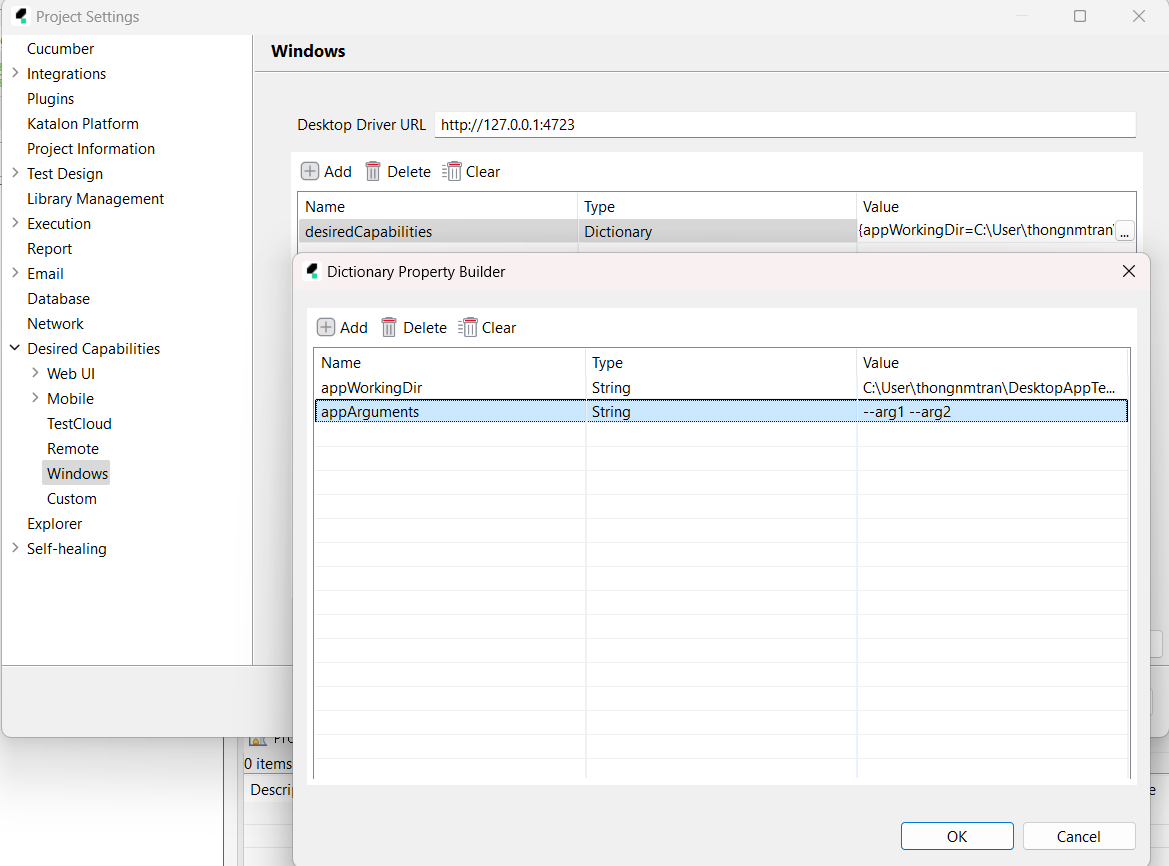
Example 2: Use desired capabilities with Native Windows Recorder
The following example shows you how to set desired capabilities in Native Windows Recorder.
Open the Native Windows Recorder session dialog, in the Configuration field, click Edit . Click (+) Add and input the following values:
| Name | Type | Value |
|---|---|---|
| appWorkingDir | String | C:\User**user_name**\Desktop\workspace\katalon |
| appArguments | String | --arg1--arg2 |