Add a User to a Project
Last updated: June 2026
This document explains how to add an existing organization member to a project and assign their project role.
If you need to create a new project first, see How to create a project.
Add a User to a Project and assign them Project-role(s)
Option 1 — From the Project Level screen
Requirements
- You must be the Project Admin. The person must already belong to the organization.
- Invitations sent from a project add the person to that project only. Project Admins cannot add people to other projects.
- The person must already in the Account.
- In the target project, go to Settings → Members.
- Click + Add Member.
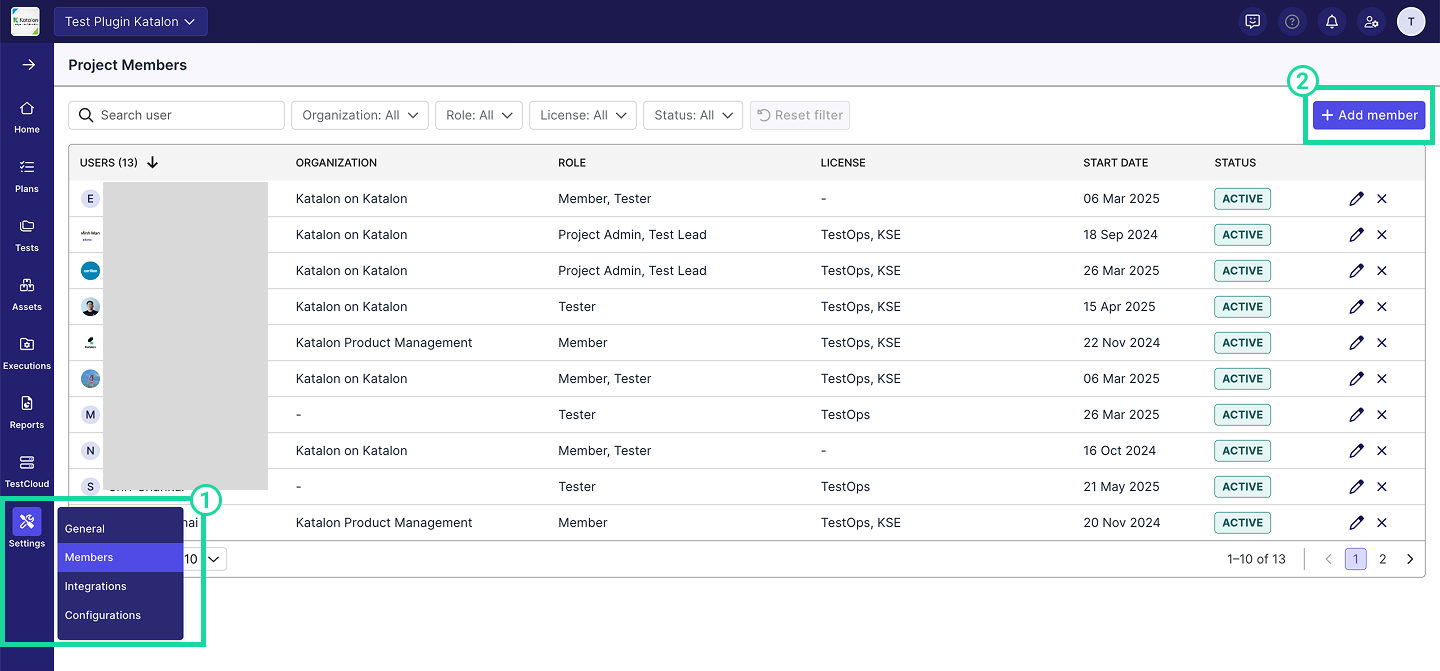
- Enter the user’s email address.
- Assign a project role from the Role dropdown.
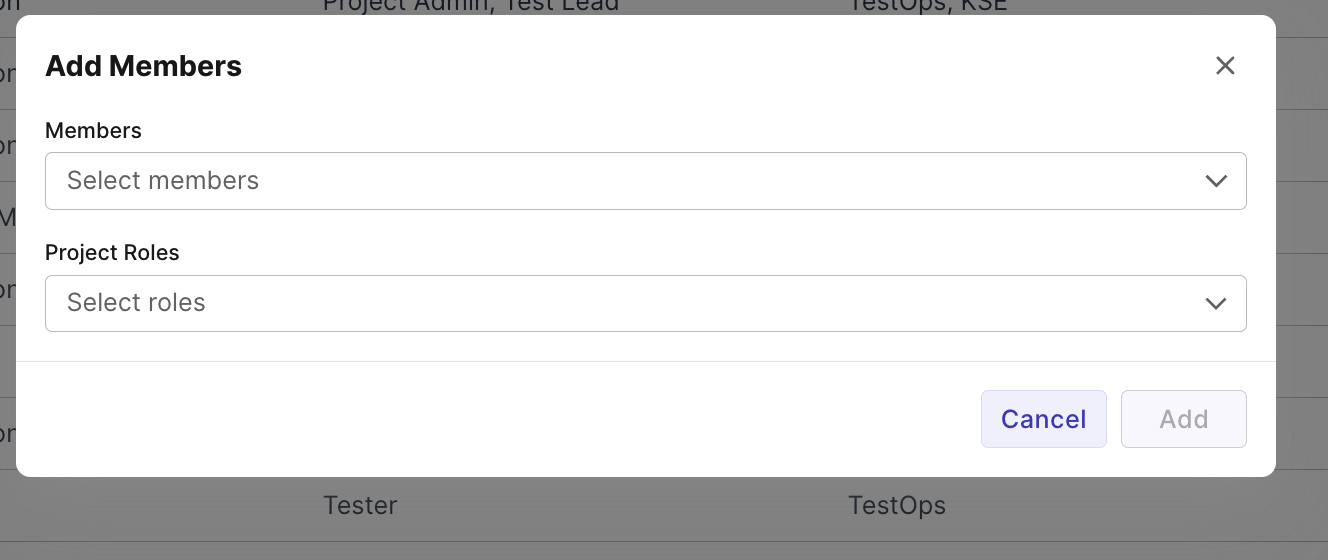
- Click Add.
Option 2 — From the User’s Detail Page (Account Level)
Use this method when you want to add a user to multiple projects at once.
Requirements
You must be an Account Admin to perform this action.
- From Account Settings → Org → User Management, select the user and open their User Detail page.
- Click + Add to Project.
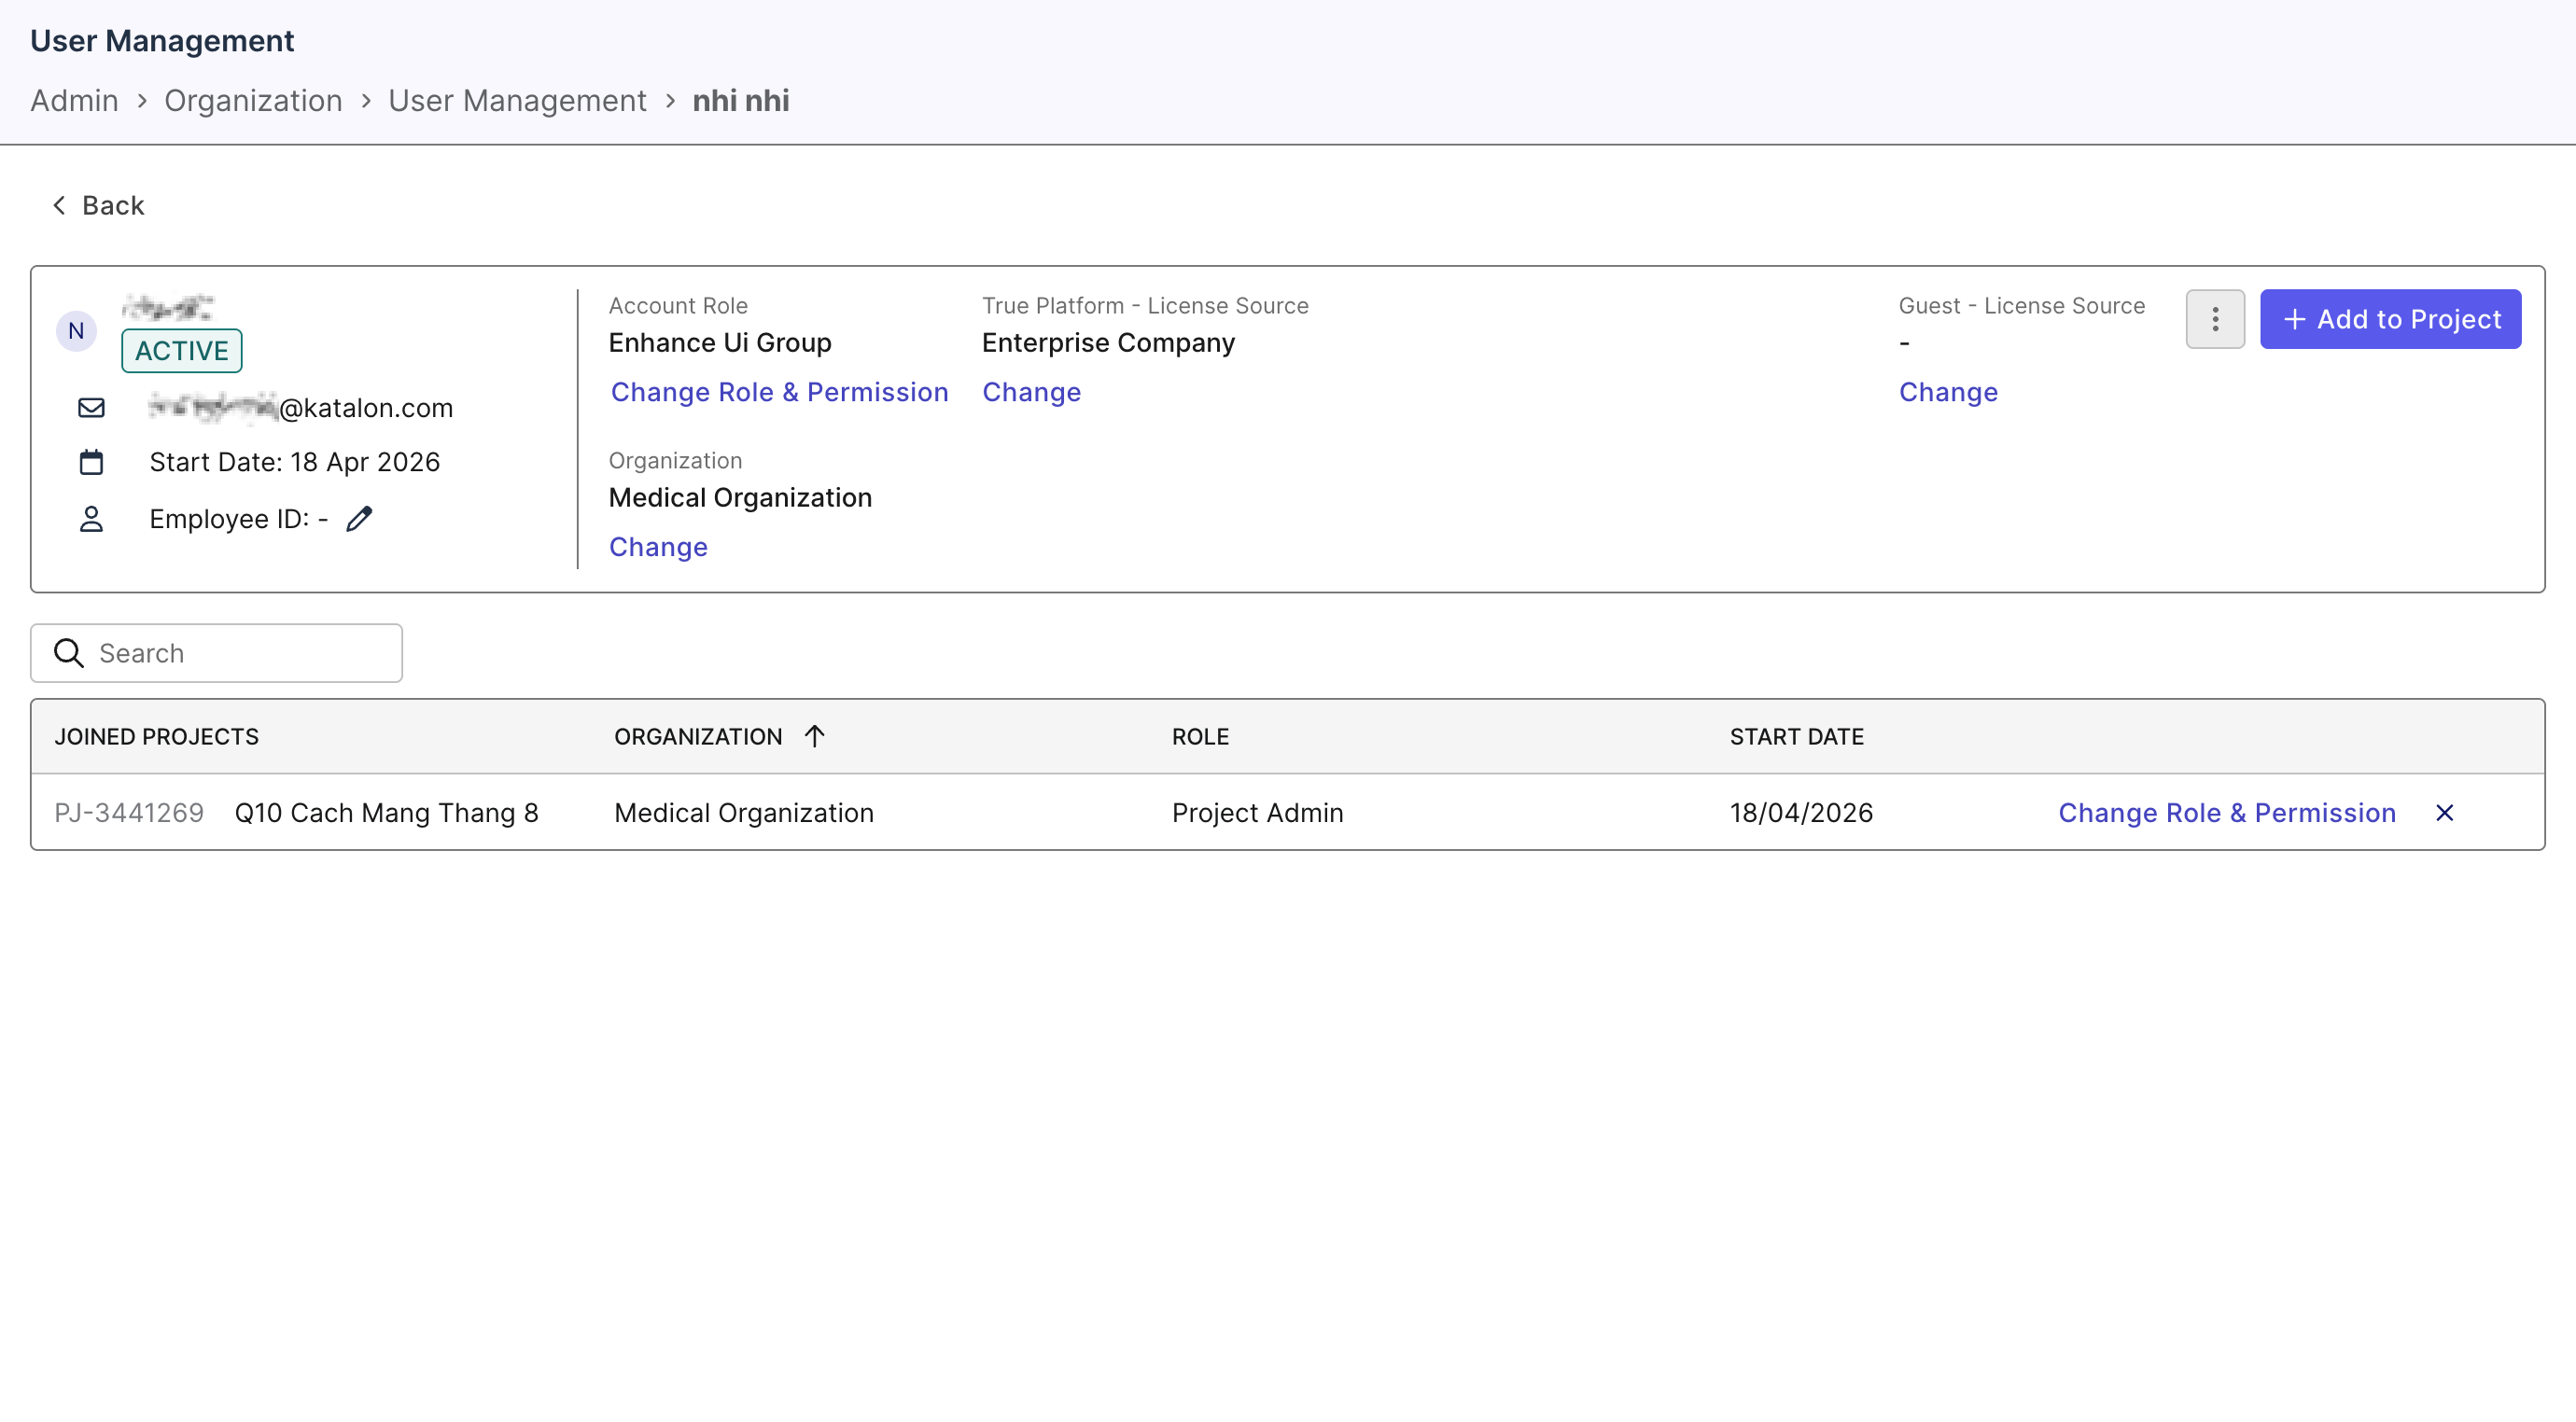
- In the Add to Project dialog, select one or more projects.
- For each selected project, assign the user’s project role by clicking Change Role and Permission next to the desired project.
- Select the role from the pop-up.
- Click Update.
Option 3 — From the Project Detail Page (Account Level)
Use this method when you want to add multiple users to a project at once.
Requirements
You must be an Account Admin to perform this action.
- Go to Account Settings → Org → Organization Management.
- Find the project you want to update.
- In the project detail view, click + Add Member.
- Enter the email address of the person you want to add. You can select multiple people.
- Select role(s) for them.
- Click Add.